

Looking for quality gardening tools and supplies? Browse our recommended garden products — hand-picked by the GardenWizz team.
There is something deeply satisfying about saving seeds from your garden — it is gardening’s ultimate act of self-sufficiency, it preserves genetic diversity, and it creates plants perfectly adapted to your specific growing conditions over time. Plus, it is free. Once you start saving seeds, you will wonder why you ever bought them. Here is how to do it right. In this comprehensive expert guide, we’ll cover everything you need to know.
Shop Related Products: Seed Tray • Plant Label
For more on essential summer gardening:, see our guide.
For more on essential mulching: single, see our guide.
Related: Garden Planning 101: Mapping Out Your Garden Space Natural Pest Deterrents: Plants That Repel Pests
Expert: Why Save Seeds?
Save money: Quality seeds are not cheap. Once you learn to save them, your seed costs drop to nearly zero.
Adaptation: Seeds from plants grown in your garden for multiple generations become increasingly adapted to your local climate, soil, and growing conditions.The RHS soil testing guide provides detailed advice on understanding your soil type… This is especially valuable for organic gardeners. Garden Organic growing guide has detailed guidance on this topic.
Preserve diversity: Seed companies tend to carry the same popular varieties. By saving seeds, you can preserve unusual and heirloom varieties that might otherwise disappear.
Self-reliance: Knowing you can save seeds means you are never dependent on anyone else for next year’s garden.
Understanding Seed Categories
Open-pollinated (OP): These varieties will grow true from seed — offspring resemble the parent plant. Heirloom varieties are open-pollinated varieties with a long history (usually 50+ years). When you save seeds from open-pollinated plants, you get predictable, stable results.
Hybrids (F1): Created by crossing two genetically distinct parent plants. Seeds saved from hybrid plants will not come true — they will revert to one of the parent types and show unpredictable variation. Do not save seeds from hybrids unless you are experimenting (which can be fun!).
Heirlooms: Open-pollinated varieties passed down through generations.The RHS watering guidelines cover efficient watering techniques for gardens of all sizes. RHS watering guidelines has detailed guidance on this topic.. These are the best candidates for seed saving. Examples: ‘Brandywine’ tomato, ‘Cherokee Purple’ tomato, ‘Scarlet Runner’ bean, ‘Moon and Stars’ watermelon.
Choosing Plants to Save Seeds From
Start with easy, self-pollinating plants:
– Beans and peas: Some of the easiest seeds to save. Beans and peas are normally self-pollinating (perfect flowers that fertilize themselves before opening). Just leave pods on the plant until completely dry and brown.
– Lettuce: Let a few plants bolt and produce flower stalks. Flowers produce feathery seed heads like tiny dandelions. When seed heads turn white and fluffy, collect them in a paper envelope.
– Tomatoes: Ferment seeds to remove the germination-inhibiting gel coating. Squeeze seeds and gel into a jar, add equal water, and let ferment 2-4 days until moldy. Rinse seeds clean, spread on a plate or mesh drying screen to dry completely.
– Peppers: Let peppers fully ripen (usually red, yellow, or orange) on the plant. Cut open, scrape out seeds, and dry on a paper towel. Pepper seeds are easy — no fermentation needed.
– Cucumbers: Let cucumbers grow well past eating stage — they should be large, yellow, and beginning to soften. Cut open, scrape out seeds, ferment like tomatoes for 2-3 days, rinse clean, and dry.
The Seed Saving Process
Step 1: Selection
Choose the healthiest, most vigorous plants with the best fruit qualities. Select at least 6-12 plants if possible to maintain genetic diversity.
Step 2: Harvest Timing
Collect seeds when they are fully mature and dry on the plant:
– For dry-seed crops (beans, peas, lettuce): RHS leafy crops guide has detailed guidance on this topic.seeds are dry, hard, and rattle in the pod or seed head.
– For wet-seed crops (tomatoes, cucumbers): ferment to remove gel coating, then dry.
Step 3: Cleaning
Dry-seed cleaning: Remove seeds from pods, husks, and chaff. Use screens, colanders, or your hands. The goal is clean, pure seed. Mesh sieves are useful for separating seeds from chaff.
Wet-seed cleaning: Fermentation removes gel and improves germination. For tomatoes and cucumbers: scoop seeds into a jar, add water, stir daily, let ferment 2-4 days until a layer of mold forms. Rinse thoroughly, spread seeds on mesh drying screens or paper towels to dry.
Step 4: Drying
Proper drying is critical — seeds must be completely dry or they will mold in storage. Air dry on mesh drying screens, paper towels, or plates in a warm, dry, well-ventilated space. Stir seeds daily. Drying takes 1-2 weeks typically. Seeds are dry when they snap cleanly when bent.
Step 5: Storage
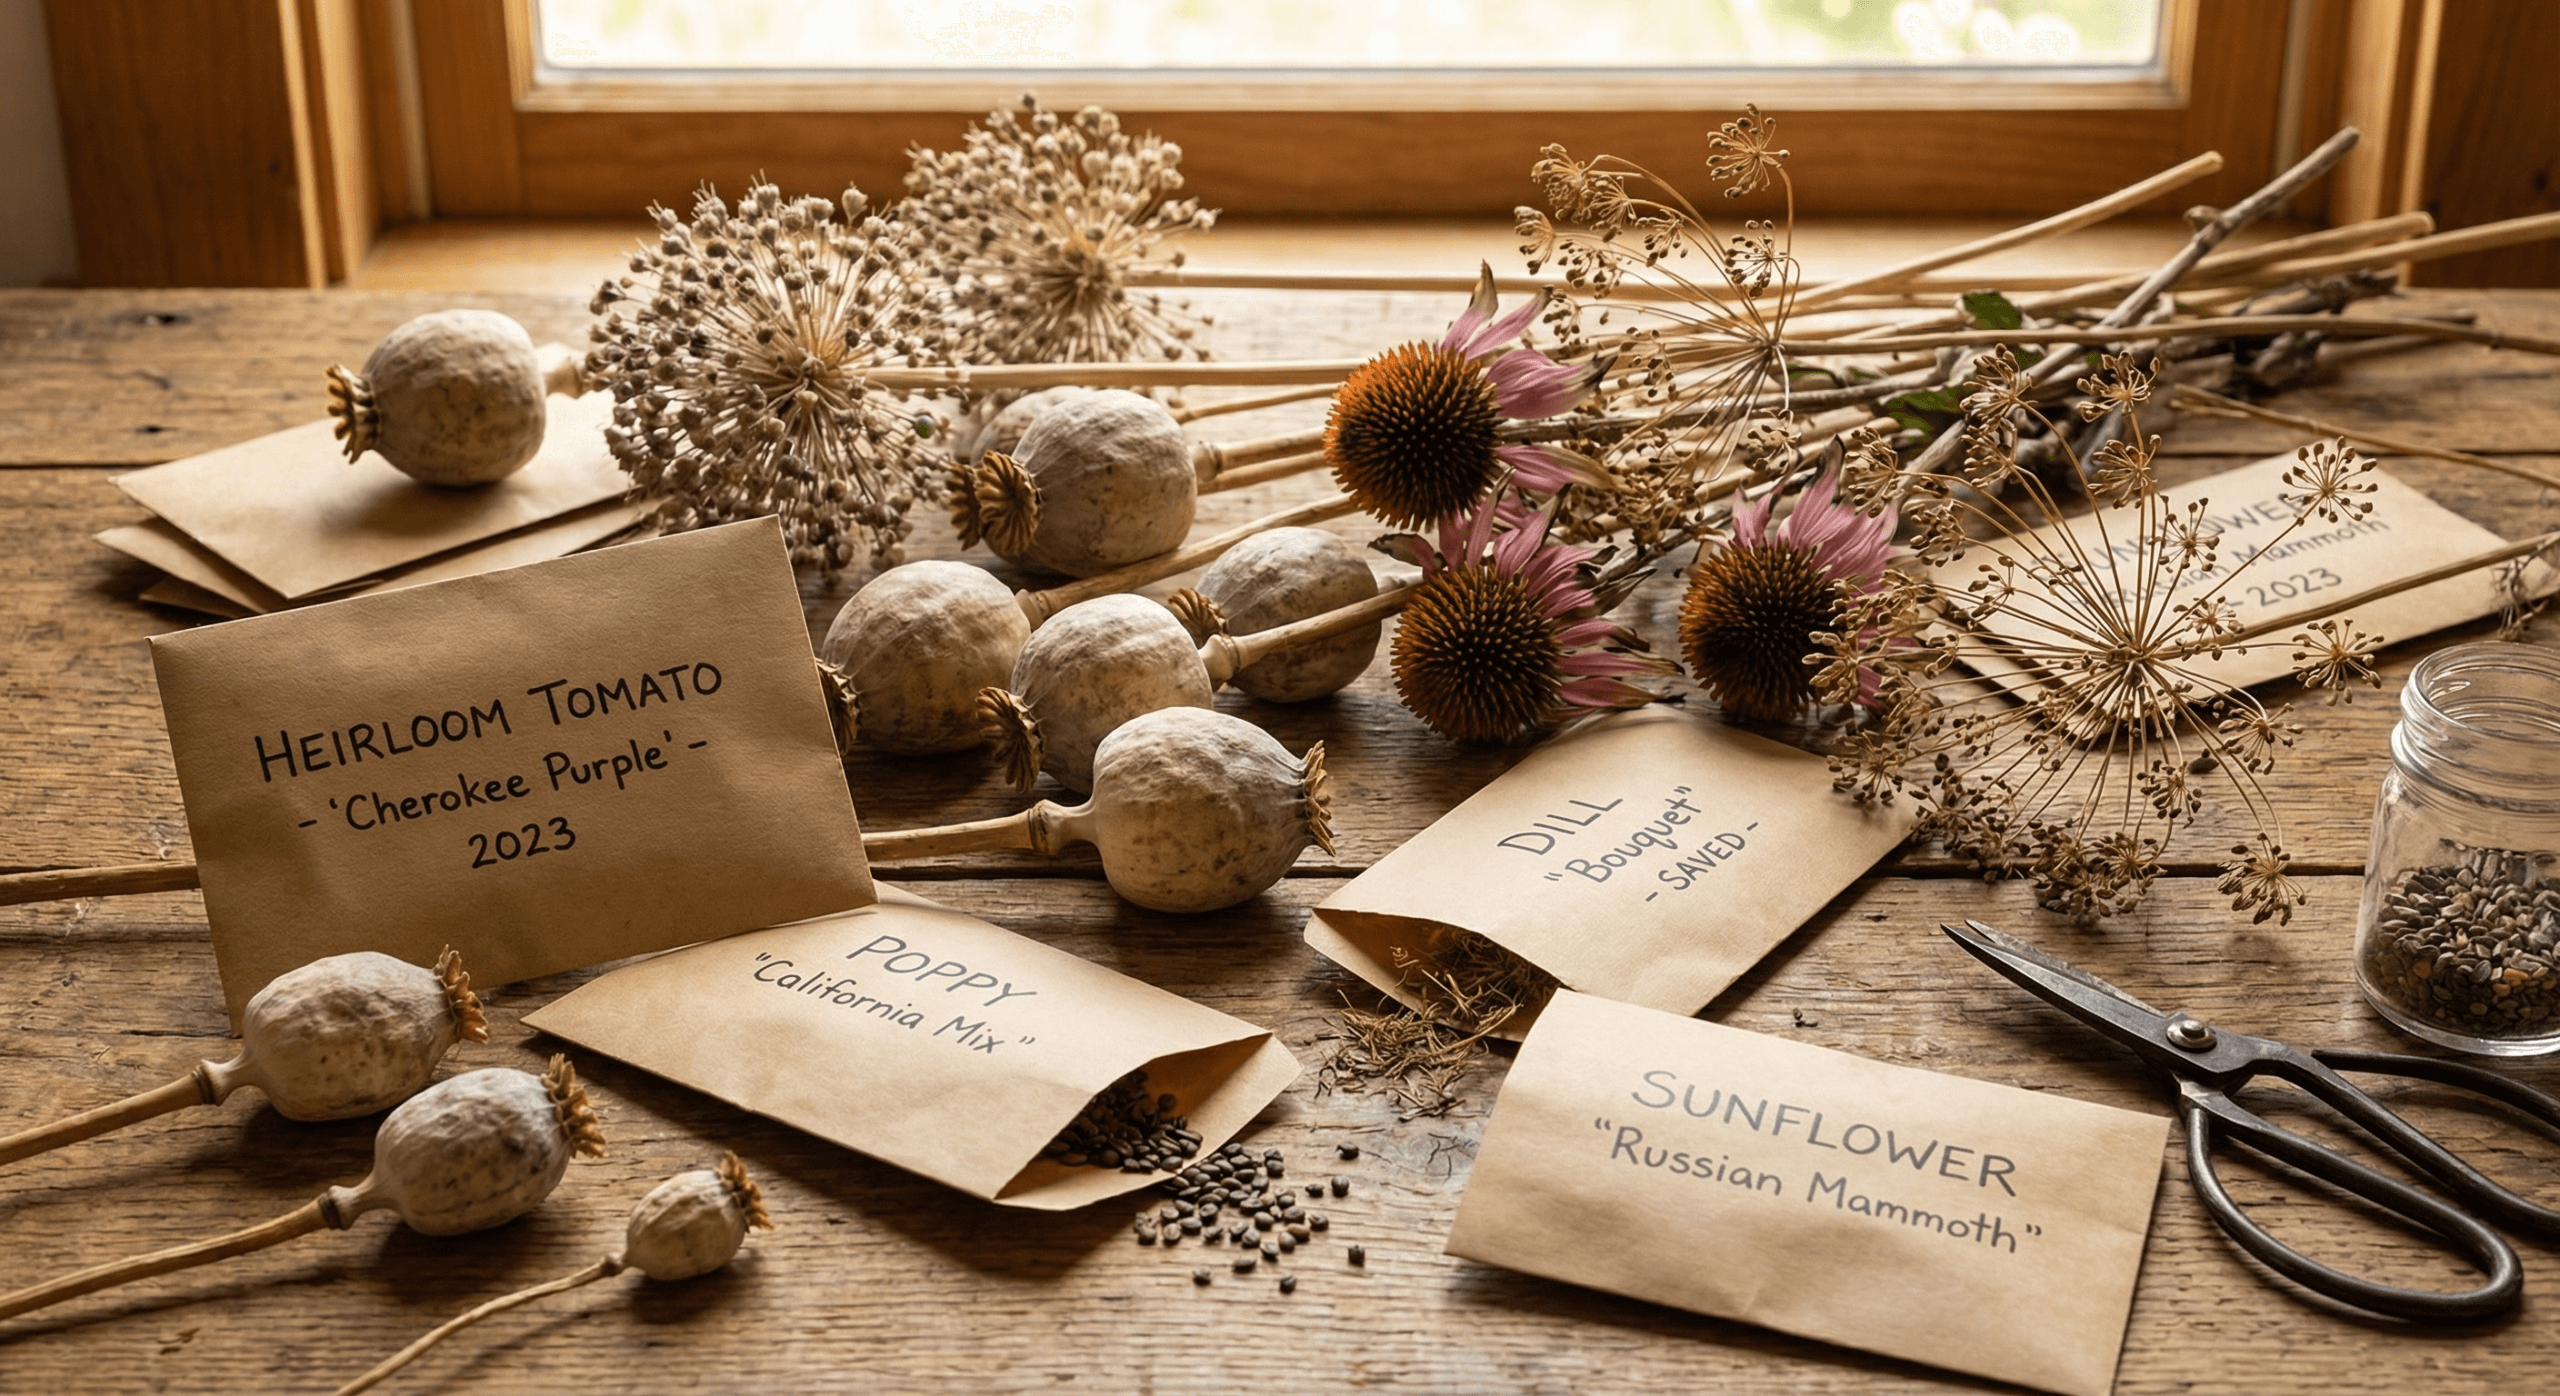
Store in labeled paper envelopes or glass jars in a cool, dark, dry place. Label EVERYTHING — you will not remember what variety it is next spring. Include variety name and year saved.
The ideal storage conditions: Cool (below 50 degrees F), dark, and dry (below 10% humidity). A sealed glass jar in the refrigerator is excellent for long-term storage.
Seed Viability: How Long Do Seeds Last?
| Crop | Average Viability (years) |
|——|————————–|
| Beans | 3-5 |
| Lettuce | 4-6 |
| Peas | 3-5 |
| Tomatoes | 4-6+ |
| Peppers | 2-4 |
| Cucumbers | 5-6 |
| Squash | 4-6 |
| Onions | 1-2 |
Testing Old Seeds
Before planting seeds of unknown viability, do a germination test: place 10 seeds on a damp paper towel, fold it, put it in a plastic bag, and keep warm. Check after the typical germination period. Count how many sprout — if 7 out of 10 germinate, you have 70% viability, which is acceptable.
A Few Important Warnings
– Do not save seeds from diseased plants — you are just passing the problem on.
– Do not save seeds from cross-pollinated crops (squash, cucumbers, melons) unless you understand the crossing risks and can isolate varieties or hand-pollinate.
– Start small — begin with easy crops like beans, peas, lettuce, and tomatoes. Work up to more complex seed saving as you gain confidence.
Seed saving connects you to thousands of years of gardening tradition and puts you firmly in control of your food supply. It costs nothing, requires minimal effort, and gives you the satisfaction of completing the garden cycle from harvest back to harvest. Once you start saving seeds, your garden becomes truly self-sustaining.
Frequently Asked Questions
When is the best time to do this in the UK?
The ideal timing depends on your location and the specific task. Spring (March-May) is generally the busiest gardening season in the UK, though autumn is perfect for planting and soil improvement.
Do I need expensive equipment to get started?
No. A few quality basic tools — a trowel, hand fork, watering can, and gloves — will see you through most beginner gardening tasks.
Is this suitable for small spaces or containers?
Most gardening tasks can be adapted for small spaces. Containers, grow bags, and raised beds all work well on patios, balconies, and even windowsills.
Can beginners do this successfully?
Absolutely. UK gardens are full of challenging conditions — clay soil, shade, slugs — but beginners achieve great results every year by starting small and learning as they grow.


