

Composting is the foundation of organic gardening. Instead of sending kitchen scraps and garden waste to landfill, you transform them into rich, dark, crumbly compost — often called black gold — that feeds your soil and grows better plants than any bagged product. Building a compost bin is straightforward, costs very little, and starts the moment you begin saving your first scraps.
Build Compost: What You’ll Need
Before you start, gather these essentials:
- Compost bin — Durable wooden compost bin for garden use
- Garden fork — Quality garden fork for turning compost
- Kitchen caddie — Kitchen compost caddie for collecting scraps
- Compost thermometer — Compost thermometer to monitor decomposition
- Gardening gloves — Durable gardening gloves for compost handling
What to Compost
A healthy compost heap needs a balance of two types of material:
- Green materials (nitrogen-rich): Vegetable peelings, fruit scraps, tea bags, coffee grounds, fresh plant material, grass clippings, and young weeds (not those with seeds or persistent roots).
- Brown materials (carbon-rich): Cardboard, newspaper, straw, autumn leaves, woody prunings, egg boxes, and woodchip. These provide structure and aeration and balance the nitrogen in green materials.
The ideal ratio is roughly 3 parts brown to 1 part green by volume. Too much green and the heap becomes wet, smelly, and slimy. Too much brown and decomposition slows dramatically.
What NOT to compost: cooked food, meat, fish, dairy products (these attract pests and can cause hygiene problems), perennial weed roots (they can survive even hot composting), diseased plants (composting may not reach temperatures to kill all pathogens), and pet faeces from dogs or cats.
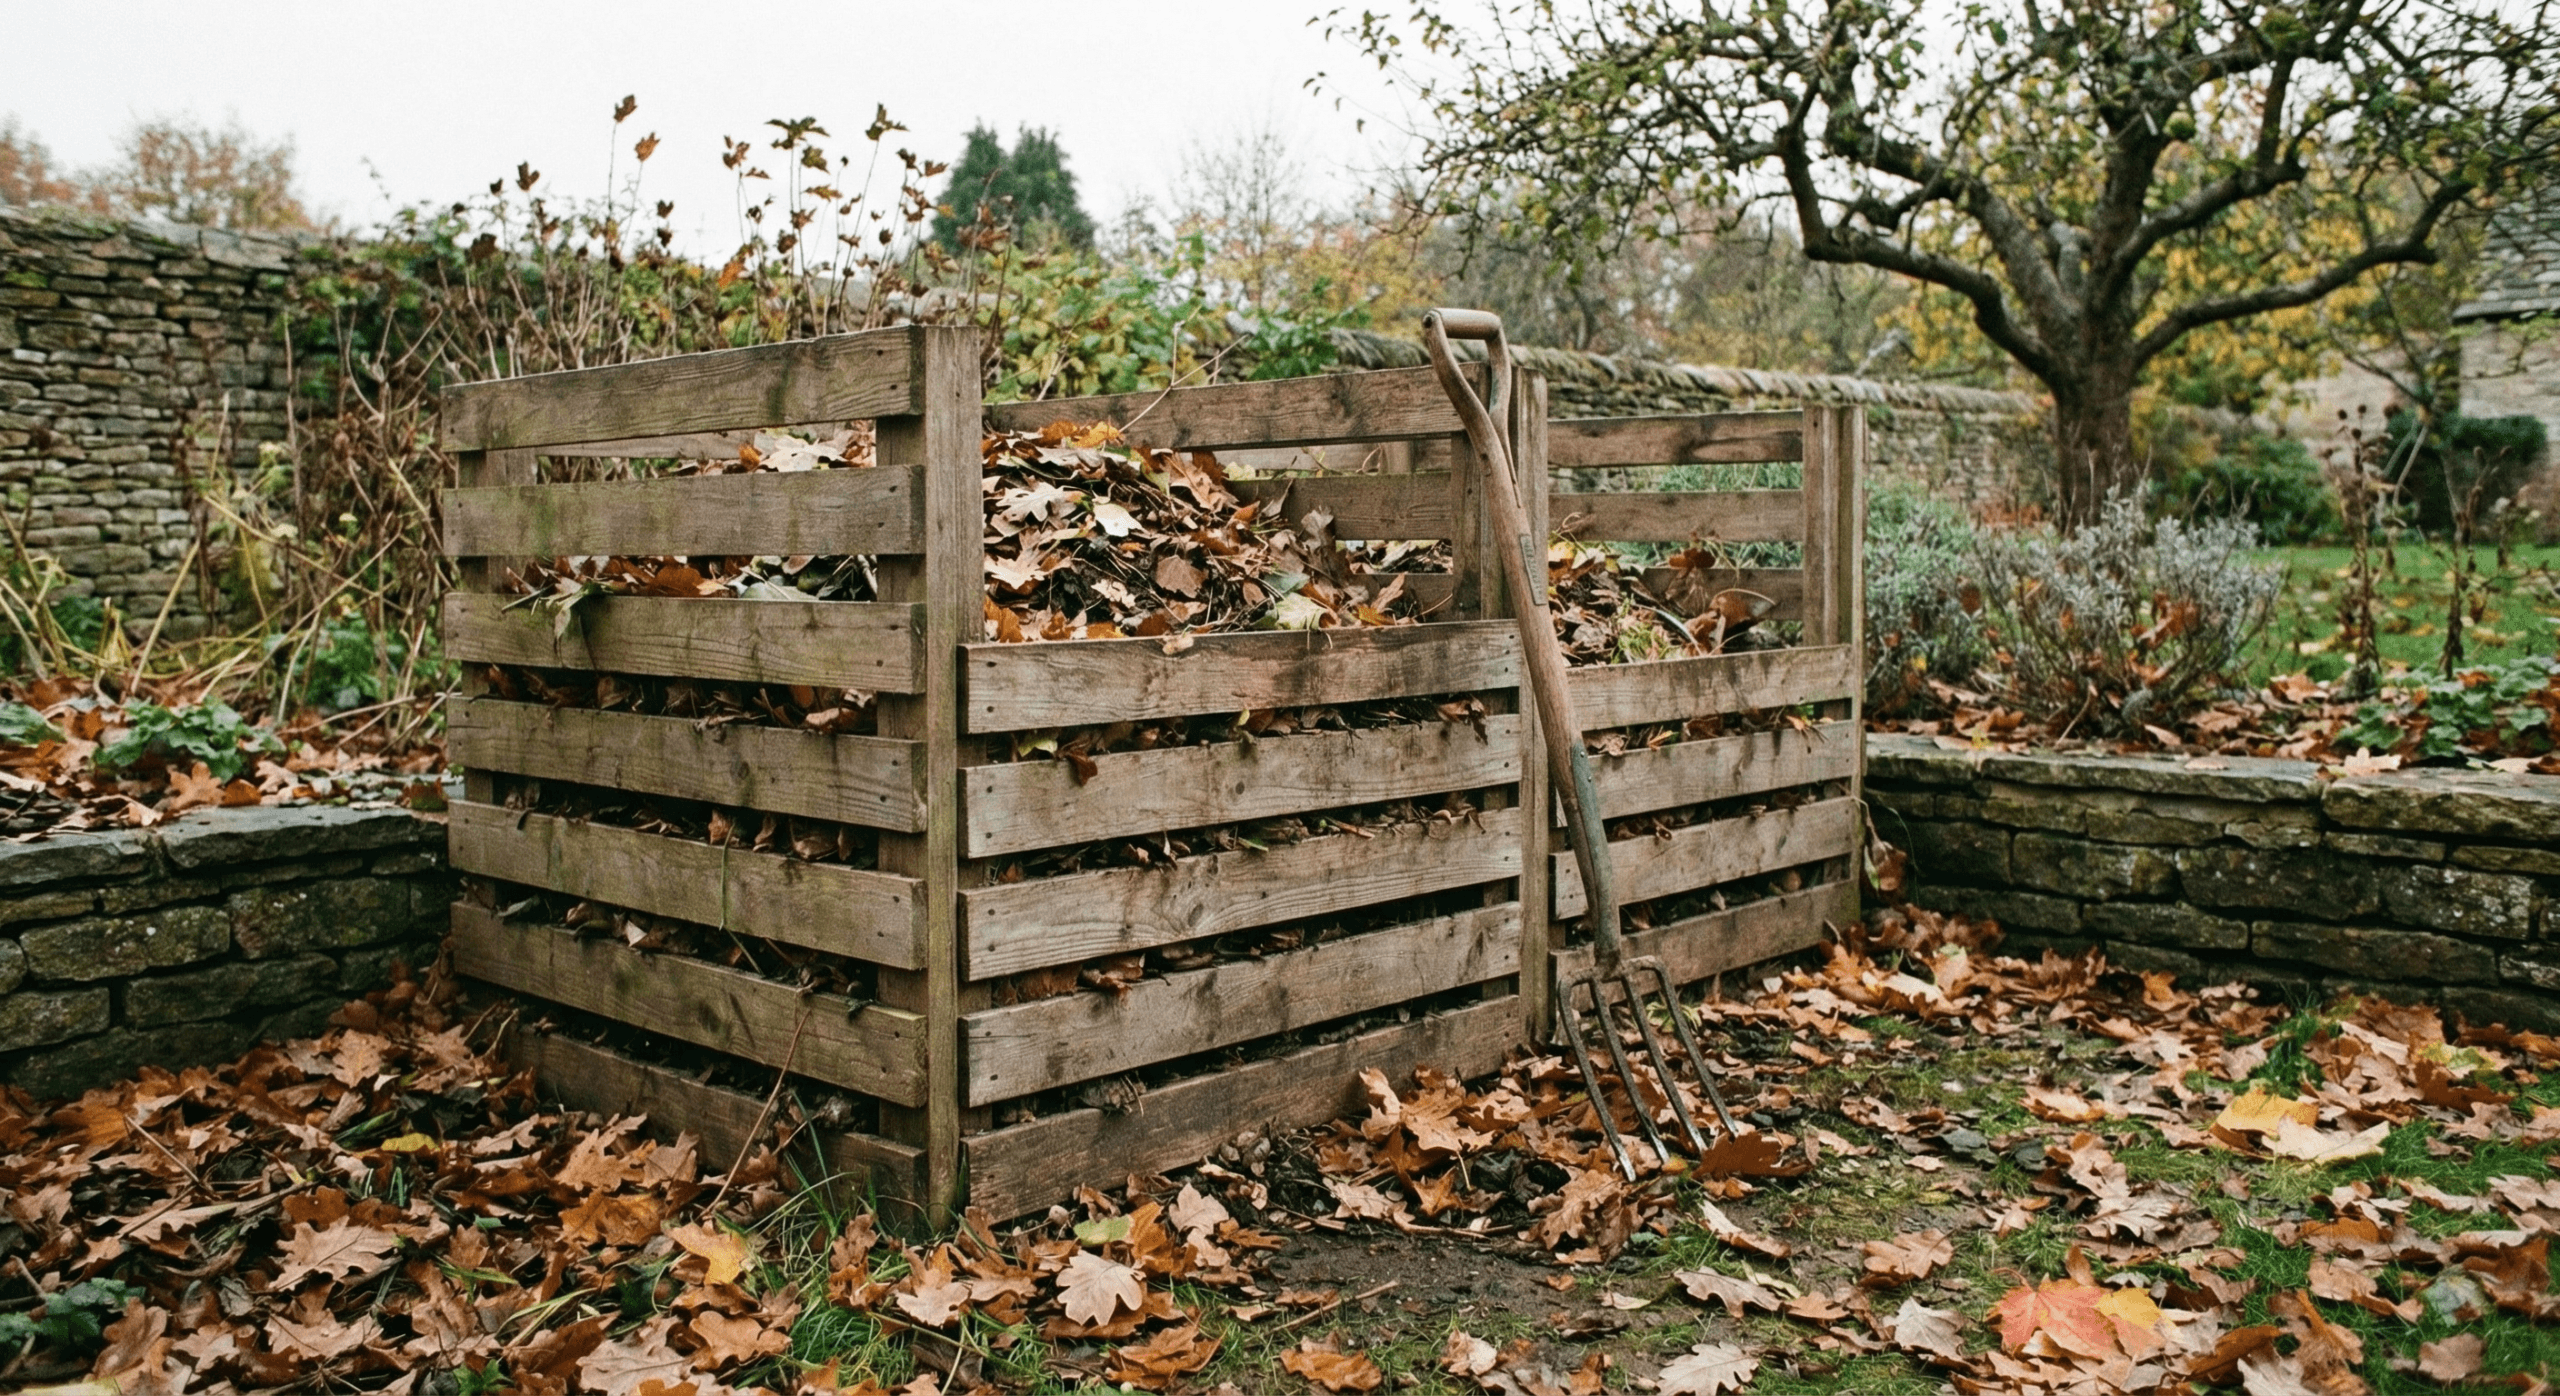
Building a Simple Wooden Compost Bin
A simple three-sided wooden box is one of the easiest and most effective compost bins to make. You need:
- Four wooden posts (75mm x 75mm x 1m) for the corners
- Planks or pallet boards for the sides (three sides only — the front is open to allow access and turning)
- Corrugated iron or thick board for the base
- Galvanised nails or screws
Set the four corner posts into the ground at the corners of your bin area (roughly 1m x 1m is a good working size). Nail or screw the side planks to three sides, leaving gaps of 1-2cm between planks to allow air circulation — this is crucial for aerobic decomposition. Place the base board or corrugated iron on the ground inside. That’s it — the bin is ready to use.
Positioning Your Bin
Place your compost bin directly on bare soil or grass, not on concrete or membrane. This allows worms and other beneficial organisms to enter the heap from below, and excess moisture to drain away naturally. Choose a sunny or partially shaded spot — a bit of warmth helps decomposition, but the heap shouldn’t dry out completely.
Ideally, position it conveniently close to the kitchen so you’re more likely to use it regularly. But don’t place it so close that smells become an issue, or where it will block access to other areas of the garden.
Building and Maintaining the Heap
Start with a layer of coarse brown material (twigs, woody prunings) at the base — this aids drainage and aeration. Then add alternating layers of green and brown materials as you collect them, ideally adding a sprinkle of garden soil or finished compost between layers to introduce beneficial microorganisms.
Keep the heap moist — like a wrung-out sponge. In summer, it may need watering every week or two. In winter, decomposition slows but doesn’t stop entirely; cover the top with a tarpaulin or board to keep excessive rain from waterlogging the contents.
Turn the heap every 2-4 weeks with a garden fork, moving material from the outside to the centre where it’s hottest. This speeds decomposition dramatically and ensures even breakdown.
When Is Compost Ready?
Compost is ready when it’s dark, crumbly, and earthy-smelling — nothing like the original materials. This typically takes 3-12 months depending on the method, materials, and how actively you manage the heap. The more you turn it, the faster it breaks down.
Unfinished compost (still with visible bits of material) can be screened through a riddle or large mesh sieve — the fine material that passes through is ready to use; return the coarser bits to the heap.
Use finished compost as a soil improver (dig it in before planting), as a mulch around established plants, or mixed into potting compost for containers. It’s one of the best things you can do for your garden and costs nothing beyond the initial bin.
Troubleshooting Common Problems
Heap smells bad: Too much green material — add browns and turn it. Also check it’s not too wet.
Heap isn’t breaking down: Too much brown material or too dry — add greens, water if needed, and turn more frequently.
Pests (flies, rats): Don’t add cooked food, meat, or dairy. Use a bin with a close-fitting lid if pests are a recurring problem.
Weeds growing in heap: The pile isn’t hot enough. Next time, add more material at once to generate higher temperatures, and avoid composting seeding weeds or persistent perennial roots.
Composting is a long-term project — but once your heap is established and you develop a routine, it requires very little effort. Every kitchen scrap and garden waste becomes a resource rather than a problem. In a well-run garden, very little actually leaves as waste.
Frequently Asked Questions
When is the best time to do this?
The ideal time depends on your climate and the specific plants involved. Generally, early morning or late afternoon are best to avoid the heat of the day.
How often should I check on this?
Check your garden at least once a week during the growing season to catch any issues early and keep on top of tasks.
Can I do this in a container instead?
Many garden tasks can be adapted for containers. Use a good quality potting compost and ensure containers have adequate drainage holes.
What if I don’t have the right tools?
Start with the basics — a trowel, fork, gloves, and watering can will get you a long way. Add tools as you need them.
Related Articles
For more help with your garden, check out these related guides:
- Garden Mulch: Why It Matters and How to Apply It
- How to Build a Simple Compost Bin
- Beginner’s Guide to Sweet Peas
- Best Plants for Pollinators
- Herb Garden Guide
Continue Reading
- 5-Step Essential Garden Tools: What Every UK Gardener Needs
- Complete Guide to Week 12 Spring Garden Jobs: May 17-23
- Complete Guide to Week 11 Spring Garden Jobs: May 10-16
- Complete Guide to Week 10 Spring Garden Jobs: May 3-9
- Complete Guide to Week 9 Spring Garden Jobs: April 26 – May 2
Frequently Asked Questions
When is the best time to do this?
The best time depends on your climate zone and what you are growing, but generally early morning or late afternoon when temperatures are cooler works best for most garden tasks.
How often should I check on my garden?
Regular attention is key — check your garden every few days during the growing season. This helps you catch problems early before they become serious.
Can beginners do this?
Absolutely! Start with a few simple tasks and build up gradually. Most garden jobs are beginner-friendly with the right guidance.
What is the most important thing to remember?
Consistency matters more than perfection. Little and often beats occasional marathon sessions. Even 10-15 minutes of daily attention yields great results.


