

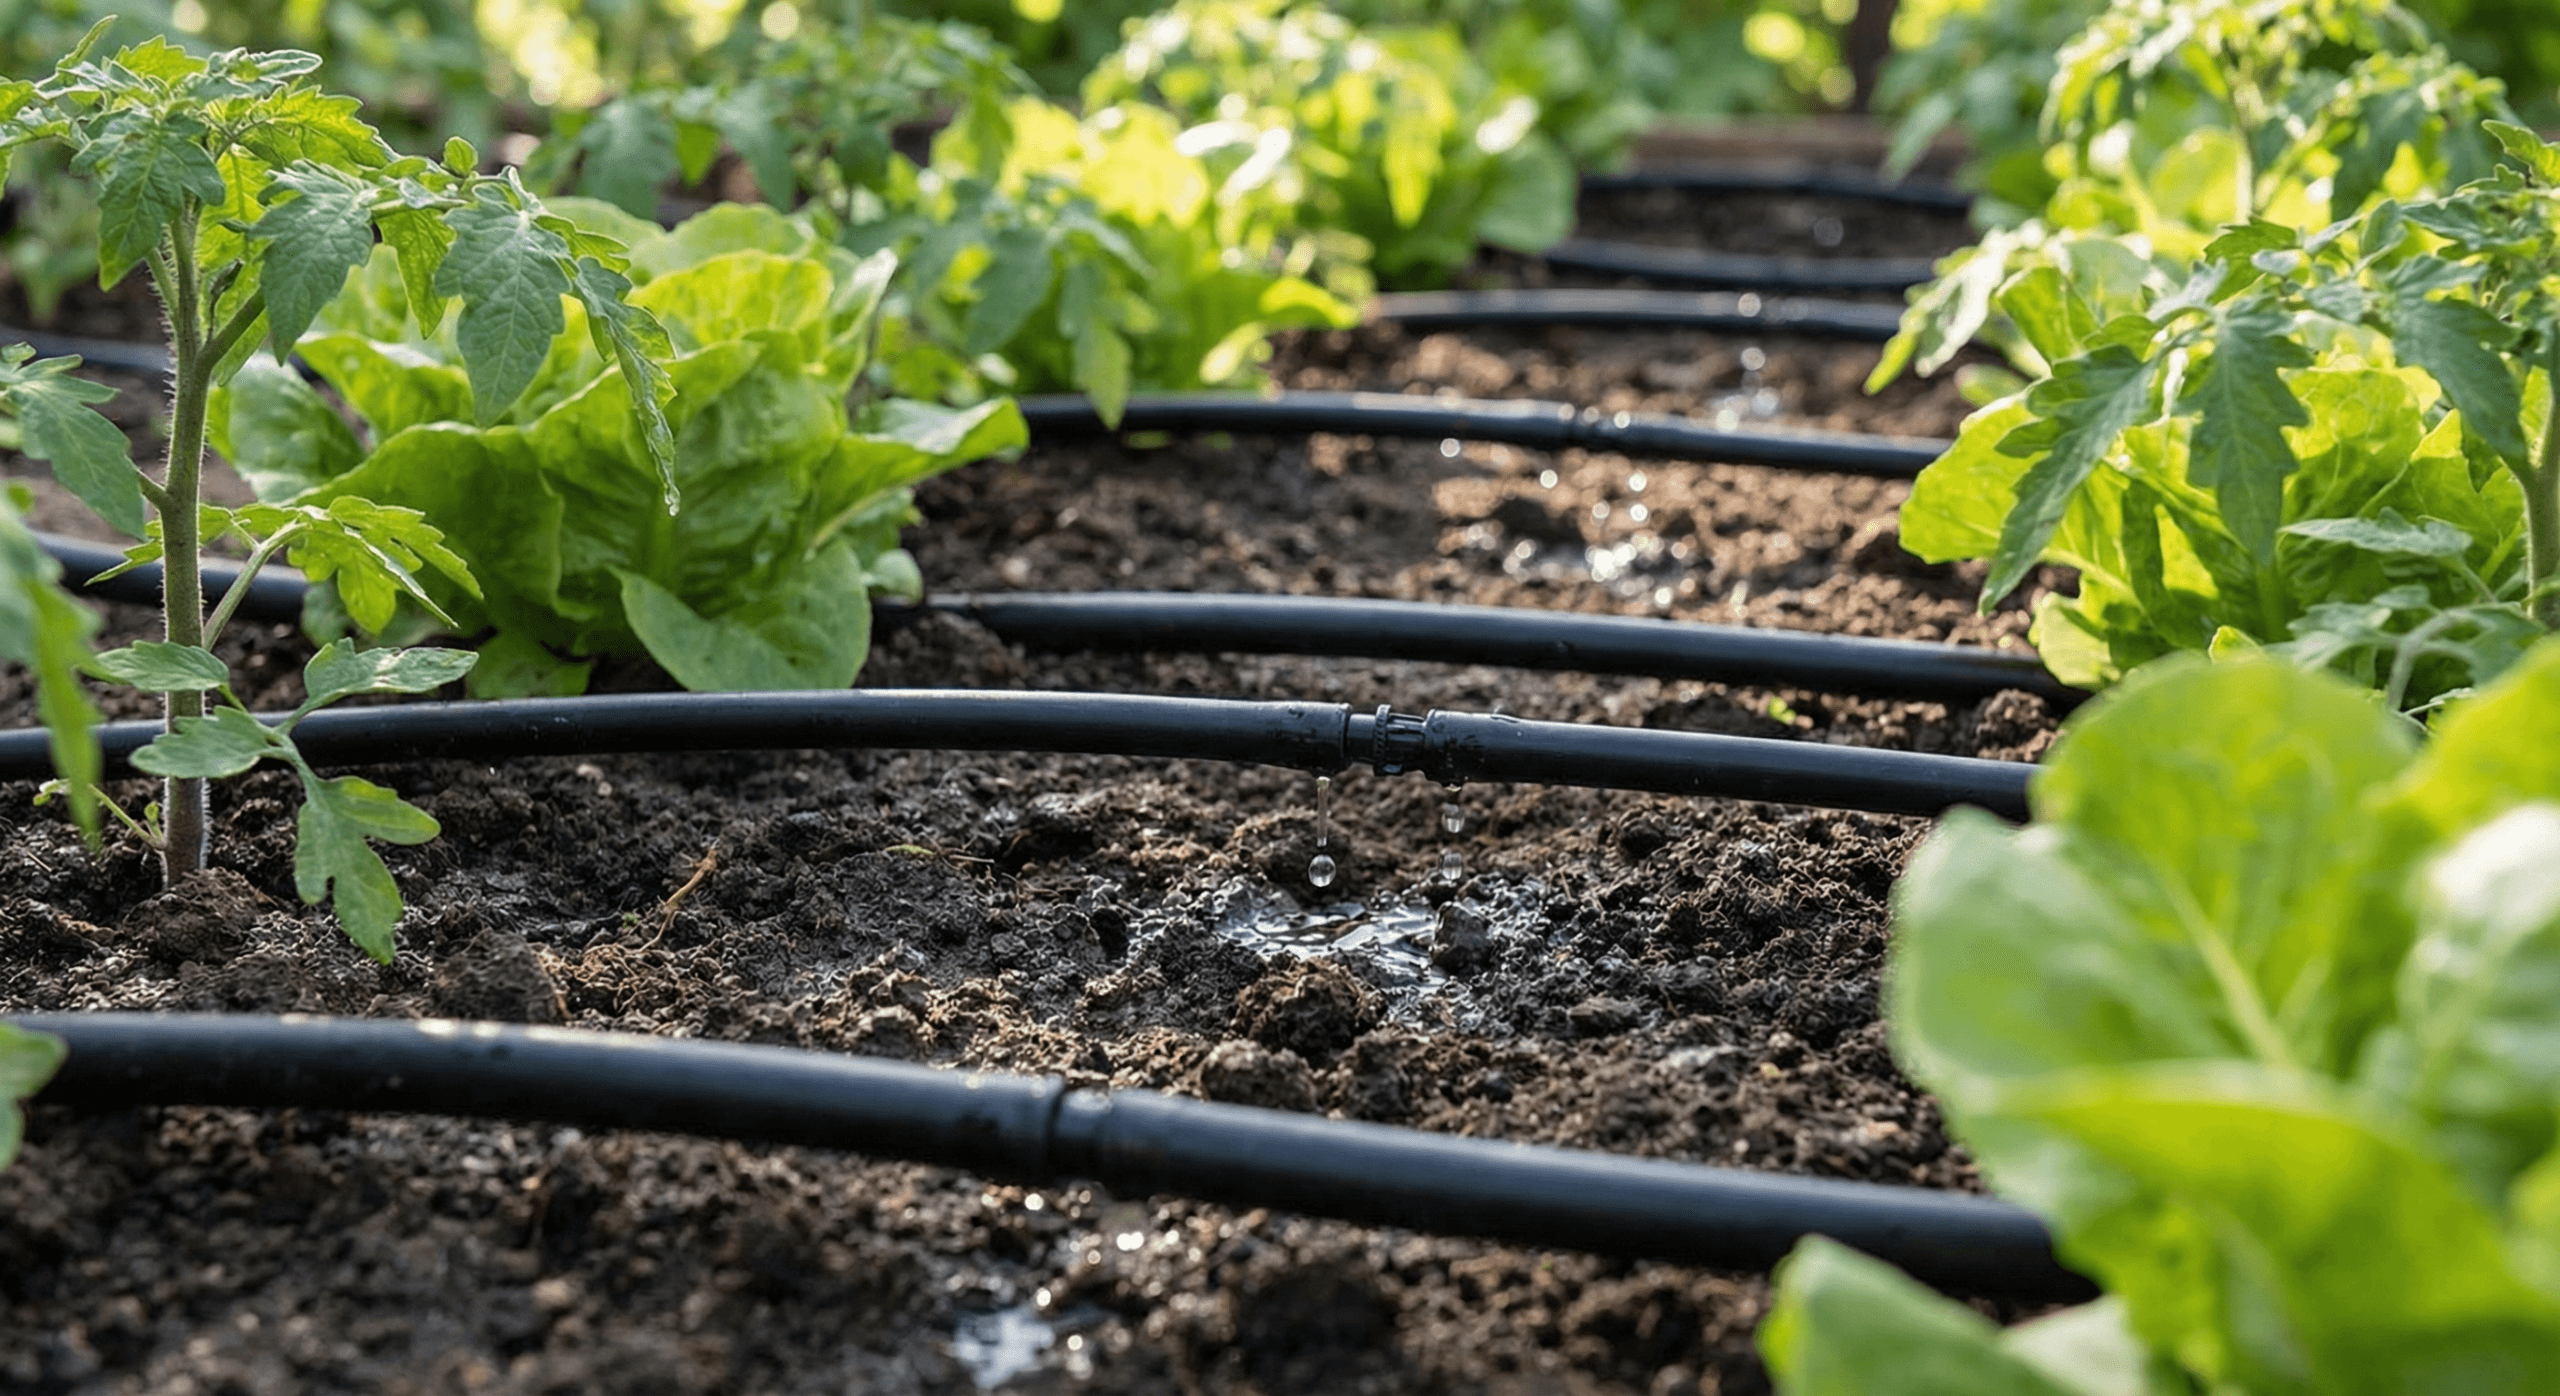
Drip irrigation is one of the most transformative investments any gardener can make. Instead of standing with a hose or watering can, targeting water at the base of each plant while you could be doing something else, a drip system delivers water exactly where it’s needed — at the root zone, slowly and consistently, on a schedule you set. For vegetable gardeners, allotmenteers, or anyone with a busy life, it’s close to essential equipment.
Drip Irrigation Systems:: What You’ll Need
Before you start, gather these essentials:
- Drip irrigation kit — Complete drip irrigation kit for gardens and allotments
- Garden hose — Durable garden hose for connecting to tap
- Timer tap connector — Automatic timer tap connector for drip systems
- Watering can — Backup watering can for manual watering
Why Drip Irrigation Is Worth It
The case for drip irrigation is compelling on several fronts. First, water efficiency: drip systems deliver water directly to the soil around plant roots, with minimal evaporation or runoff. Compared to overhead sprinklers, which can lose 30-40% of water to evaporation, drip irrigation can be 90% efficient or more.
Second, consistency. Plants growing on an inconsistent water supply — alternating between drought and waterlogging — suffer stress that shows in reduced yields, blossom end rot, split roots, and poor fruit quality. A drip system fed by a timer removes this variability, delivering the same reliable amount of water every day.
Third, time. Once installed, a drip system with a timer runs automatically. For a large vegetable garden or allotment, this can save several hours per week during summer, when daily watering would otherwise be necessary.
Fourth, disease reduction. Many fungal diseases (blight, powdery mildew, botrytis) are encouraged by water on foliage. Drip irrigation delivers water underground, at soil level, keeping leaves dry.
Components of a Drip System
A basic drip irrigation system consists of:
- Water source — a garden tap is the most common, connected via a hose to the irrigation system.
- Timer — a mechanical or digital tap timer controls when the system runs. Digital timers offer multiple programs and precise control; mechanical timers are simpler and more reliable.
- Filter — a simple mesh filter removes debris and sediment before water enters the drip lines, preventing drippers from clogging.
- Main supply line — a 13mm or 15mm polyethylene pipe carries water from the tap to the growing area.
- Drip line or dripper tubing — 4mm micro-tubing with built-in drippers (either pre-installed at set spacings, or in-line dripper pipe where you insert individual drippers).
- Stakes and connectors — to secure the drip line and connect sections.
Installing a Basic System
Most drip irrigation kits are straightforward to install with no special tools required. The basic steps:
- Connect the timer to your garden tap.
- Attach the filter to the timer outlet.
- Run the main supply line along the edge of your beds, securing it with ground staples.
- Cut the main line where you want to branch to individual beds or rows.
- Insert tee or elbow connectors as needed to route the line around obstacles.
- Lay the drip line (with integrated drippers) along each row of plants, securing with stakes every 30-50cm.
- Position each dripper at the base of a plant.
- Run the system and check for leaks or drippers that aren’t working.
Setting the Right Schedule
How long and how often to water depends on your soil type, plant type, weather, and the output rate of your drippers. As a starting point, run the system for 20-30 minutes every morning during summer. Check the soil after a few hours — it should be moist to a depth of 15-20cm. Adjust timing and frequency based on what you find.
Clay soils absorb water slowly and hold it longer — water less frequently. Sandy soils drain fast and need shorter but more frequent watering. Vegetable gardens in summer typically need the equivalent of 2-3cm of rain per week, more during heat waves.
The best time to water is early morning — it allows foliage to dry before nightfall (reducing disease risk) and supplies water at the start of the day’s demand.
Maintaining Your System
Drip irrigation systems require minimal maintenance but benefit from a few regular checks:
- Inspect drippers at the start of each season — they can become clogged with algae, sediment, or mineral deposits. Clean or replace blocked drippers.
- Drain and disconnect the system before winter to prevent freeze damage. Store the timer indoors.
- Check connections for leaks throughout the season, especially after moving lines or reconnecting after crops are cleared.
- Flush the main line occasionally by running water through it without the filter, to clear any sediment buildup.
Expanding the System
Once you have a basic system, it’s easy to expand. Additional drip lines, extra branches, and more drippers can be added as your garden grows. Many kits are modular — you simply cut and join pipe with the appropriate connectors.
For container gardeners, drip systems can be adapted with individual drippers feeding each pot. For greenhouses, a drip system is arguably even more valuable — greenhouse plants are sheltered from rain and can dry out extremely quickly in summer heat.
A drip irrigation system is an investment that pays back in water savings, time savings, and improved plant health from the very first season.
Frequently Asked Questions
When is the best time to do this?
The ideal time depends on your climate and the specific plants involved. Generally, early morning or late afternoon are best to avoid the heat of the day.
How often should I check on this?
Check your garden at least once a week during the growing season to catch any issues early and keep on top of tasks.
Can I do this in a container instead?
Many garden tasks can be adapted for containers. Use a good quality potting compost and ensure containers have adequate drainage holes.
What if I don’t have the right tools?
Start with the basics — a trowel, fork, gloves, and watering can will get you a long way. Add tools as you need them.
Related Articles
For more help with your garden, check out these related guides:
- Drip Irrigation Systems: Save Time and Water
- Drip Irrigation Systems: Save Time and Water
- Beginner’s Guide to Sweet Peas
- Best Plants for Pollinators
- Herb Garden Guide
Continue Reading
- 5-Step Essential Garden Tools: What Every UK Gardener Needs
- Complete Guide to Week 12 Spring Garden Jobs: May 17-23
- Complete Guide to Week 11 Spring Garden Jobs: May 10-16
- Complete Guide to Week 10 Spring Garden Jobs: May 3-9
- Complete Guide to Week 9 Spring Garden Jobs: April 26 – May 2
Frequently Asked Questions
When is the best time to do this?
The best time depends on your climate zone and what you are growing, but generally early morning or late afternoon when temperatures are cooler works best for most garden tasks.
How often should I check on my garden?
Regular attention is key — check your garden every few days during the growing season. This helps you catch problems early before they become serious.
Can beginners do this?
Absolutely! Start with a few simple tasks and build up gradually. Most garden jobs are beginner-friendly with the right guidance.
What is the most important thing to remember?
Consistency matters more than perfection. Little and often beats occasional marathon sessions. Even 10-15 minutes of daily attention yields great results.


