The best compost bin is one that suits your garden, the material you produce and the work you are willing to do. A compact plastic bin may be ideal for kitchen peelings and modest garden clearances; a larger garden may need timber bays with space for bulky prunings and autumn leaves.
Start by distinguishing between two purchases that are often confused. A kitchen compost bin usually collects scraps indoors before you carry them outside. A garden compost bin is where suitable kitchen and garden waste breaks down into compost. Buying a handsome countertop container will not replace an outdoor composting system.
This guide focuses on choosing that system, finding a workable position and getting it into use.
Before you buy: assess your space and waste
Look at what your household actually produces. Vegetable peelings, coffee grounds and a few faded flowers create a different workload from regular lawn mowing, hedge cutting and seasonal border clearances.
Consider your busiest periods, not just a quiet week in winter. A bin that comfortably takes kitchen scraps may struggle when the lawn starts growing. Equally, there is little point installing extensive compost bays if you have only a small courtyard and occasional plant trimmings.
Before comparing models, answer these questions:
- What will go in? Mostly uncooked fruit and vegetable scraps, or substantial amounts of garden waste too?
- Where can it stand? Allow for the bin itself, its opening lid and room to work.
- How will you empty it? Check whether compost comes through a hatch, a removable panel or by lifting the whole bin.
- Can you reach it easily? A convenient route from the kitchen matters, especially during wet British winters.
- How much handling can you manage? Turning material with a fork and rotating a loaded tumbler are different physical tasks.
Check council compost-bin offers before buying, but compare the actual design and delivered cost rather than assuming a discounted bin is automatically the right choice.
Which type of garden compost bin suits you?

Enclosed plastic bins
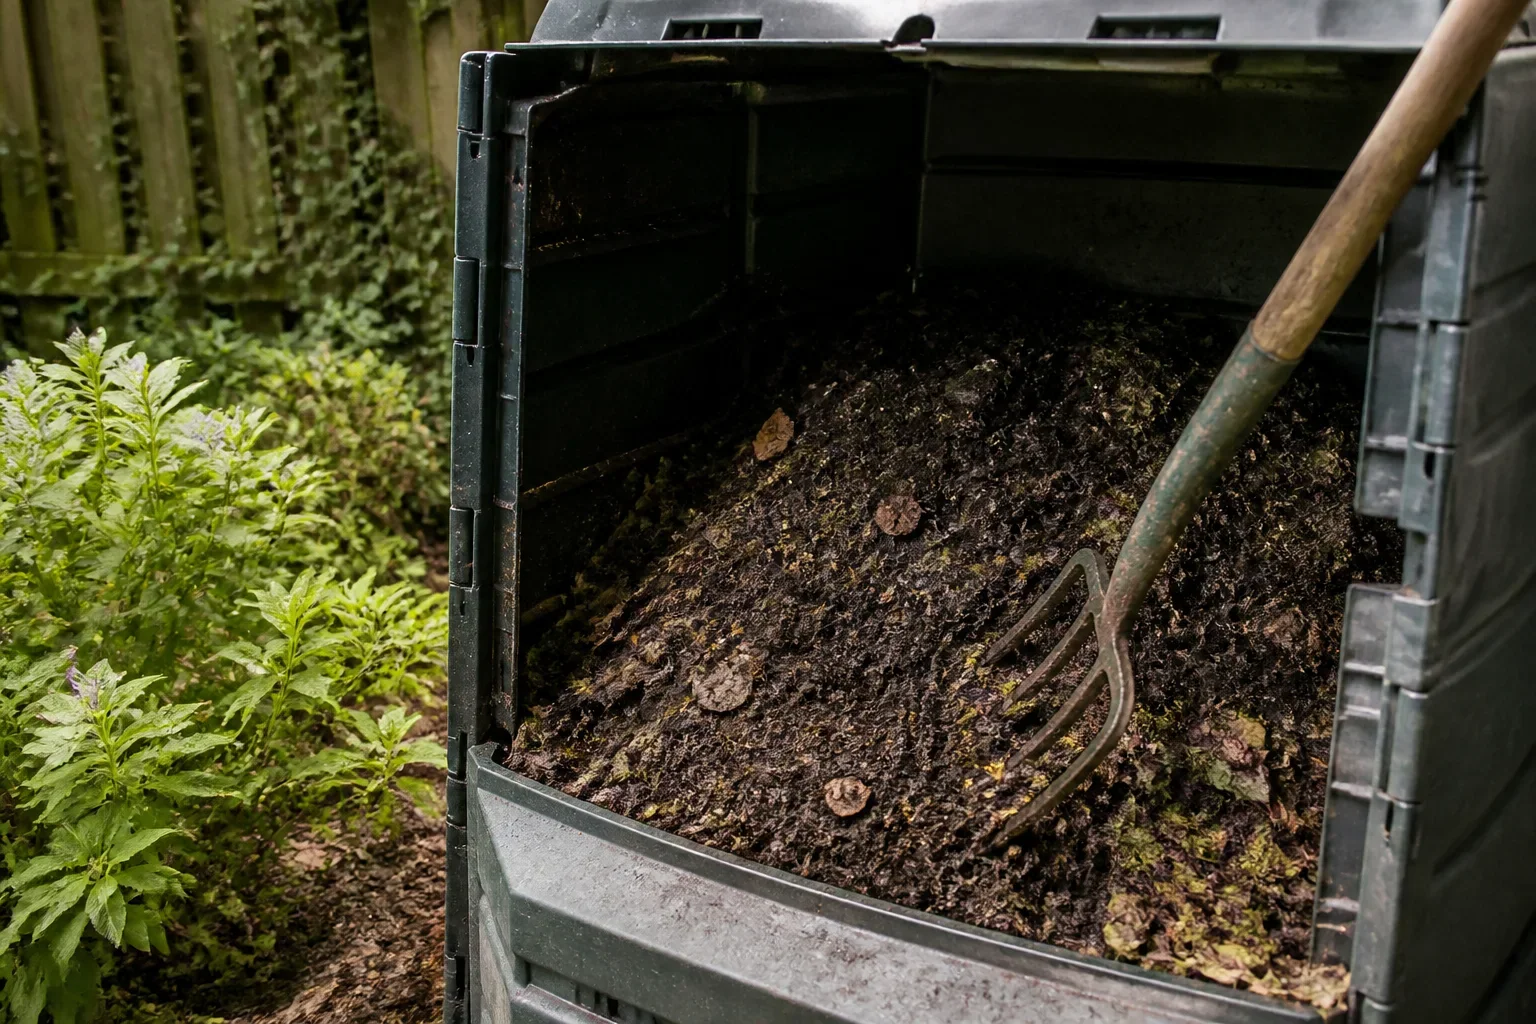
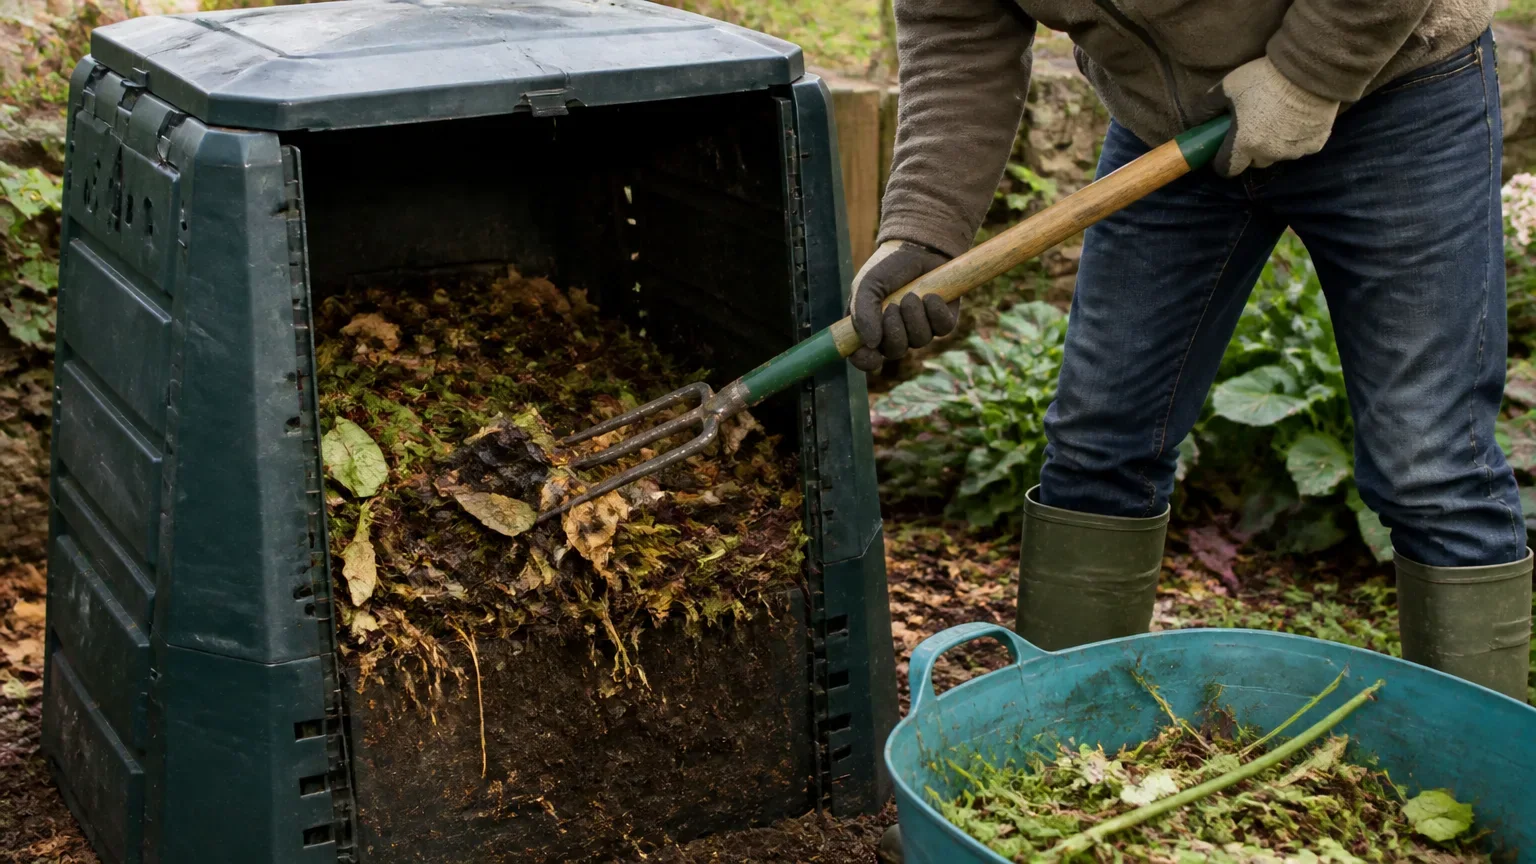
A lidded plastic bin is a practical starting point for many small and medium gardens. It keeps the heap contained and shields it from much of the rain. Many models have an open base and a small lower hatch.
Look beyond capacity. A generous top opening makes loading easier, while a secure lid should still be straightforward to remove. A tiny harvesting hatch can be awkward when compost has compacted behind it; a design that lifts off may be easier to empty completely.
Recycled-plastic models are worth considering, but also check construction, replacement parts and whether you can handle the bin when it needs moving.
Timber compost bays
Timber bays suit gardens producing larger quantities of material. Removable front boards are particularly useful: they let you load, turn and remove compost without repeatedly lifting it over a fixed wall.
If space allows, two bays make management simpler. One can receive fresh material while the other is left to finish breaking down. A third can provide additional storage or turning space, but it is not essential.
Timber will eventually deteriorate. Whether buying or building, prioritise sound construction and replaceable boards. Avoid reclaimed wood of unknown origin where contamination is a concern, and check for protruding nails or sharp fixings.
Compost tumblers
Tumblers hold material in a drum that rotates on a frame or axle. They may suit gardeners who prefer not to turn a heap with a fork, but “easy to turn” is something to assess rather than assume. A loaded drum can be heavy.
A single-chamber tumbler also creates a practical dilemma: adding fresh scraps while an earlier batch is finishing mixes new material into older compost. Twin-chamber designs, or a separate collection system, can help you work in batches.
Check the loading opening, drainage arrangements and how you will get finished material out. Do not choose on speed claims alone; ingredients, moisture and management still matter.
Insulated composters
Insulated bins retain heat more effectively than an ordinary uninsulated container, but they are not simply maintenance-free versions of a standard bin. They may require a particular feeding routine and additions of dry, woody material.
Choose one only if its operating instructions match the waste you have and the attention you can give it. Some systems accept foods excluded from an ordinary garden heap, but this is product-specific. Never assume that all enclosed or insulated bins can take cooked food, meat or dairy.
Choosing a kitchen compost container
For most households, the indoor container needs to collect scraps cleanly and be easy to empty. It does not need to make compost.
A useful kitchen caddy has:
- A lid that fits properly.
- A handle comfortable enough for carrying outdoors.
- An opening wide enough to scrape peelings into.
- Smooth surfaces that are easy to wash.
- A size that encourages frequent emptying rather than prolonged storage.
A filter may help with odours, but it does not replace regular emptying and cleaning.
Liners need particular care. A bag described as compostable is not necessarily suitable for a home compost bin; some require industrial composting conditions. If using liners, look for a clear home-composting specification. For council food-waste collections, follow your council’s instructions instead, as accepted liners vary.
If you have no garden, a kitchen caddy still works as part of a council food-waste collection. It should not be mistaken for a complete indoor composting system.
Set up your chosen bin: practical steps
1. Choose a workable position
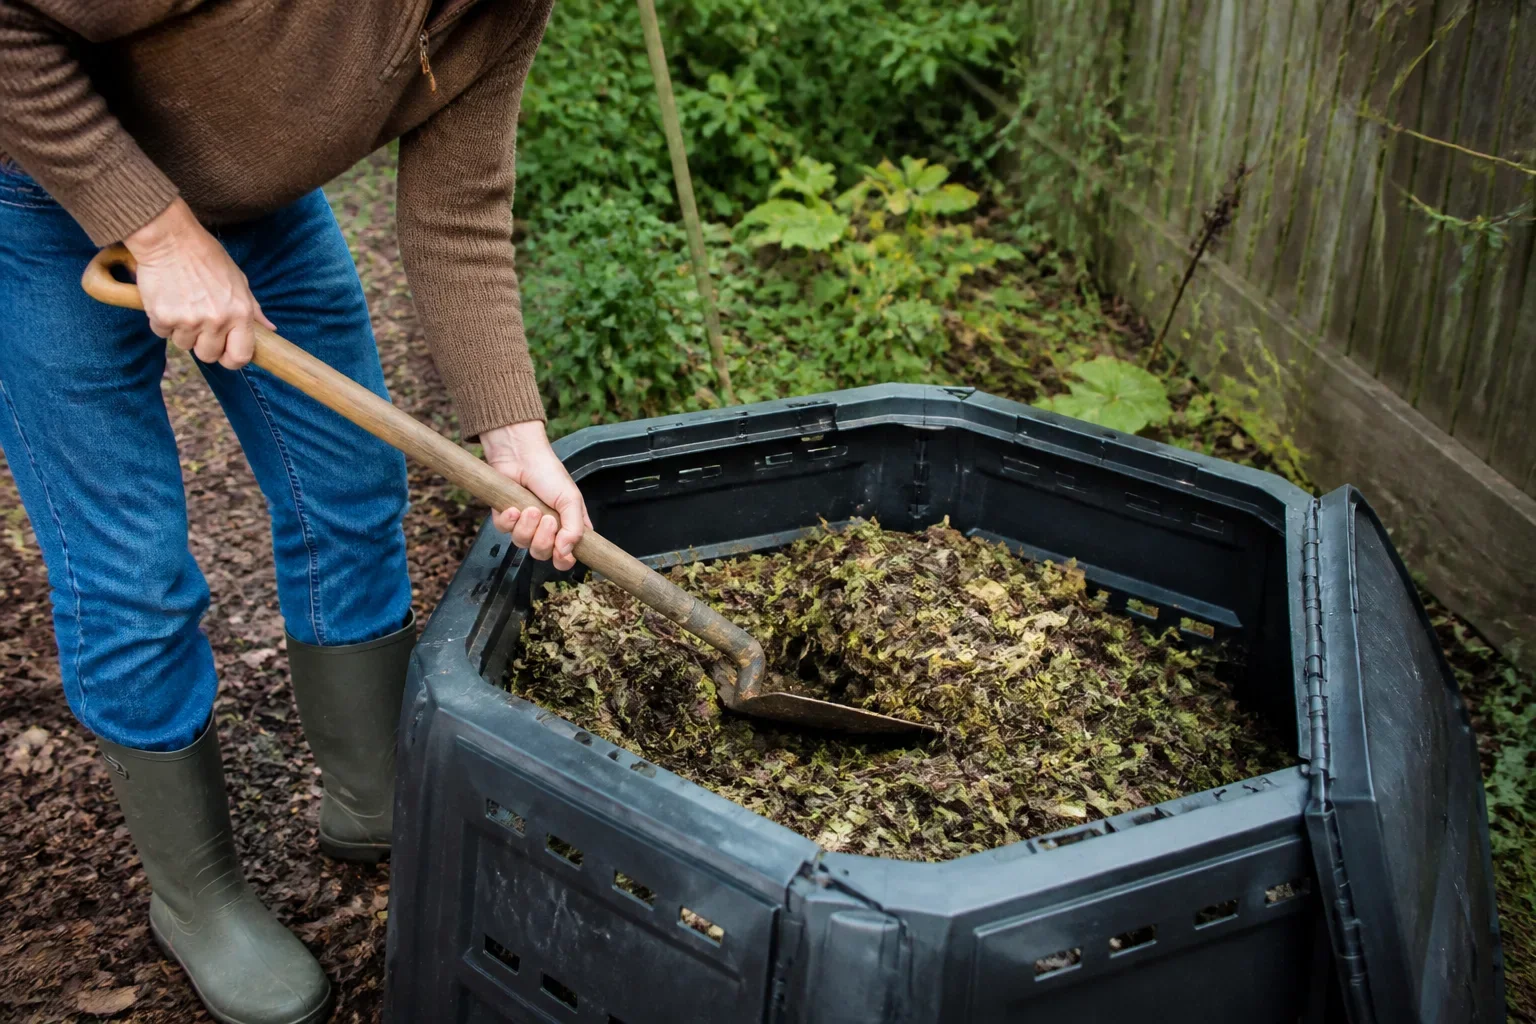
An accessible, level site is more useful than a hidden corner that becomes difficult to reach. Leave room to open the lid, remove panels and stand beside the bin with a fork or bucket.
For an open-bottomed bin, bare soil is a straightforward choice. Where paving is the only option, check whether the design is suitable and plan for drainage: liquid escaping onto a frequently used surface can become a nuisance.
Avoid siting an ordinary bin where it will become excessively dry or waterlogged. Some shade can help moderate conditions, but do not sacrifice access in pursuit of a supposedly perfect spot.
2. Prepare access and fit the bin securely
Clear obstructing weeds and debris, then assemble the container according to its instructions. Check that it sits steadily and that doors, panels and lids work before filling it.
If rodents are a concern, consider a compatible rodent-resistant base or securely fitted metal mesh. A lid alone does not make an open-bottomed bin rodent-proof.
Keep a supply of dry material nearby, under cover if necessary. Torn plain cardboard, dry leaves and suitable shredded woody material are useful companions to moist kitchen scraps.
3. Start with a mixture, not a single ingredient
An ordinary garden compost bin needs a varied mixture of moist, nitrogen-rich material and drier, carbon-rich material.
Suitable additions include uncooked fruit and vegetable scraps, soft garden trimmings and modest amounts of grass clippings, mixed with torn cardboard, dry leaves or small woody pieces.
Avoid tipping in thick layers of grass or repeated buckets of wet scraps without drier material. Break up bulky stems where practical and mix additions rather than leaving dense, separate layers.
For a conventional garden bin, leave out meat, fish, dairy products, cooked meals and pet faeces. Keep plastic, glass and metal out too. Weed seeds and persistent roots may survive in a cool home heap, so dispose of troublesome material separately rather than relying on it being killed.
4. Keep loading and finishing separate where possible
You can begin composting at any time of year, but decomposition generally slows in cold weather. A new bin started in winter may show little obvious activity at first.
If possible, stop adding fresh material to a batch and let it finish while another bin receives new waste. With only one container, expect some sorting when you empty it: return recognisable, unfinished material for further composting.
Common mistakes and genuine problems
The bin smells unpleasant.
This often accompanies wet, compacted material with too little air. Mix in dry material and loosen the contents. Check whether rain is getting in or drainage is obstructed.
Very little seems to happen.
Cold weather, dryness, woody ingredients and a small volume can all slow progress. Check conditions before buying a different bin. Moisten dry material gradually and mix it; do not flood it.
Flies gather around kitchen scraps.
Empty and wash the kitchen caddy frequently. In the garden bin, mix scraps into the contents and cover them with existing material or a dry addition.
Rodents appear.
Stop adding unsuitable food, remove accessible food sources nearby and inspect the base, lid and gaps. Even a well-managed heap can provide shelter, so persistent activity needs attention rather than a promise that composting technique alone will solve it.
The bin is always full.
Check whether bulky woody waste needs reducing or handling separately. Autumn leaves can be collected for leafmould, freeing the main bin for mixed material. Large seasonal surpluses may be better suited to the council’s green-waste service than forced into an undersized container.
Follow-up through the UK seasons
In spring and summer, watch for heavy additions of lawn clippings and for contents drying out. Mix grass with drier material rather than letting it form a dense mat.
Autumn brings useful dry ingredients, but not every fallen leaf needs to enter the compost bin. Store some separately for later mixing or leafmould.
During winter, keep the lid secure, maintain a safe route to the bin and expect slower decomposition. Avoid buying a replacement simply because a cold-weather heap appears inactive.
When harvesting, look for dark, crumbly material with an earthy smell and few recognisable original ingredients. Return unfinished pieces to the bin. Home-made garden compost is useful as a soil improver or mulch; it is not automatically a substitute for seed-sowing compost.
Above all, choose for daily use rather than appearance or promised speed. A bin you can reach, fill, manage and empty comfortably is the one most likely to become a lasting part of your gardening routine.