
How to take hardwood cuttings
Take hardwood cuttings from suitable dormant shrubs and climbers with this step-by-step guide to timing, preparation, rooting and aftercare.
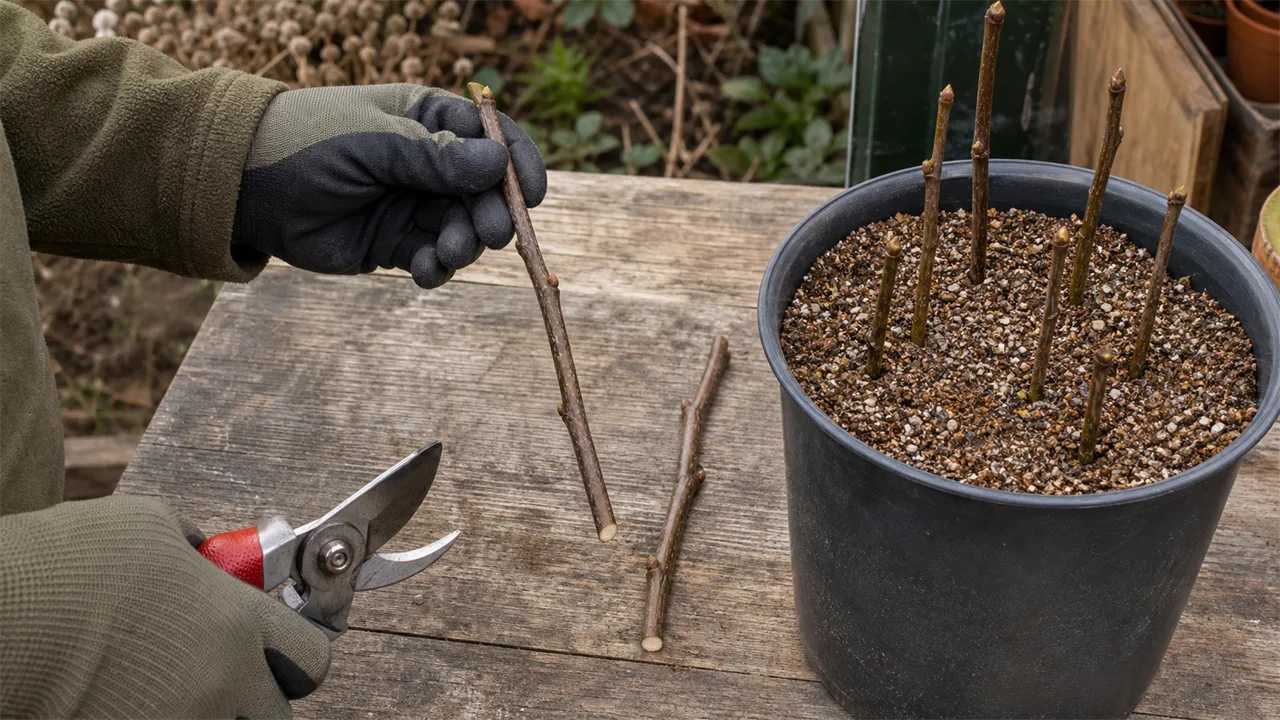
Hardwood cuttings are one of the simplest ways to make new plants from established woody plants. The method uses dormant, ripened shoots rather than soft spring growth, so it needs little specialist equipment. It does require patience: the cuttings may form a callus over winter, develop roots in spring and remain in their nursery position until the following autumn.
This guide explains the general method for UK gardens. It suits many deciduous climbers, shrubs and trees, including some fruit, as well as certain evergreens such as hollies. Willows, dogwoods, currants and gooseberries are often suggested as willing subjects. However, not every woody plant roots readily this way. Check the propagation advice for the particular species or cultivar before taking material, especially if the plant is tender, evergreen or a Prunus.
Overview
A hardwood cutting is a section of healthy current-year growth that has matured and become woody while remaining pliable. Taken while the parent plant is dormant, it contains buds that can produce new shoots when growth resumes. Roots develop below the surface as the cutting establishes.
Success begins with suitable material. Choose vigorous, undamaged shoots with no obvious disease or dieback. Pencil-thick, leafless stems are a useful practical target. Avoid weak growth and remove the soft tip, which is less mature than the wood below it.
You can root a small batch in deep containers filled with a gritty compost mix, or place a larger batch in a sheltered outdoor trench. Both methods depend on good drainage, correct orientation and protection from drying out. Rooting times vary, so new shoots alone should not be treated as proof that a strong root system has formed.
What You'll Need
- Clean, sharp secateurs
- Gloves if they help you handle the plant safely
- Plant labels and a pencil or weatherproof marker
- Deep pots for a small batch, or a spade for preparing an outdoor trench
- Multipurpose compost and coarse grit or perlite for containers
- Sand and organic matter if needed for the trench method
- A watering can
- Rooting compound, if available and appropriate, although it is not essential
Clean tools help you make neat cuts and reduce the chance of transferring problems between plants. Keep secateurs away from children, cut away from your body and keep your other hand clear of the blades. Label the parent plant or prepare the labels before you start, particularly when taking several kinds of cutting.
For containers, use a deep pot and a free-draining mixture of roughly equal parts multipurpose compost and coarse grit. Perlite can be used to open up the mixture. For an outdoor row, choose a sheltered, well-drained site. Improve the soil with organic matter where needed and place a layer of sand at the base of the trench to aid drainage.
When to Do It
In the UK, take hardwood cuttings between mid-autumn and late winter, after the leaves have fallen and before the buds open. The best opportunities are often just after leaf fall or shortly before spring bud burst. December to March is a useful practical window, but local weather and the condition of the plant matter more than a calendar date.
Choose a dry, frost-free day. Do not cut when the ground or stems are severely frozen. If outdoor conditions are unsuitable for slow-rooting subjects such as Cornus or Laburnum, their cuttings may need temporary storage in moist sand until spring; follow plant-specific advice rather than applying that treatment to everything.
Take extra care over subjects that are not normally suited to winter pruning. Some tender plants, evergreens and Prunus species are better left until spring. Winter wounds on Prunus can increase vulnerability to silver leaf, so do not use it as a routine hardwood-cutting subject without checking current species-specific guidance.
Step-by-Step
- Identify and label the parent plant. Confirm that hardwood cuttings are a suitable propagation method for it. Prepare the destination label before shoots from different plants can become mixed up.
- Select healthy shoots. Look for vigorous current-year growth that is woody but still pliable and approximately pencil thickness. Choose leafless material without visible disease, dieback or physical damage.
- Remove the shoot safely. With clean, sharp secateurs, cut away suitable lengths from the parent. Keep your free hand away from the blades and make each cut away from your body. Remove and discard the soft, insufficiently ripened tip.
- Divide the shoot into cuttings. Prepare sections about 15–30 cm long. Make a sloping cut just above a bud at the top; the slope helps shed water and makes the top easy to recognise. Make a straight cut just below a bud, or pair of buds, at the base. Keep every section the right way up.
- Prepare the rooting place. For a few cuttings, fill deep pots with the gritty compost mixture and settle it without compacting it heavily. For an outdoor row, dig a sheltered, free-draining trench, add organic matter if the soil needs improvement and put sand along the bottom. Label the pot or row before inserting the cuttings.
- Insert each cutting. Place the straight basal end into the medium. Bury roughly two-thirds of the cutting, leaving one or a few buds above the surface for spring growth. In an outdoor row, allow about 10–15 cm between cuttings; if using several trenches, leave about 40 cm between rows.
- Firm and water. Gently firm the compost or soil around each cutting so there are no loose gaps around the stem. Water it in, allowing surplus water to drain. The aim is an evenly moist rooting environment, not saturated ground.
- Move containers into shelter. Put potted cuttings in a sheltered cold frame or unheated greenhouse. Keep outdoor rows protected from harsh exposure. After frost, inspect trench-grown cuttings and refirm the soil if freezing and thawing have loosened them.
- Wait before moving them. Leave the cuttings in place through their first growing season. They may callus during winter and root in spring, but the pace varies with the plant and conditions. Assess rooting before potting on or planting out, normally in the following autumn.
Aftercare
Check the cuttings regularly enough to prevent the medium from drying out, particularly during warm or dry spells in spring and summer. Water when needed, but do not leave pots or trenches waterlogged. Good drainage remains important even while the stems are dormant.
Keep labels legible and in place. Watch for obvious stem decay, damage and disturbance, and refirm any cutting that has been lifted by frost. Container-grown cuttings should remain sheltered in their cold frame or unheated greenhouse; trench-grown material should stay in its nursery row.
Buds may open and shoots may appear before a substantial root system has developed. Avoid repeatedly pulling cuttings up to check them. Leave them undisturbed through the growing season and judge each cutting individually in the following autumn. Pot on or plant out only once it has rooted. A cutting that is not ready should not be forced into its final position simply because a date has arrived.
There is no reliable universal success percentage or promise that roots will form within a few weeks. Results depend on the plant, material and growing conditions. Taking several suitable cuttings can provide a sensible margin without changing the care each one needs.
Common Mistakes
Using the wrong plant or growth. Hardwood cutting is not a universal technique. Check the subject first, then use healthy current-year wood rather than old, weak, diseased or still-soft growth.
Losing track of the top and bottom. An upside-down cutting will not follow the intended method. Use a sloping top cut above a bud and a straight basal cut below a bud, and keep the sections orientated while working.
Letting labels become an afterthought. Dormant stems can look remarkably similar. Label the parent, pot or row before material from several plants is placed together.
Planting too shallowly or burying every bud. Insert about two-thirds of the stem while leaving buds visible above the surface. Firm the medium around the buried section so the cutting remains stable.
Using a wet, airless medium. Hardwood cuttings need moisture, but waterlogging encourages trouble. Use a gritty, free-draining container mix or a well-drained trench, and water according to conditions.
Allowing cuttings to dry out. Winter rain does not remove the need for checks. Sheltered pots and outdoor rows can dry during the first spring and summer, so maintain steady moisture without saturation.
Expecting instant results. Callusing may occur over winter and rooting may begin in spring, but establishment is normally assessed by the following autumn. Do not promise a deadline, assume that new leaves prove strong roots, or move the cutting prematurely.
Applying one schedule to every woody plant. Tender plants, certain evergreens and Prunus may need different timing. Plant-specific guidance takes priority over this general method, particularly where disease risk or slow rooting is a concern.
With sound dormant material, clear labels, correct cuts and patient aftercare, hardwood cuttings offer a practical, low-cost way to propagate many suitable garden plants.
Sources: Royal Horticultural Society hardwood cuttings advice, RHS school gardening guide, and RHS December trees and shrubs advice, accessed 26 July 2026.
Plants in this guide


Recommended Products
GardenWizz earns a commission from qualifying purchases made through affiliate links on this page (including links within the article) — as an Amazon Associate, and from Thompson & Morgan via the Awin network. This does not affect the price you pay. See our disclaimer for details.
Related Articles
More →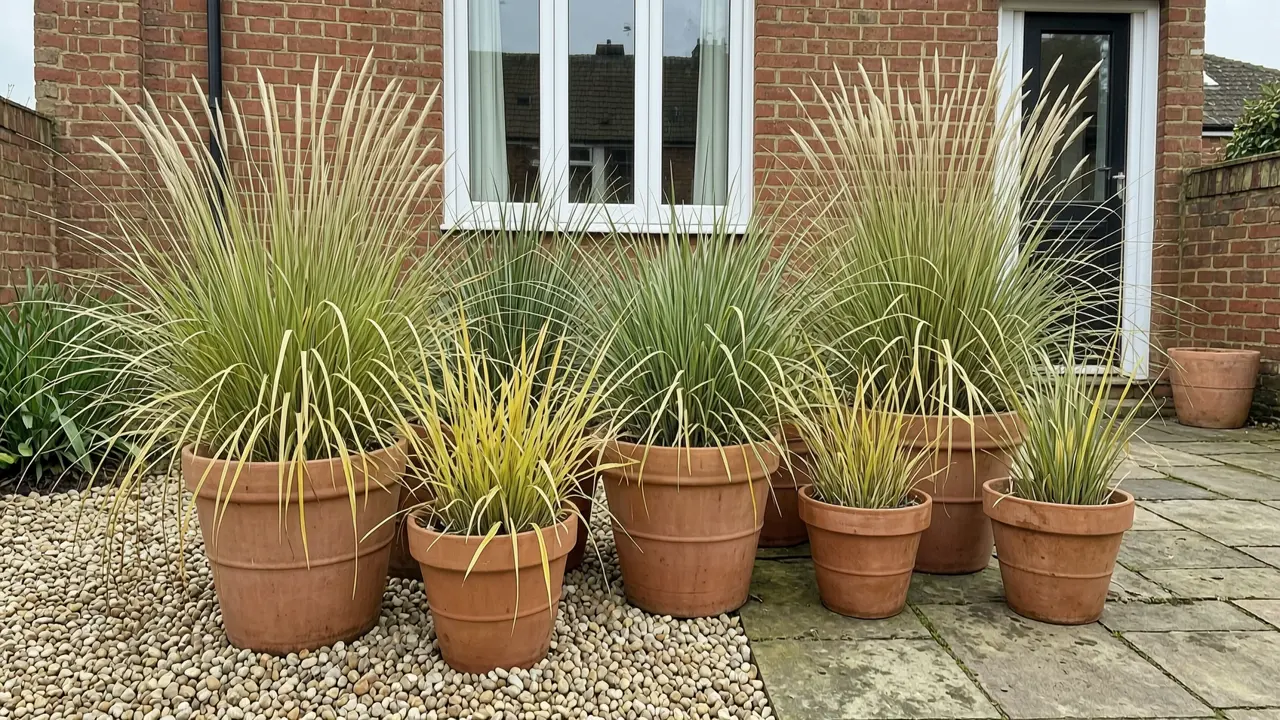 Growing Guide
How to grow ornamental grasses in pots
5 August 2026Grow ornamental grasses successfully in containers with advice on pot size, compost, watering, feeding, winter care and long-term maintenance.
 Growing Guide
How to plan a perennial border
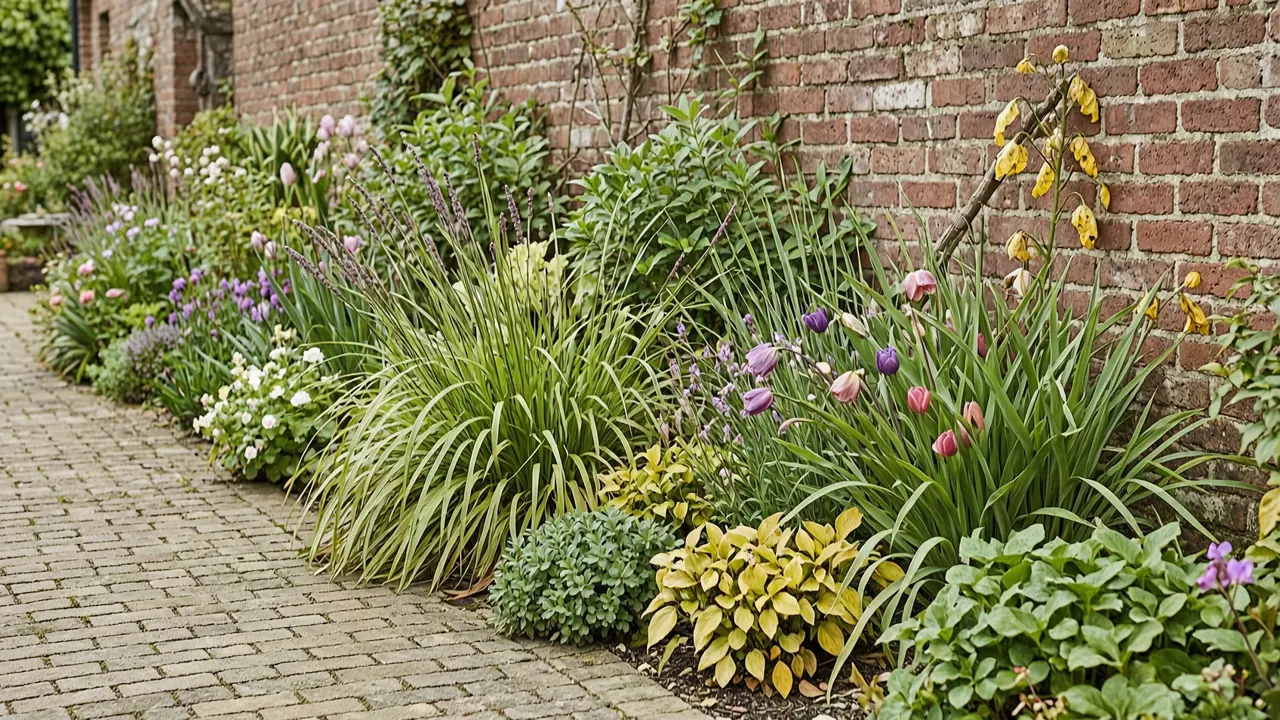
5 August 2026Plan a balanced perennial border with practical guidance on position, colour, height, spacing, flowering succession and year-round structure.
 Growing Guide
How to Sow Sweet Peas for Strong, Early Flowers
28 July 2026This route protects the roots from unnecessary disturbance and gives the developing shoots something to climb before they begin to flop.