
At a glance
- Start: Sow indoors in spring so the crop has a long growing season.
- Germination: Expect slow, erratic germination; seed can take up to about three weeks at around 15°C.
- Planting: Set plants out once the weather has warmed, keeping the crown at or just above soil level.
- Spacing: About 25–30cm apart, in rows roughly 30–45cm apart.
- Water: Keep the soil consistently moist as the swollen stem base develops.
- Harvest: Lift from October onwards, or leave sound plants in the ground and lift as needed through winter.
What celeriac is, and why the season is long
Celeriac is grown for its swollen stem base, not a root. The edible part is in fact a swollen stem with a mild celery flavour. That matters when you come to prepare it, and it matters when you plan the year: the crop needs a long season to reach a useful size, so an early indoor start is not fussiness but a practical requirement.
Because the plants sit in the ground for so long, the two things most likely to decide your result are moisture and temperature. Celeriac wants soil that stays damp without becoming waterlogged, and it dislikes cold early on. Get those roughly right and the swollen bases usually follow.
Choosing a celeriac variety
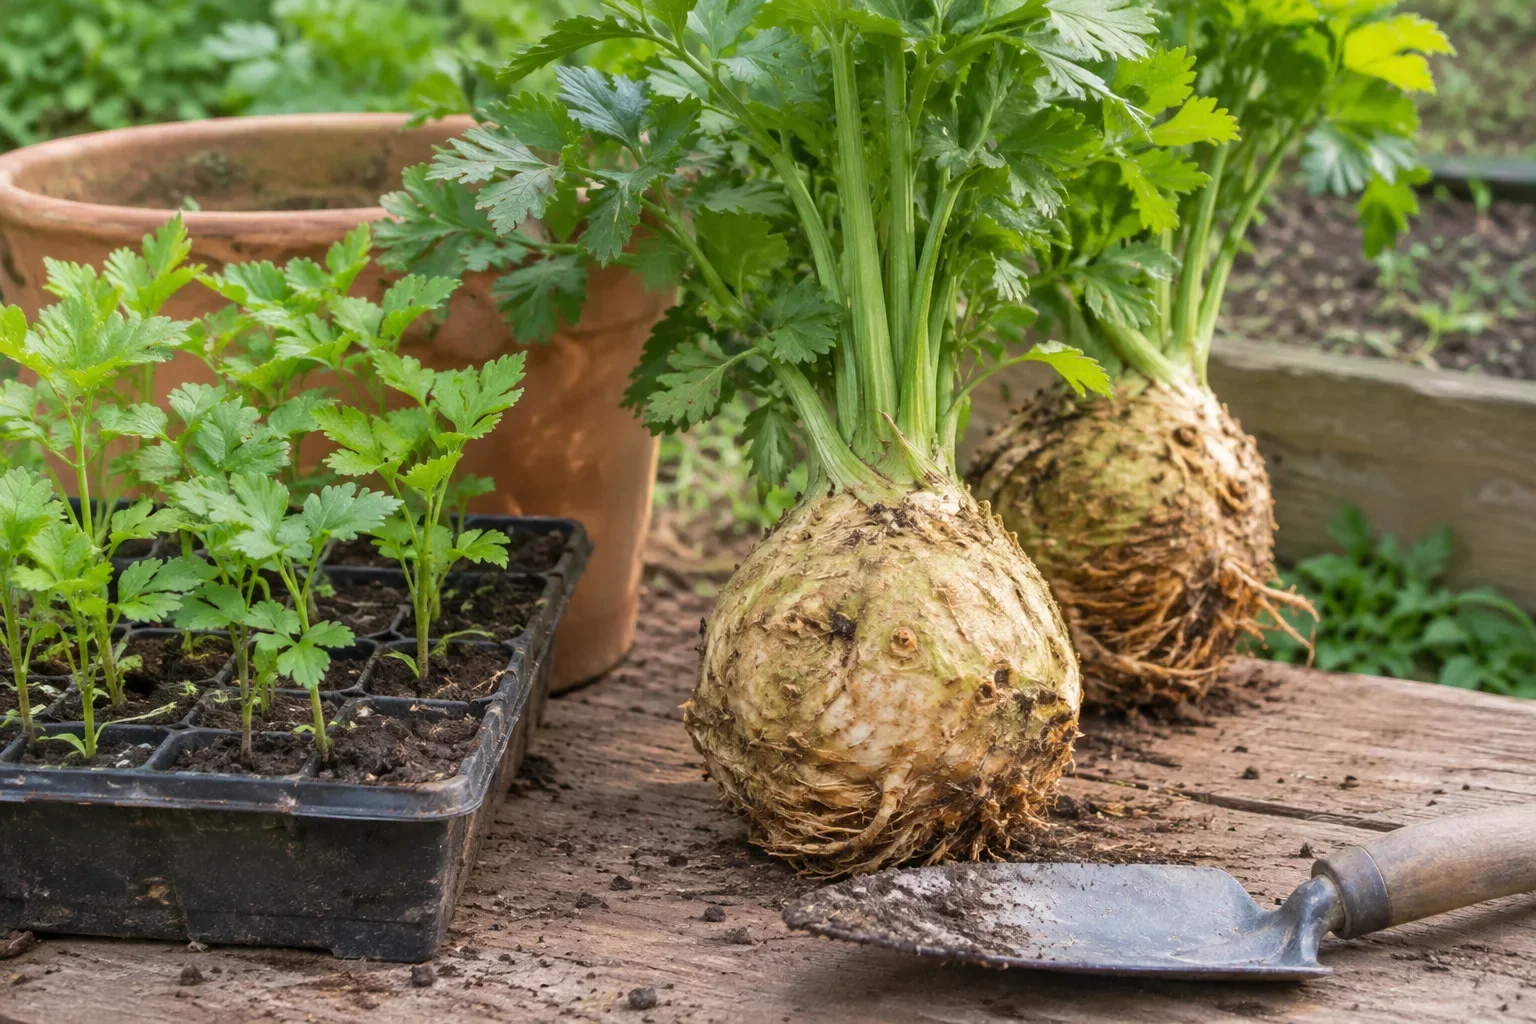
Several named cultivars carry an Award of Garden Merit, including 'Asterix', 'Ibis', 'Monarch' and 'Prinz'. Two of these carry useful traits worth weighing against your own garden. 'Prinz' is noted as resistant to bolting, which is relevant if you garden somewhere with late cold snaps. 'Asterix' is described as earlier to reach cropping size than other varieties, which suits a shorter growing season or an impatient gardener.
'Monarch' has a smooth skin that is easier to peel.
Choose the named variety for the trait you want, such as smoother bases for easier peeling or better resistance to bolting in a cool spring.
Site, soil and bed preparation
Celeriac wants a sunny or lightly shaded site that does not dry out quickly, with rich, moisture-retentive soil improved with garden compost or other organic matter. Consistently damp soil is best, but it must not become waterlogged. That balance is the heart of growing celeriac well.
On heavy ground, work in well-rotted organic matter before planting, and choose a bed where water can drain away after rain rather than pooling. Prepare the bed by forking in garden compost or well-rotted organic matter, then firm it lightly and water it before planting if the soil is dry.
Sowing celeriac seed
Start seeds indoors in March, sowing thinly in small pots or modular trays filled with peat-free seed compost. Aim for a temperature of around 15°C, using a heated propagator if you have one, and cover the seeds with only a light sprinkling of compost. Germination can be erratic and slow, taking up to about three weeks, so do not panic if the modules sit bare for a fortnight.
Celeriac seed can be hard to germinate. You can either make an early sowing with a heated propagator or sow in mid-spring under cloches or in an unheated greenhouse. The propagator route gives you more control over temperature, which matters because cold early conditions can push plants towards bolting later.
Keep seedlings above about 10°C until at least late May. Cooler conditions can lead to premature flowering, which ruins the crop because the plant puts its energy into seed rather than a swollen base. A windowsill that dips at night is not ideal; a gently heated propagator or a frost-free greenhouse is safer.
Potting on and planting out
When seedlings are large enough to handle, move them into their own pots of peat-free multi-purpose compost and water them in. Harden them off gradually over a week or so before planting out, moving them to a sheltered spot by day and bringing them in or covering them at night.
Plant out in late May or early June, once the weather is warm enough. A useful guide is to set plants out when they are about 5–7cm tall, spaced 25–30cm apart in rows 30–45cm apart, with the crowns left uncovered. Treat late May to early June as your temperature guide: wait if a cold spell is forecast, because a chill after planting can trigger bolting. In colder northern and Scottish gardens the soil and air may warm later, so go by local conditions rather than the calendar alone.
Set each plant with the crown at or just above soil level, firm the soil gently around it and water it in.
Watering, mulching and soil fertility
Regular watering over such a long season is demanding. Keeping soil consistently damp may only be realistic if you have plenty of stored rainwater, so plan your water supply before you sow. A water butt near the bed makes the routine far easier.
Start with the organic matter worked into the bed before planting. After planting, spread an organic mulch to help hold moisture, leaving a gap around the stems. Keep the soil consistently damp as the swollen bases develop, and water more in dry spells.
As the bases swell, remove the outer leaves and keep weeds down by hand around the plants.
Pests and troubleshooting
Celery leaf miner, also called celery fly, is a common pest. It causes blisters on the leaves by tunnelling, and affected leaves should be removed and disposed of rather than left on the ground. Check the undersides of leaves through summer, and act early rather than waiting for an infestation to spread.
Young seedlings may be prone to slug attack and need protection. Use whatever barrier or trap you normally rely on, and check plants after wet nights.
Bolting is the other common disappointment. A cold snap can cause celeriac to bolt prematurely, which means the base never forms properly. Choosing a bolting-resistant cultivar such as 'Prinz', keeping seedlings warm, and delaying planting out until the weather settles all reduce the risk.
If the bases stay small, check how long the plants have been in the ground and whether the soil has stayed moist. Celeriac needs a long growing season, and prolonged dry spells can check its growth.
Harvest and storage

Celeriac can be harvested from October onwards, and the longer the bases stay in the soil the stronger the flavour becomes. It is extremely hardy and can be left in the ground through to spring, dug up as needed. That makes it a useful crop for fresh winter eating rather than a glut to store all at once.
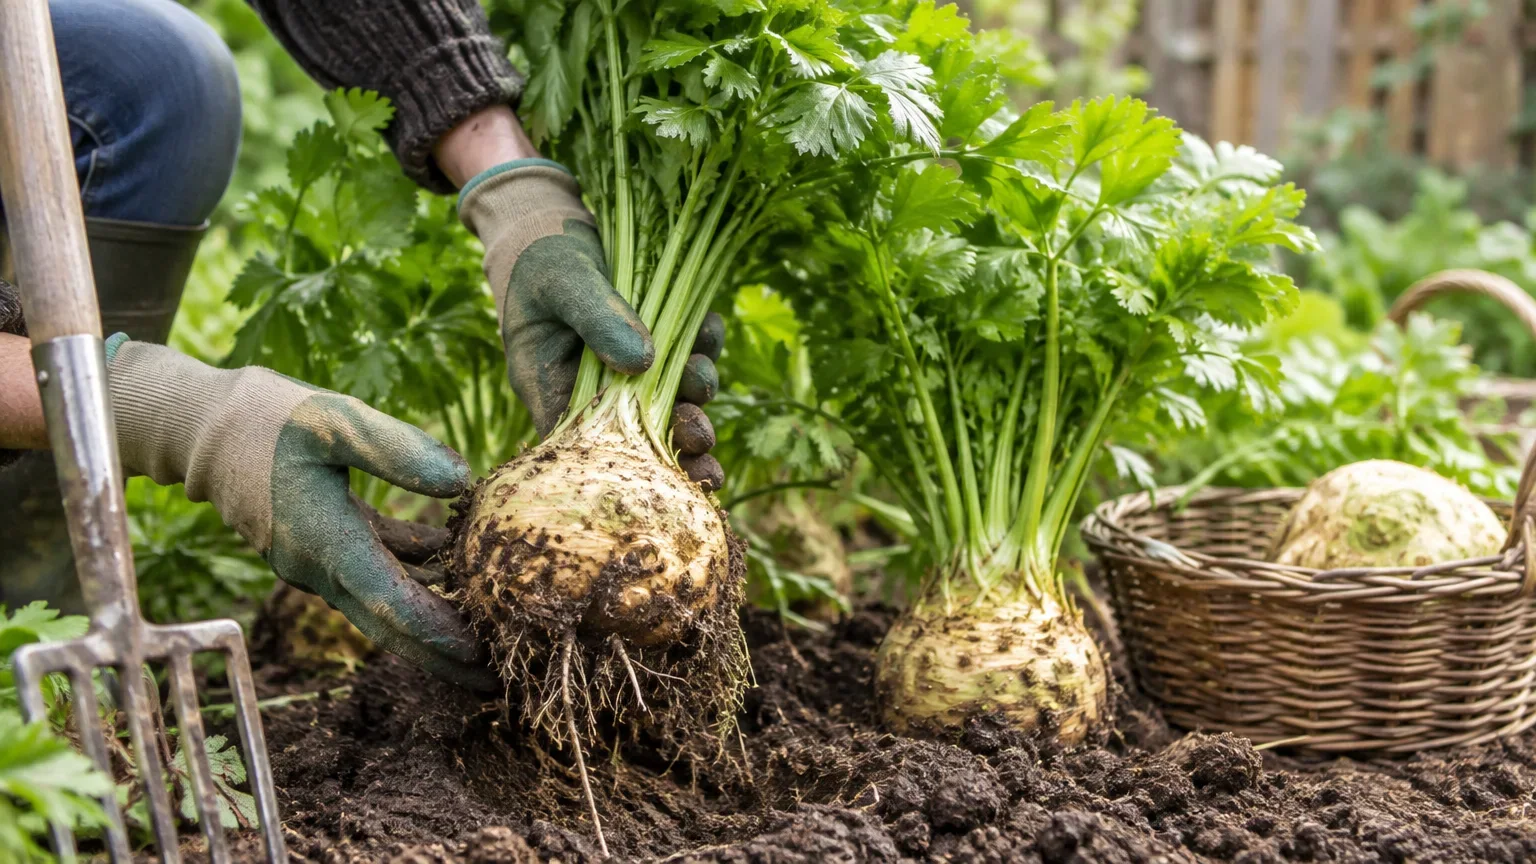
Lift each plant gently with a fork rather than pulling it. Trim the foliage and roots, brush off loose soil, and use the base fresh where possible. Leaving plants in the ground through winter means you can lift as needed, but check them after hard frost and lift any that look damaged.
If you lift several bases at once, store sound ones in a container of peat-free potting compost or coir in a cool shed or garage. Otherwise, lift what you need as you go.
UK seasonal timing at a glance
- March: sow indoors in modules or small pots at around 15°C.
- April to May: pot on individually as seedlings grow, keeping them above about 10°C.
- Late May to early June: plant out once the weather is warm, spaced 25–30cm apart in rows 30–45cm apart.
- June to September: water regularly, mulch, and remove outer leaves as the bases swell.
- October to March: lift as needed, or leave sound plants in the ground through winter in most gardens.
Late May to early June is a useful guide for planting out. Check the forecast for your garden and wait through a cold spell. Colder northern and Scottish sites may need to wait longer for the soil to warm.
Step by step

- Sow the seed indoors in spring in a tray or small pots, at around 15°C, covering it lightly and keeping the compost moist.
- Move seedlings into their own pots when they are large enough to handle, keeping them above about 10°C. Gradually get them used to outdoor conditions before planting.
- Plant out in late May or early June once conditions are suitable, spacing plants 25–30cm apart in rows 30–45cm apart. Set each plant with its crown at or just above soil level and water it in.
- Keep newly planted celeriac well watered. Continue checking soil moisture through summer, mulch to hold moisture, and remove outer leaves as the bases swell.
- Lift mature bases with a fork as you need them from autumn onwards, or leave sound plants in the ground through winter and lift as required.
Plan the next crop
For the next bed, choose crops with similar watering needs. Keep notes on your sowing date and where the soil held moisture best.
Related growing guides
- Growing celery: a close relative with similar moisture needs.
- Growing parsnips: another long-season crop for winter harvesting.
- Growing carrots: useful for planning a root-and-stem rotation.
Frequently asked questions
How deep should I plant celeriac seedlings?
Keep the crown at or just above the soil surface. Set the rootball in the prepared bed and firm the soil gently around it. Check again after watering because the compost and loose soil may settle, and ease the crown back up if it has sunk below the surface.
Can I leave the harvested crop in the ground until I need it?
Leave sound, mature plants in the bed and lift them as needed while the ground is workable. Celeriac is very hardy, but if you expect prolonged hard frost, protect the crop with a mulch or lift the bases you need before the ground freezes.
Useful tools and supplies
Affiliate links may earn GardenWizz a commission at no extra cost to you.