

Chillies are well suited to container growing, whether you have a greenhouse, a sheltered patio or a sunny balcony. Pots let you give each plant its own growing space and move it under cover when the weather turns cold.
The main challenge in the UK is providing a long enough warm growing season. Start early if sowing seed, choose a variety suited to your space and avoid moving plants outdoors too soon. With steady watering and regular feeding, a single container can provide useful pickings through late summer and autumn.
At a glance
- Position: A warm, sunny, sheltered spot; a greenhouse or polytunnel offers more reliable warmth than an exposed outdoor site.
- Sowing: Usually late winter to early spring indoors, with warmth for germination and plenty of light once seedlings emerge.
- Planting outside: After the last frost, once nights are reliably mild and plants have been hardened off.
- Containers: Use pots with drainage holes, increasing their size as plants grow.
- Harvest: Pick fruits when they reach a usable size, or leave them to develop their ripe colour and flavour.
Variety selection: choose for your space and season
For a first crop, favour a compact, relatively early-fruiting chilli rather than choosing solely for extreme heat. A smaller plant is easier to accommodate on a windowsill or patio, while an earlier crop has more chance of ripening before autumn temperatures fall.
‘Apache’ is a compact option often grown in containers. ‘Cayenne’ types offer familiar, slender cooking chillies, although plant size varies between selections. Jalapeños are useful if you enjoy picking fruits green as well as allowing some to ripen.
Very hot types, including habaneros, generally need a longer warm season. They are more demanding outdoors in cooler parts of the UK and are better candidates for greenhouse growing.
Check the packet or plant label for mature size, likely heat and suitability for containers. “Chilli” covers plants with quite different habits: a small ornamental-looking bush and a vigorous tall variety should not automatically receive the same pot.
If you lack a bright indoor growing space, buying young plants in spring is often more practical than raising seedlings through the darkest part of the year.
Site, compost and containers
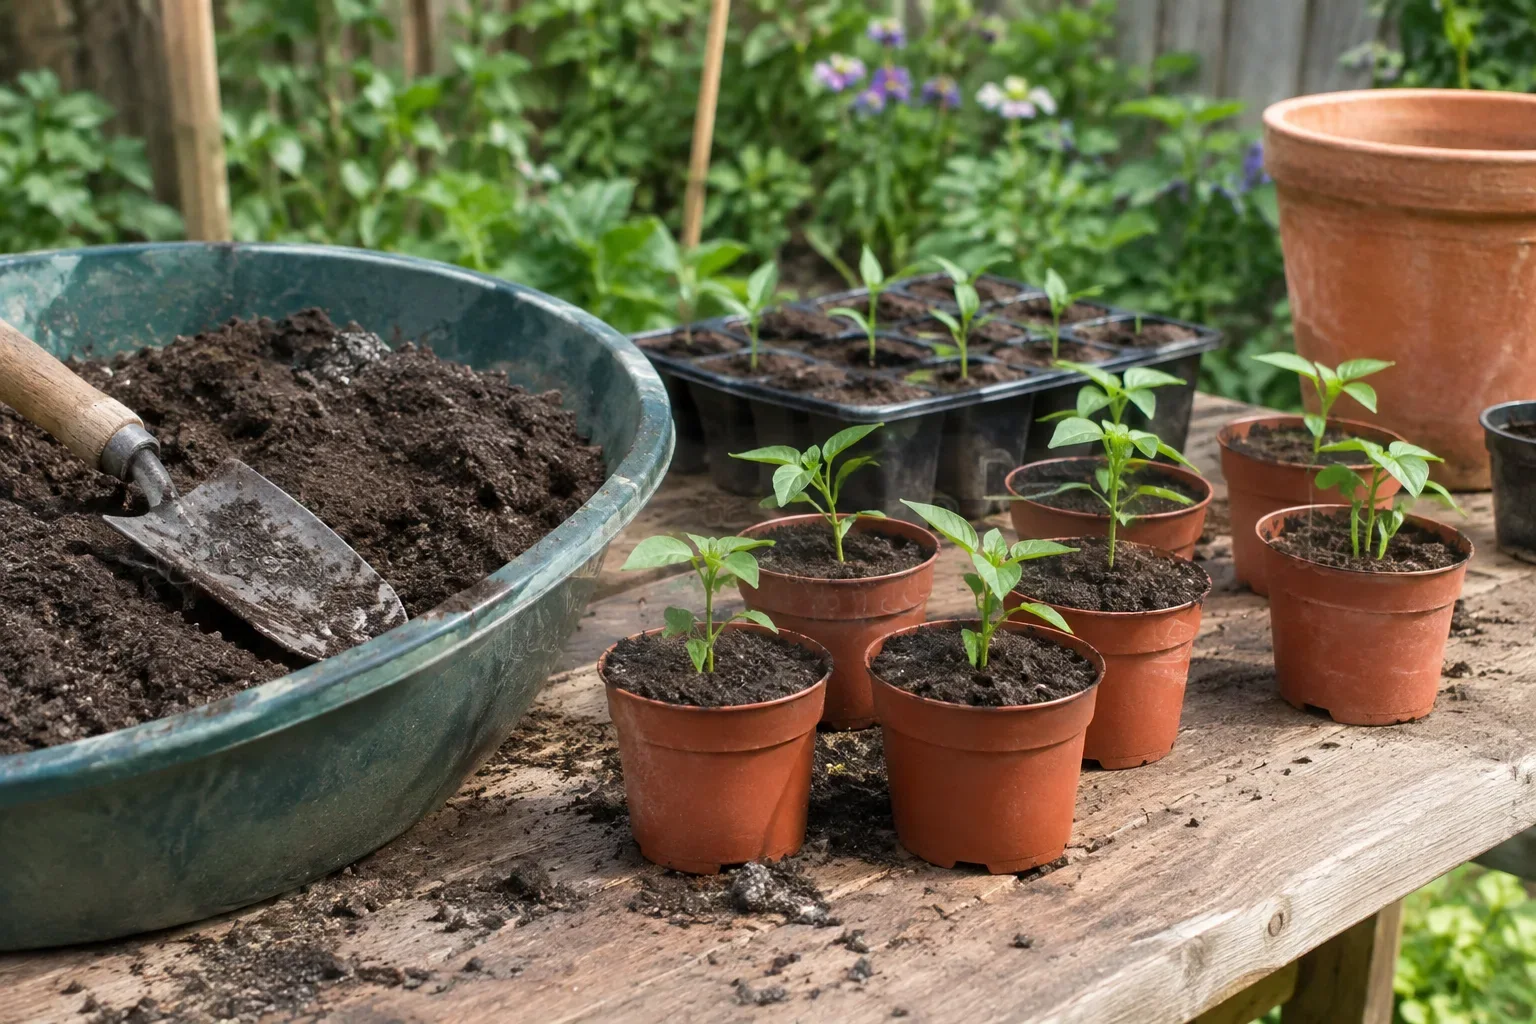
Choose the sunniest sheltered position available. A south-facing patio can work well, but wind exposure matters too: a bright balcony that receives strong gusts may be less suitable than a slightly more protected spot.
A greenhouse offers useful warmth, especially in northern and exposed areas, but it still needs ventilation in hot weather. Avoid leaving plants shut inside an overheating greenhouse.
Use fresh, good-quality peat-free multipurpose compost suitable for container vegetables. Garden soil alone is not a good substitute in a pot, where it can become compacted and drain poorly.
For many compact chillies, a final pot around 25–30cm across is a useful starting point; vigorous varieties may need more room. Follow variety-specific guidance where available. Whatever the size, drainage holes are essential. Decorative outer containers must not trap water around the growing pot.
What you will need
- Chilli seeds or healthy young plants
- Seed compost and small pots if sowing
- A warm propagator or another suitable warm germination space
- Progressively larger pots with drainage holes
- Peat-free multipurpose compost
- A watering can and liquid tomato fertiliser
- Canes or other supports where needed
- Labels and clean secateurs or scissors
Sowing and planting: step by step
-
Sow indoors in late winter or early spring.
February or March is a practical starting window for many home growers. Earlier sowing is worthwhile only if you can provide enough warmth and light. Sow into moist seed compost, covering seeds lightly according to the packet instructions. -
Provide warmth until germination.
Chillies germinate best in warm conditions; a heated propagator is helpful in a cool house. Keep the compost moist rather than wet. Germination speed varies, so do not assume that slower seeds have failed simply because another variety has already emerged. -
Move seedlings into bright light.
Once seedlings appear, give them the brightest suitable position you have. Remove propagator covers as seedlings establish. A warm but dim room produces weak, stretched growth; light is just as important as warmth at this stage. -
Pot seedlings on individually.
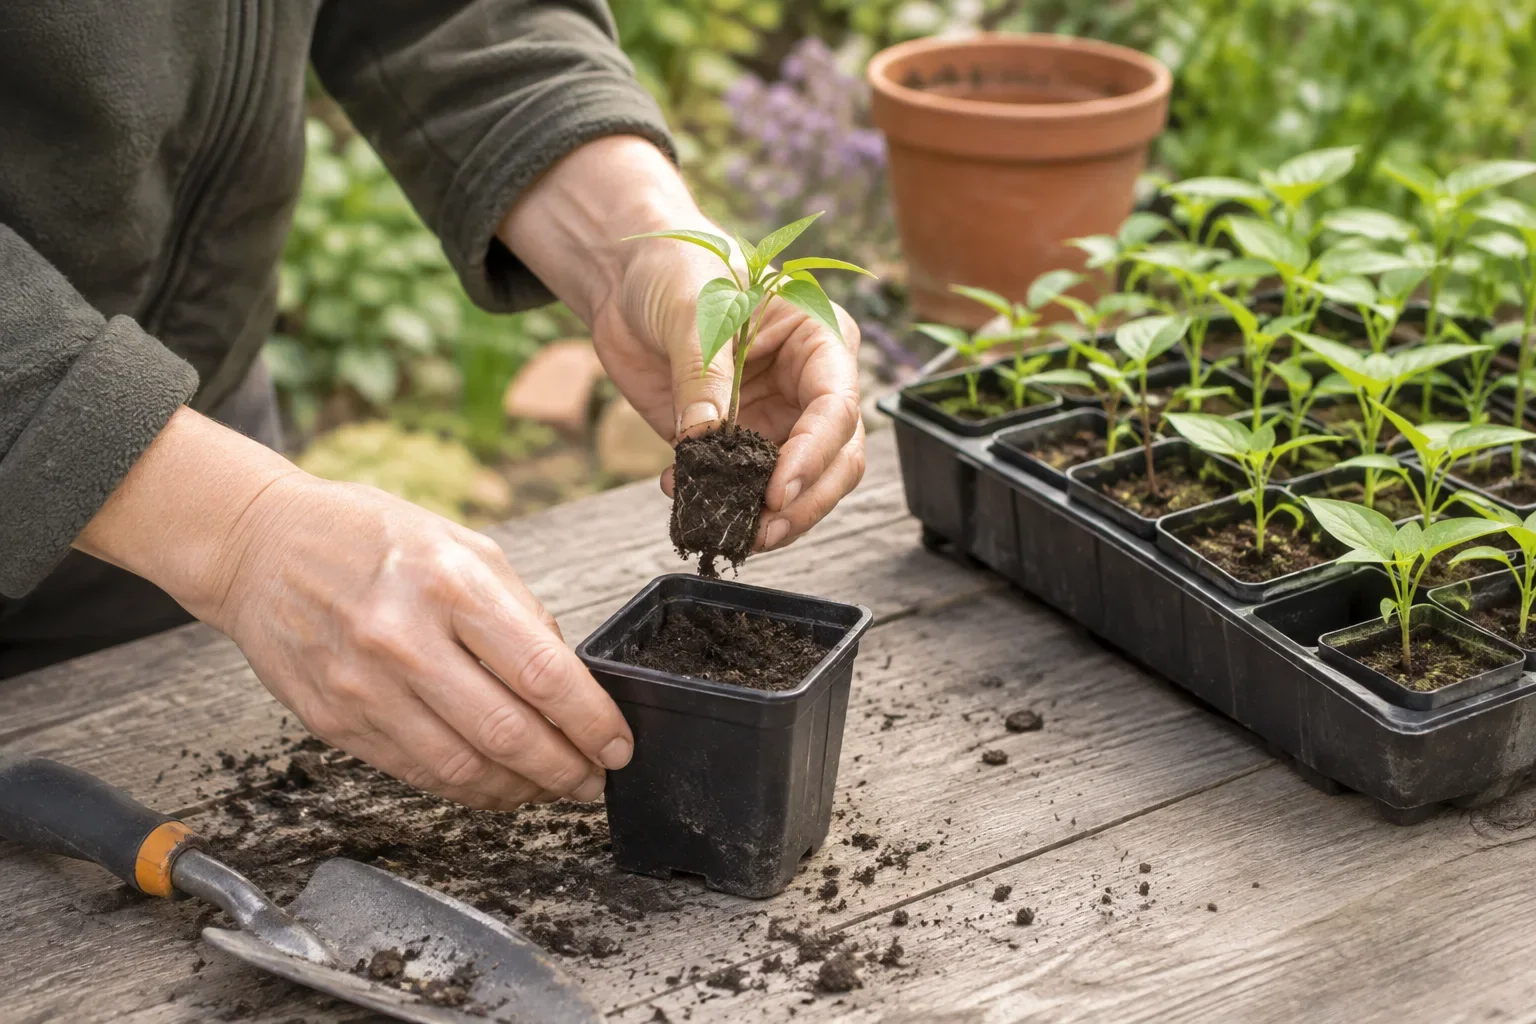
When they are large enough to handle and have developed true leaves, move seedlings into small individual pots. Handle them by a leaf rather than squeezing the stem. Set them at approximately their previous depth and water gently. -
Increase pot size gradually.
Move plants into a larger pot when roots have occupied the existing compost. Keep the rootball intact where possible and fill around it with fresh compost. Avoid placing a tiny seedling straight into a very large container, which is harder to water accurately. -
Harden off plants destined for outdoors.
Over roughly a fortnight, introduce them gradually to outdoor conditions, starting with sheltered daytime spells and bringing them inside at night. Do not leave them out during cold weather. Hardened-off chillies are still vulnerable to frost. -
Move into the final growing position.
Plant outdoors only after frost risk has passed and nights have warmed. In many areas this means late May or June, but local conditions matter more than the date. In colder northern and Scottish sites, the safe window often arrives later, so wait until nights are reliably mild rather than following a fixed date. Water after potting and position supports before branches become heavily laden.
Aftercare: watering, feeding and support
Keep moisture steady
Check containers regularly, especially in hot or windy weather. Feel the compost rather than watering automatically: if the surface is drying and the pot feels noticeably lighter, it may need water.
Water thoroughly, allowing excess to drain away. Do not leave pots standing in water. Small containers can dry quickly, while oversized pots may remain wet around a small root system.
Repeated severe drying can check growth and cause flowers or young fruits to drop. Deliberately stressing plants for hotter chillies is not a sensible priority when establishing a productive container crop.
Feed once flowering begins
Begin regular liquid feeding when flowers appear, using a tomato fertiliser at the label’s dilution and frequency. Continue through fruiting while plants are actively growing.
More feed is not necessarily better. Avoid making concentrated mixtures or adding extra fertiliser to compensate for poor light or cold weather.
Support plants where necessary
Compact plants may remain self-supporting, but taller varieties and fruit-laden branches can need a cane. Tie stems loosely with soft ties and check them as growth thickens.
Chillies do not require routine removal of side shoots in the way cordon tomatoes do. Unless the variety’s instructions say otherwise, allow the plant to develop its natural branching framework.
Common problems and mistakes
Lots of leaves but little fruit
Poor light, unsuitable temperatures or excessive nitrogen feeding can all contribute. Move the plant into better light where possible, use an appropriate fruiting feed and ventilate an overheated greenhouse.
Chilli flowers are self-fertile. Under cover, gently tapping flowering stems can help release pollen, but it will not overcome unsuitable growing conditions.
Flowers dropping
Occasional flower loss is normal. Persistent dropping can accompany temperature extremes or irregular watering. Check the growing conditions before reaching for a treatment.
Yellow leaves
Yellowing is a symptom, not a diagnosis. Check whether the compost is persistently wet, whether the pot drains freely and whether roots have filled the container. Also consider feeding history and cold exposure. Adding fertiliser without checking these basics may not solve the problem.
Aphids and red spider mite
Inspect shoot tips and leaf undersides regularly. Aphids often gather on soft growth; remove small colonies by hand where practical.
Fine webbing and pale stippling on leaves can indicate red spider mite, particularly in warm, dry conditions under glass. Isolate affected plants where possible and consider a suitable biological control for greenhouse use. Correct identification matters before choosing any treatment, and any pesticide must be one currently authorised for the crop and situation on its label.
Fruits staying green
Many chillies can be used green. Ripening takes longer and slows as autumn becomes cooler and darker. A late start or long-season variety may simply leave insufficient time for a fully coloured outdoor crop.
Harvest and storage
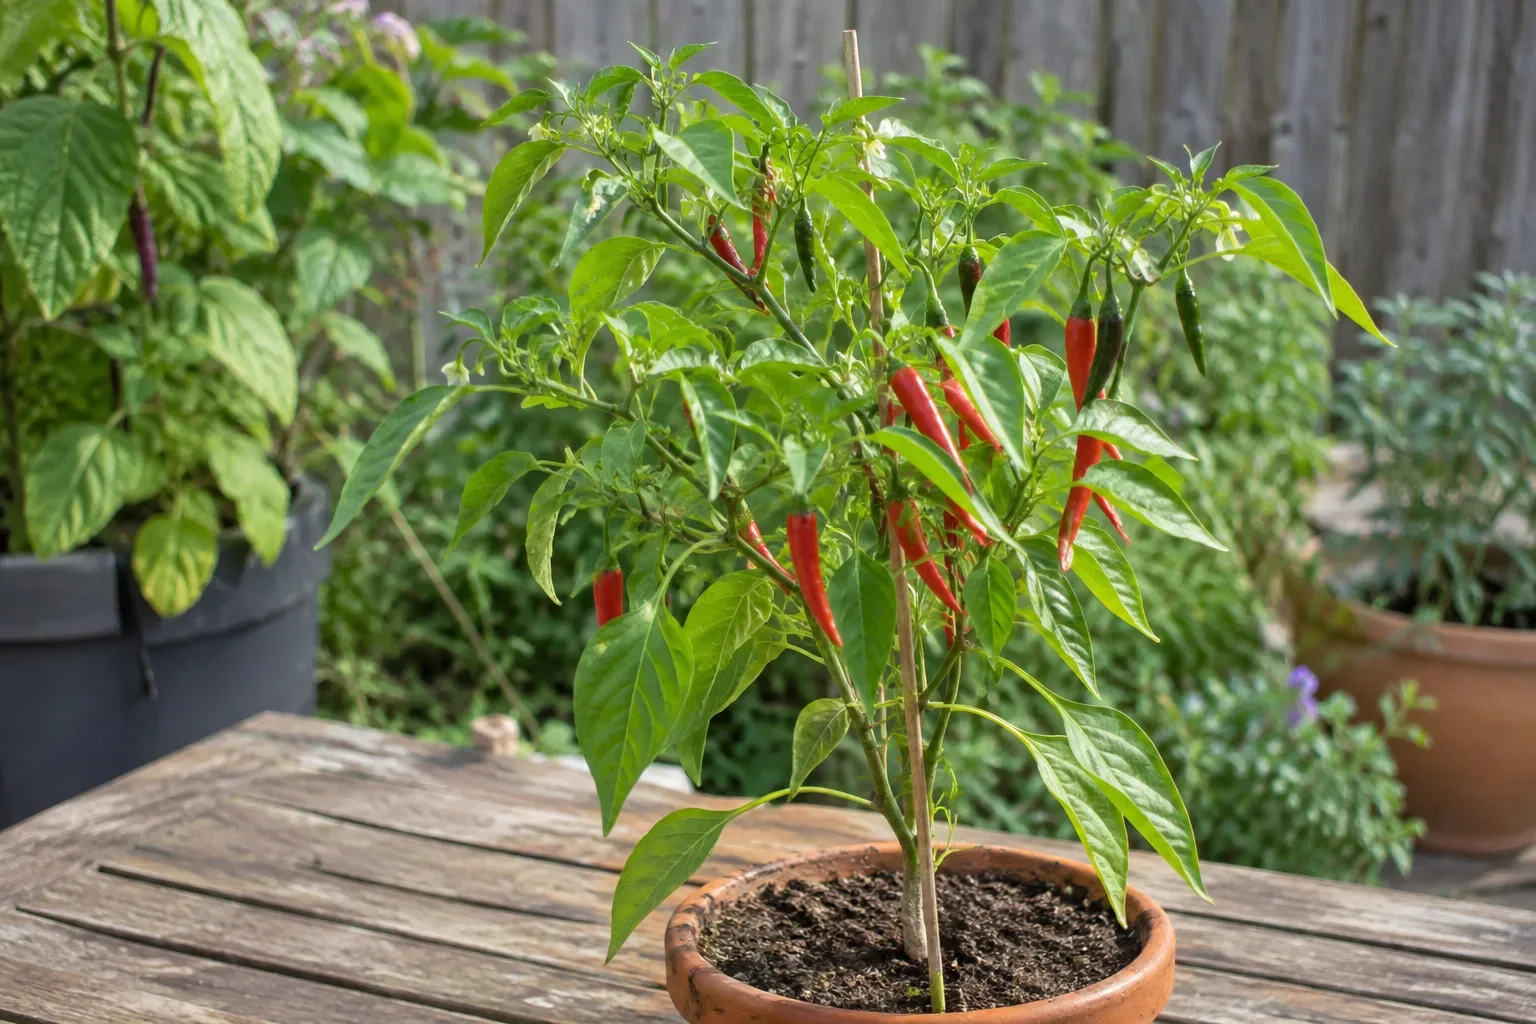
Pick chillies once they reach a useful size, or allow them to develop their mature colour. Colour changes vary by variety, so red is not the only sign of ripeness.
Snip fruits off with a short stalk rather than pulling at the branches. Harvest regularly and check beneath the foliage for hidden fruits.
Wear gloves when handling very hot chillies, particularly when cutting or deseeding them. Avoid touching your eyes and wash hands and utensils afterwards.
Use fresh chillies promptly, refrigerate them for short-term storage, or freeze sound fruits for cooking later. Thin-walled chillies are generally easier to dry than thick-fleshed ones. For drying, use a reliable food-preservation method rather than leaving fleshy fruits in a cool, damp room where they may mould.
UK seasonal timing and overwintering
Late winter to early spring: Sow indoors if you can supply warmth and bright light.
Mid- to late spring: Pot on growing plants and prepare their final containers. Protect them from cold nights.
Early summer: Harden off and move outdoor plants into position when conditions are suitable.
Summer into autumn: Water, feed, support and harvest. Bring movable pots under cover before cold autumn weather damages the plants.
Chillies are tender perennials, although usually grown as annual crops in the UK. You can try overwintering a healthy plant in a bright, frost-free place. Reduce watering as growth slows, avoid waterlogged compost and inspect regularly for pests. Success depends on the plant and indoor conditions; starting fresh plants each year is often simpler.
Related growing guides
For a productive container garden, explore our guides to growing tomatoes in pots, growing sweet peppers and watering container vegetables. The practical skills overlap, but keep chilli care distinct: do not automatically apply tomato pruning routines to your plants.
Frequently asked questions
Can I grow chillies on a windowsill?
Yes, provided it is bright and warm enough. A compact variety is easiest to accommodate. Indoor plants still need adequate root space, careful watering and checks for pests, and poor winter or early spring light can limit growth.
What size pot does a chilli plant need?
Many compact varieties grow well in a container around 25–30cm across, while larger plants need more space. Use the variety’s guidance, provide drainage holes and pot on as the roots fill their existing container.
Should I remove the first chilli flowers?
Not routinely. A healthy, well-rooted plant can usually be allowed to flower. If a very small or struggling plant is already carrying fruit, removing some early flowers or fruits can be reasonable while it establishes.
Can chilli plants survive outside over winter in the UK?
They cannot reliably survive a UK winter outdoors because they are frost-tender. To attempt overwintering, move a healthy plant into suitable frost-free accommodation before damaging cold arrives.
Useful tools and supplies
Affiliate links may earn GardenWizz a commission at no extra cost to you.