
At a glance
- Timing: Apply to moist, unfrozen soil, usually in late winter or early spring.
- Material: Use well-rotted garden compost for ordinary established borders.
- Depth: Spread an even layer at least 5cm deep, ideally 7.5cm, over bare soil.
- Clearance: Keep compost off stems, crowns and emerging shoots.
- Quantity guide: Around 70 litres covers roughly one square metre of ground.
Check Your Compost and Border Suitability
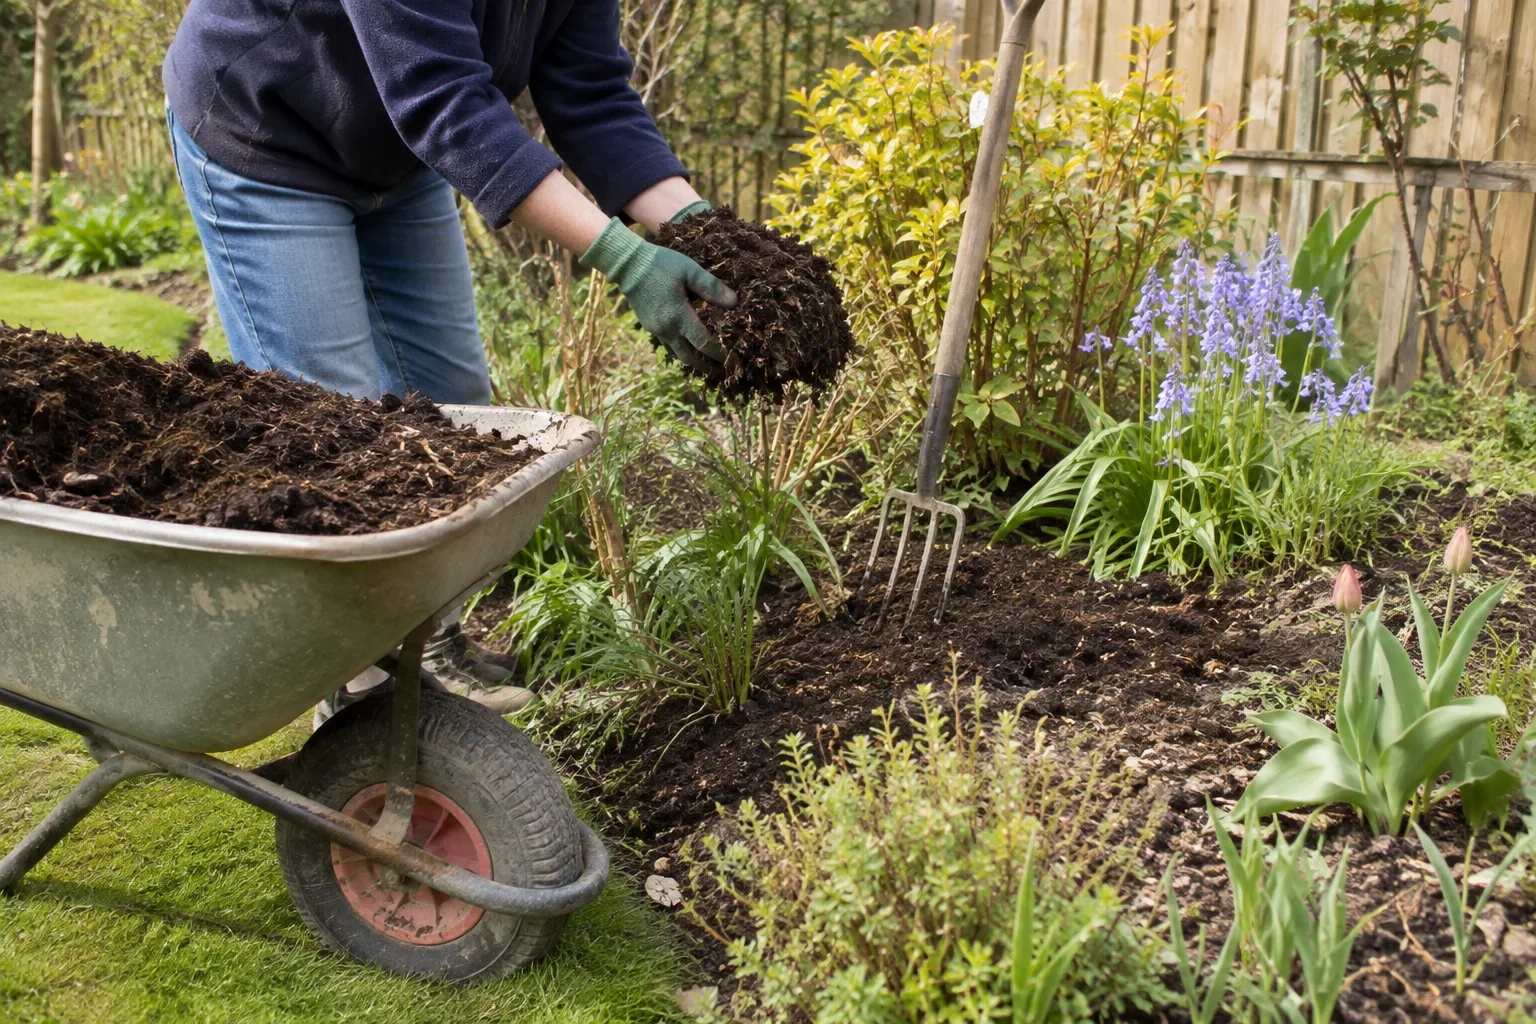
Choose mature garden compost for this job. It should be dark and crumbly, with little of the original material still recognisable. If you can still identify most of what went into the heap, leave that material to break down further and use only the finished portion on the border.
Wait if the ground is frozen or waterlogged. For an established border, late winter or early spring is a useful time to spread well-rotted compost while the soil is moist and most herbaceous plants are still dormant. In colder northern and Scottish gardens, spring may arrive later, so judge by the soil and the plants rather than the calendar: spread once the ground has thawed and drained, and before new growth is tall enough to be buried.
This method suits established borders of shrubs, trees and hardy perennials. It is not the right approach for a newly sown patch, where a layer of compost would smother emerging seedlings, or for plants that prefer lean, free-draining ground.
Prepare the Ground for Mulching
Start by removing existing weeds. Dig out perennial weeds with their roots, because mulching over established weeds gives them a moist, protected environment and does not stop them growing through. Low-growing annual weeds are less of a problem, since a thick mulch layer can smother them, but it is safer to remove all visible weeds before you begin.
Use this opportunity to tidy the border. Cut back any dead growth from herbaceous plants, and redefine the border edges if they have become blurred. A clean edge makes it easier to see where the mulch should stop and gives the finished job a neater look.
Check the soil beneath the surface. If it is very dry, water thoroughly before applying the mulch, so you are sealing in moisture rather than covering dry ground.
Apply the Compost Mulch at the Right Depth
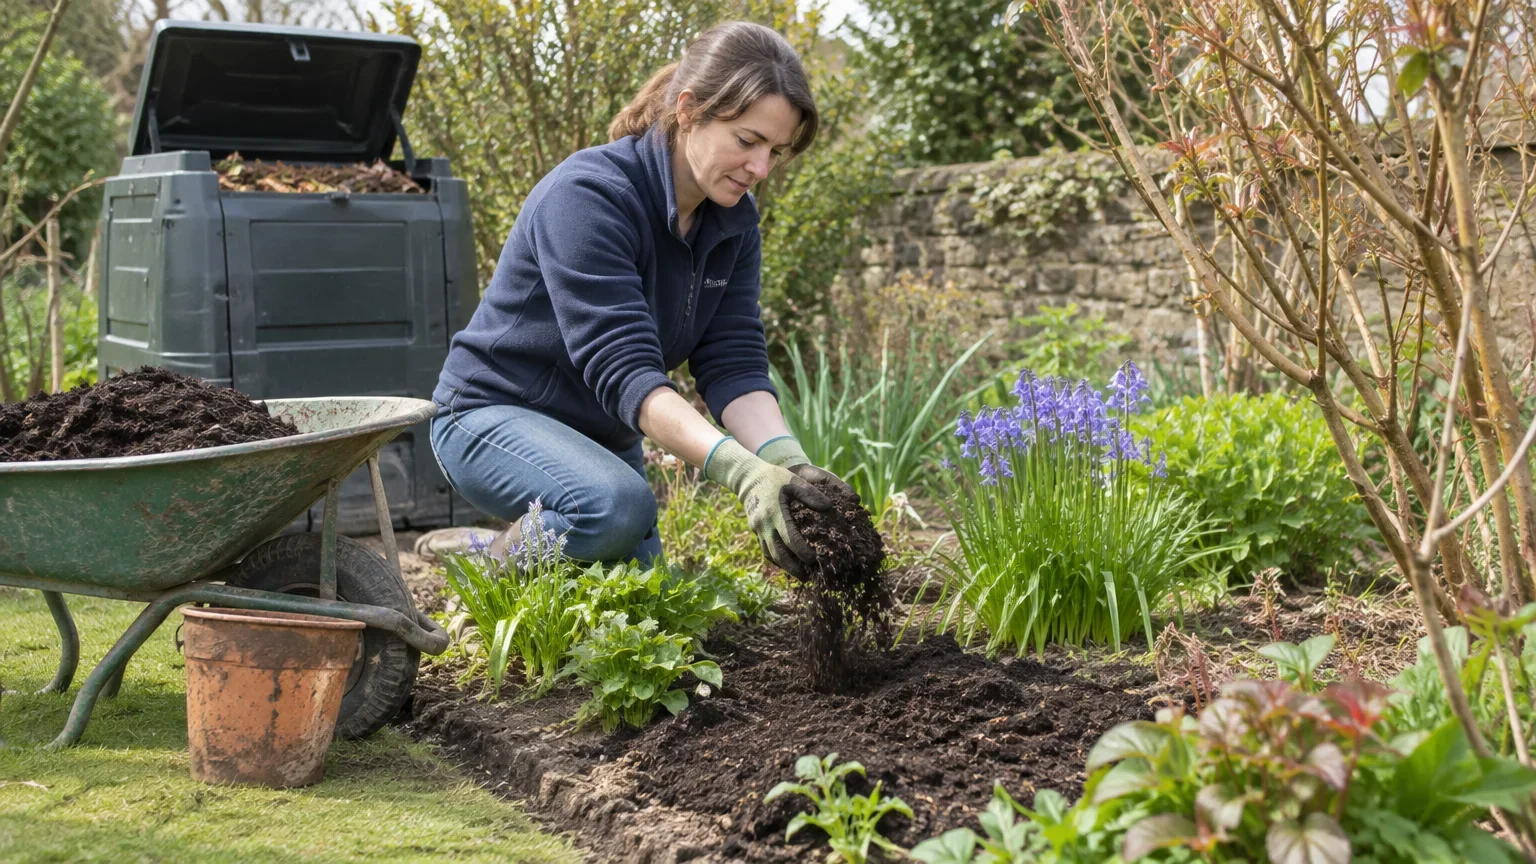
Spread an even layer at least 5cm deep, ideally 7.5cm. Work between the plants, keeping compost clear of crowns and woody stems.
Tip or shovel small piles of compost onto bare soil between plants, starting at the back of the border and working forward. This keeps your access route clear and stops you trampling the mulch you have already laid. Use a rake to distribute the compost evenly, then use your hands to spread it under shrub branches and around delicate emerging plants.
Keep the compost away from plant stems and crowns. Leave a mulch-free circle of at least 10cm around woody stems, because damp mulch piled against the base of shrubs and trees can cause rotting. For herbaceous plants, pull the mulch back from the base. If you are mulching around emerging perennials, temporarily cover the crown with an upturned pot to stop it being stepped on or buried while you work.
Do not volcano mulch. Piling compost in a cone around tree trunks or shrub stems is harmful, even though it is a common mistake. The mulch should lie flat and even, never touching the stem.
Step by step
- Check that the soil is fit to work and that your compost is mature. Wait if the ground is frozen or very wet, and water the border first if it is very dry.
- Remove weeds before spreading compost. Lift perennial weeds carefully with their roots.
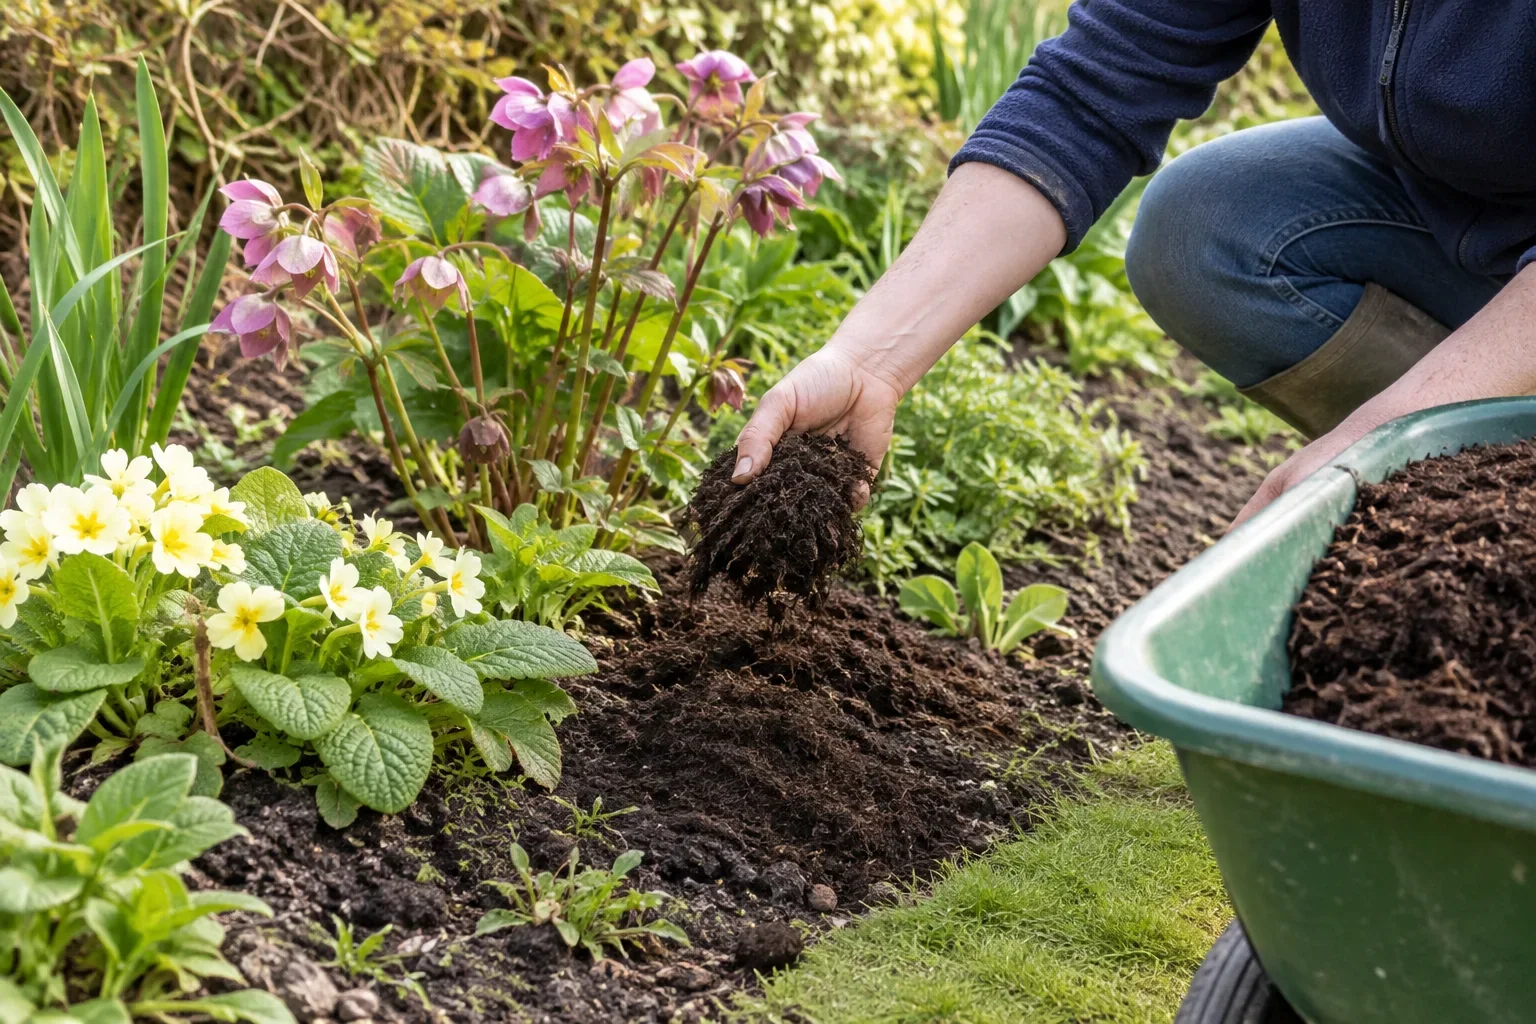
- Carry the compost to the plants in small amounts. Spread it over the bare soil to a depth of at least 5cm, ideally 7.5cm, keeping crowns and stems clear.
- Check the depth at several points and tidy the edge by the path. Check again as plants start growing and move any compost that has slid against them.
Work out how much compost to bring to the border
Measure the open ground you want to cover. Break an irregular border into simple shapes and estimate each area separately. As a guide, around 70 litres covers roughly one square metre of ground. A 3m² stretch takes roughly 210 litres. Subtract any stretches you plan to leave alone and keep a little back to adjust uneven patches after spreading. If you only have a small amount, finish one section properly before moving on.
Work around established plants
Find the base of each plant before you spread compost. On a perennial, the crown is where the new shoots meet the soil. Place small scoops on the soil between plants and pull compost away from the crown by hand if it lands there. Leave clear space at the base of shrubs and trees too, especially where stems are already hidden under old leaves. In a closely planted part of the bed, a hand trowel gives you more control than tipping out an entire bucket. On a wide open patch you can spread the material with the back of a rake.
Aftercare, common mistakes and when to reapply
After mulching, check the depth in a few places. The layer should be even and at least 5cm deep, ideally 7.5cm. If you find thin patches, top them up; if you find thick piles, rake them out. Check that no compost is touching woody stems or covering plant crowns.
Common mistakes to avoid include mulching when the soil is very wet or frozen, leaving perennial weeds in place, spreading the compost too thinly or too thickly, and piling it against stems. All of these reduce the benefit of the mulch or actively harm the plants.
Check the layer once a year, in late winter or early spring. If the compost has broken down and left bare patches, add enough to make the layer even again. During later dry spells, check the soil under the mulch and water according to what the plants need.
Check whether a different mulch suits the spot
Around newly sown patches, leave the seed row clear so a layer of compost does not cover emerging seedlings. Mark the row first if it is hard to see. Think about whether the plants are suited to a rich organic layer. Plants that naturally grow in dry, free-draining ground, such as many alpines, often suit a gravel mulch. Save your garden compost for the parts of the border where organic matter is appropriate. If coarse material still has a few recognisable twigs, use a finer batch near small plants and keep the coarse material for open ground or return the largest pieces to the heap.
Frequently asked questions
Should I dig garden compost into the soil when I mulch?
Spread it across the surface for this job. In an established border, you can cover the bare soil without digging around the plants. Keep the stems and crowns clear, then check the surface after rain and rake away any places where compost has gathered.
Can I mulch a border if the soil is dry?
Water dry soil thoroughly first, then spread the compost on the damp ground. If the border is waterlogged or frozen, wait until conditions improve. Check the soil under the mulch during later dry spells and water according to what the plants need.
How can I tell if a patch needs topping up?
Walk the border and look for bare soil where the existing layer has thinned. Check around crowns first and push back any compost touching them. Add a modest amount where soil is exposed, using the remaining layer as a guide.

Useful tools and supplies
Affiliate links may earn GardenWizz a commission at no extra cost to you.