
At a glance
- When: Plant autumn varieties from late autumn to early winter, while the ground is still workable and before hard frost sets in.
- Where: A sunny, freely draining bed; use raised ridges, a raised bed or a large pot where winter wet is a problem.
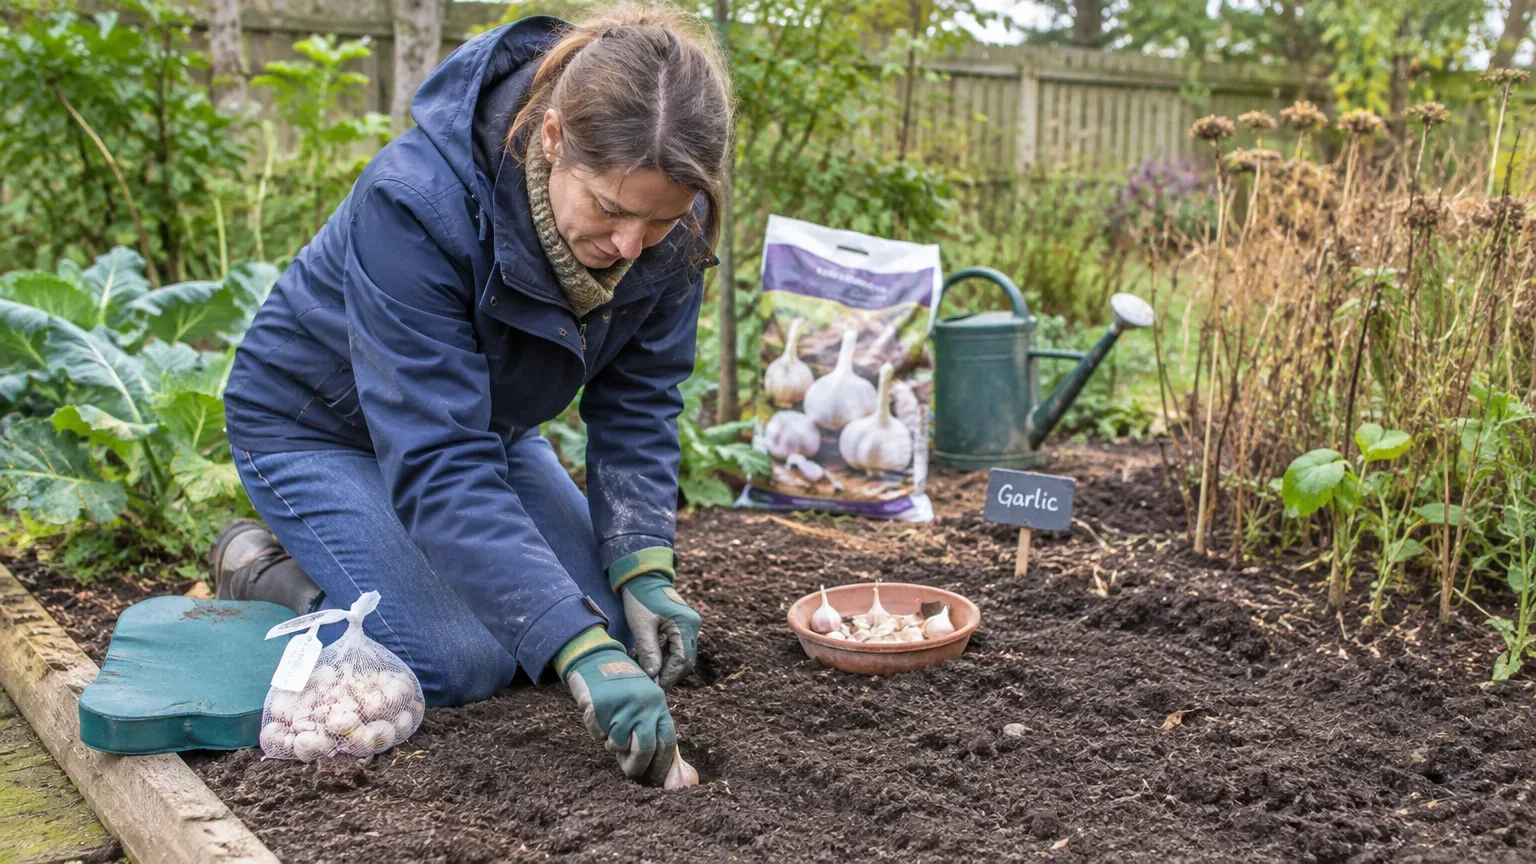
- How: Split the bulb into cloves and set each one flat end down, pointed tip up, with the tip about 2.5–3cm below the surface.
- Spacing: About 15cm between cloves and 30cm between rows.
- Harvest: Lift in summer once the leaves yellow and top growth begins to die back.
Why Autumn Planting Suits Garlic
Garlic is grown from cloves rather than seed, and in Britain it is usually planted in autumn to overwinter outdoors. The reason is practical: most varieties need a spell of cold to form a good bulb, typically around one to two months at 0–10°C. Autumn planting lets winter provide that cold naturally before growth speeds up in spring.
That gives you a window rather than a single date. Aim to get cloves into workable ground in late autumn or early winter, early enough for roots to establish but not so early that soft growth is caught by hard frost. In colder northern and Scottish gardens, the window can be shorter, so plant as soon as soil conditions allow and choose hardier hardneck types.
Free-draining soil matters throughout, because wet ground makes garlic more prone to disease, especially over winter.
Choosing Planting Garlic: Softneck, Hardneck and Sound Stock
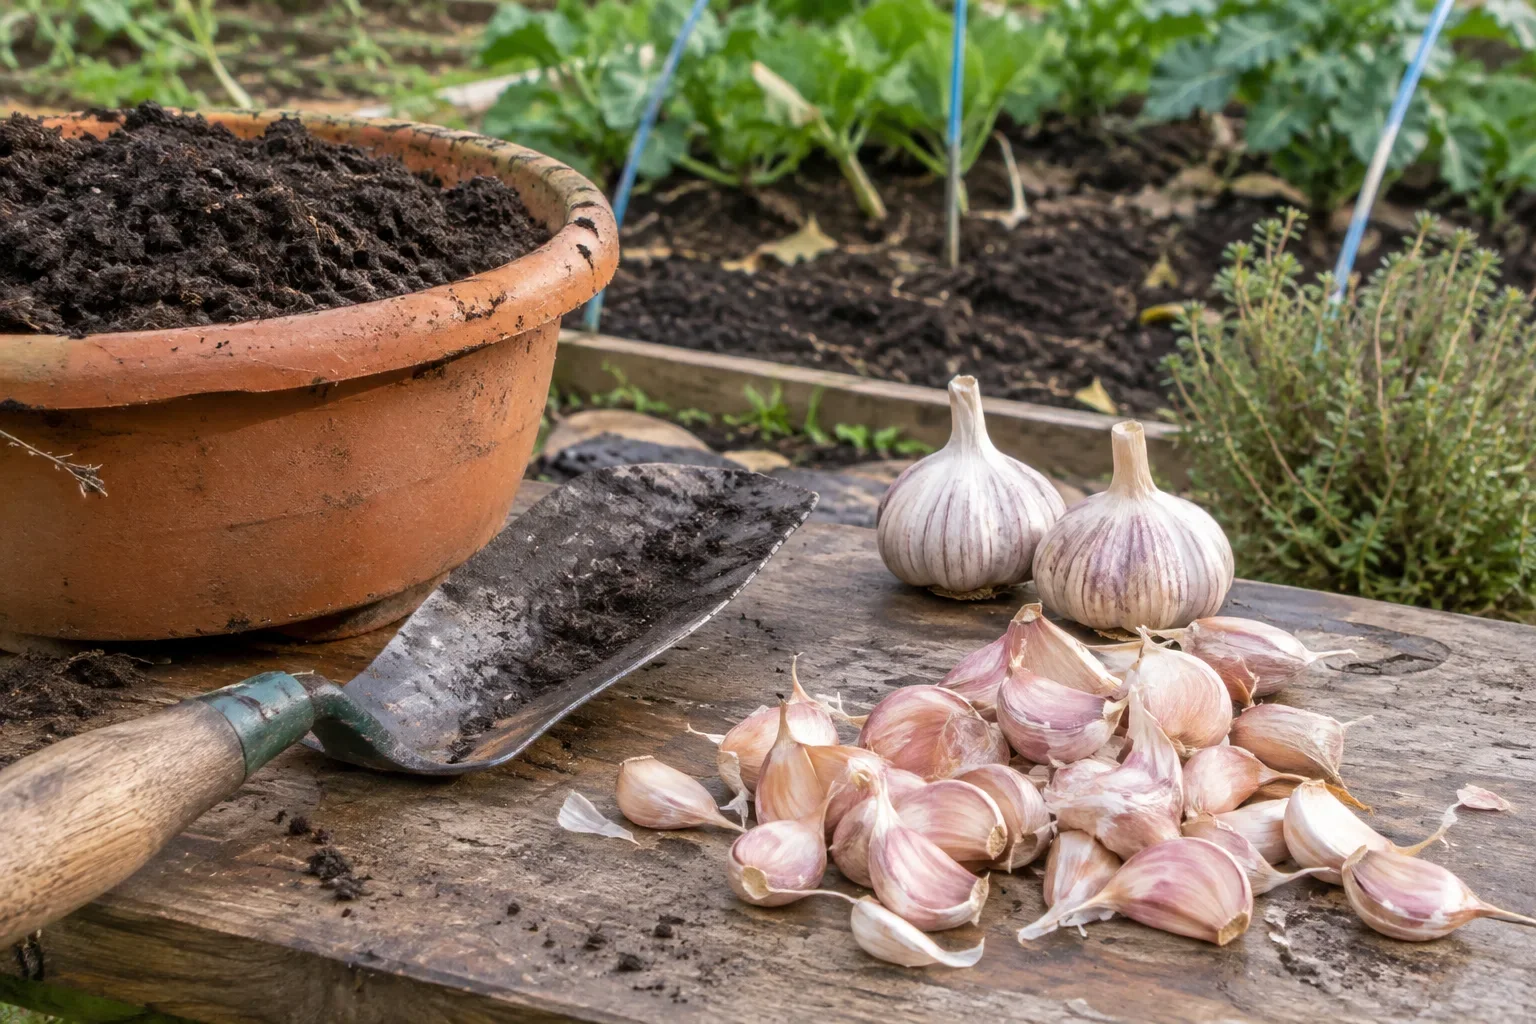
Start with the bulb type, because the two main groups behave differently in a British garden.
Hardneck garlic produces bulbs with fewer, larger cloves and a stronger flavour. It is generally hardier than softneck and can be grown across the UK, including colder and more exposed sites. It tends to bolt more readily and stores for roughly four to six months.
Softneck garlic is less tolerant of prolonged cold, so it suits milder southern counties best. It can be grown elsewhere with winter protection, but on a cold, exposed site that limitation is real rather than a detail to gloss over. Softneck varieties generally store longer than hardneck, so eat the hardneck bulbs first.
Buy named garlic bulbs sold for planting from a garden centre or specialist supplier. Supermarket garlic may crop poorly in UK conditions and can carry viruses. Choose firm, undamaged cloves and discard any that are soft or mouldy.
Site, Soil and Drainage
Garlic wants a sunny site with free-draining soil, and that single sentence should shape where you put the bed. A spot that puddles in winter will undo good planting technique, so pick the most open, freely draining ground you have.
Before planting, clear weeds and improve the soil by digging in well-rotted manure or homemade garden compost. Well-rotted is the key word: fresh manure is not what you want in the ground at this stage. If you make your own, see our guide to how to make compost at home.
Where drainage is a concern, grow garlic on raised ridges of soil about 15cm high and 20cm wide. Because the soil sits slightly higher it does not get as wet, so the garlic is less likely to rot.
Step by Step: Clove Orientation, Depth and Spacing

Keep the bulb intact until you are ready to plant, then split it into individual cloves and work through the sequence below.
- Prepare the bed as above, breaking the surface down to a workable tilth and clearing weeds.
- Plant each clove the right way up, with the flat end downwards and the pointed end upwards.
- Set the tip about 2.5–3cm below the soil surface, measured to the tip rather than the base. Plant a little deeper in sandy soils or raised beds.
- Space cloves about 15cm apart, leaving 30cm between rows. Push them in, or use a dibber to make the holes.
- Firm the soil gently around each clove and check that roughly 3cm of soil sits above the tip.
Orientation matters. Pointed end up, flat end down is the reliable rule, and a correctly planted clove finds its way up without effort.
One easy-to-miss risk: birds will pull young plants out of the ground as leaves emerge, especially if cloves are planted too shallow. Cover the area with netting or horticultural fleece straight after planting, and leave it in place until the plants are well rooted and able to resist pulling.
Garlic in Pots and Raised Beds
Garlic works in containers provided the pot is big enough. Use a pot at least 20cm wide and 20cm deep, filled with peat-free multi-purpose compost, and plant about three cloves in a 20cm-wide pot or five or six in a 30cm one. Make sure the pot has drainage holes and raise it slightly off the ground so water can escape freely.
In the ground or in raised beds, keep cloves about 15cm apart. On raised ridges, plant 15–20cm apart and 7–10cm deep.
If your soil stays wet over winter, start individual cloves in modules in autumn. Keep the trays in a ventilated cold frame or an unheated greenhouse, then plant out in spring once the bed is workable.
Winter and Spring Care
Garlic needs little attention, but it should be watered regularly in spring and early summer as growth picks up. Ease off watering once the foliage starts turning yellow, as this signals that the bulbs are reaching maturity.
Weed between the plants by hand to reduce competition for water and nutrients. Hoeing risks damaging the developing bulbs and their shallow roots. Between rows in the ground, plain cardboard can help suppress weeds, provided you keep the shoots clear.
For garlic in pots, follow the feed label and the planting-stock supplier's guidance, and check moisture regularly in spring, because compost in pots dries out faster than garden soil.
Knowing When to Harvest
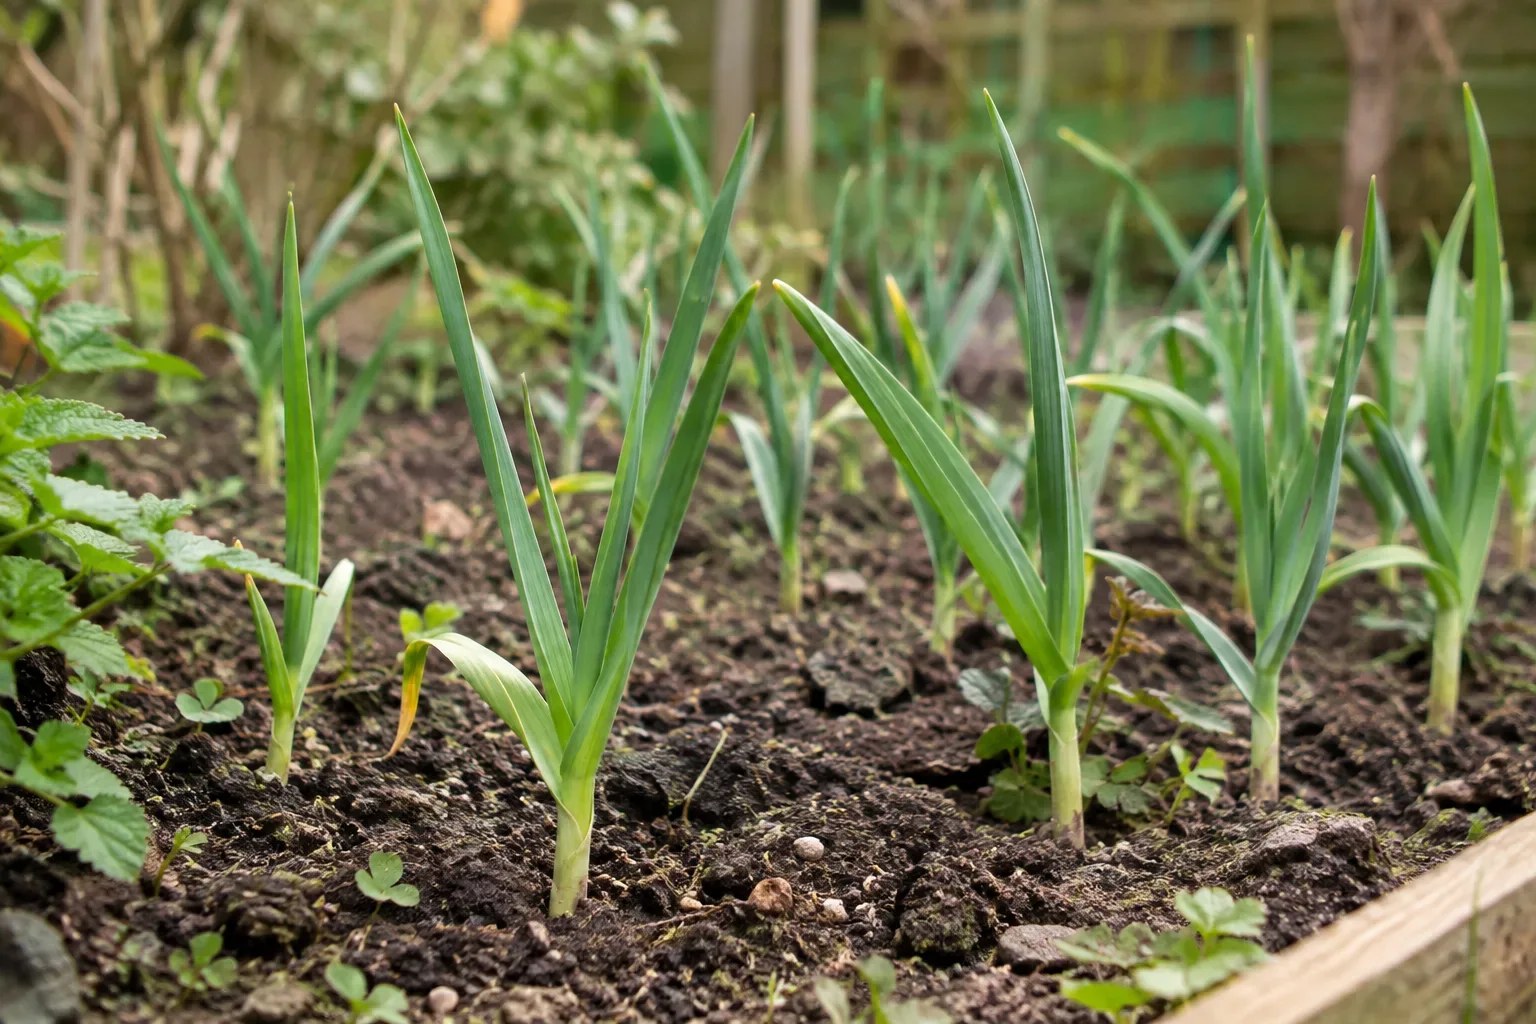
Harvest is signalled by the leaves rather than the calendar. Lift garlic in summer once the leaves turn yellow and the top growth begins to die back, often from July onwards. Gently ease the bulbs out with a fork or trowel, taking care not to damage them.
Autumn-planted garlic is typically lifted in summer, but the exact month depends on variety and season, so judge by the plant in front of you.
Drying, Storing and Keeping Quality
Dry harvested bulbs in a single layer on racks or a table in a sunny place sheltered from rain, and give them a few weeks to dry.
Once the bulbs feel papery to the touch, store them loose or plait the foliage into a traditional string of bulbs. Keep them in a cool, dry place and avoid bruising, as damaged bulbs deteriorate in storage.
Expect a difference between types. Hardneck garlic stores for roughly four to six months, while softneck varieties store longer, so use the hardneck bulbs first.
Troubleshooting
If the crop is struggling, check drainage, planting stock and weed competition first.
- Wet, heavy ground. Wet soil makes garlic more prone to disease, particularly in autumn. Choose freely draining ground, plant on raised ridges, or start cloves in modules under a cold frame on heavy clay.
- Doubtful stock. Use named bulbs from a supplier that sells planting stock, and skip any cloves that are soft, mouldy or damaged.
- Cloves pulled out by birds. Shallow planting makes this worse. Keep about 3cm of soil above the tip, plant deeper on sandy soils and raised beds, and net the bed straight after planting until plants are well rooted.
- Weed competition. Weed by hand between the plants rather than hoeing, which could damage the developing bulbs and their shallow roots.
Related GardenWizz Growing Guides
- How to Grow Onions in the UK
- How to Grow Leeks in the UK
- How to Make Compost at Home
Frequently asked questions
Can I plant garlic in a bed that gets waterlogged in winter?
Use a raised bed or a pot with drainage holes if the ground stays wet. You can also start cloves in modules in a sheltered cold frame and move rooted plants into a suitable bed when the ground is workable in spring.
Should I break up the bulb well before planting?
Keep planting bulbs intact until you are ready to plant. Separate the cloves then, choose firm ones and set them tip up. Leave room around each plant so you can weed between them without working close to the stems.
Useful tools and supplies
Affiliate links may earn GardenWizz a commission at no extra cost to you.