
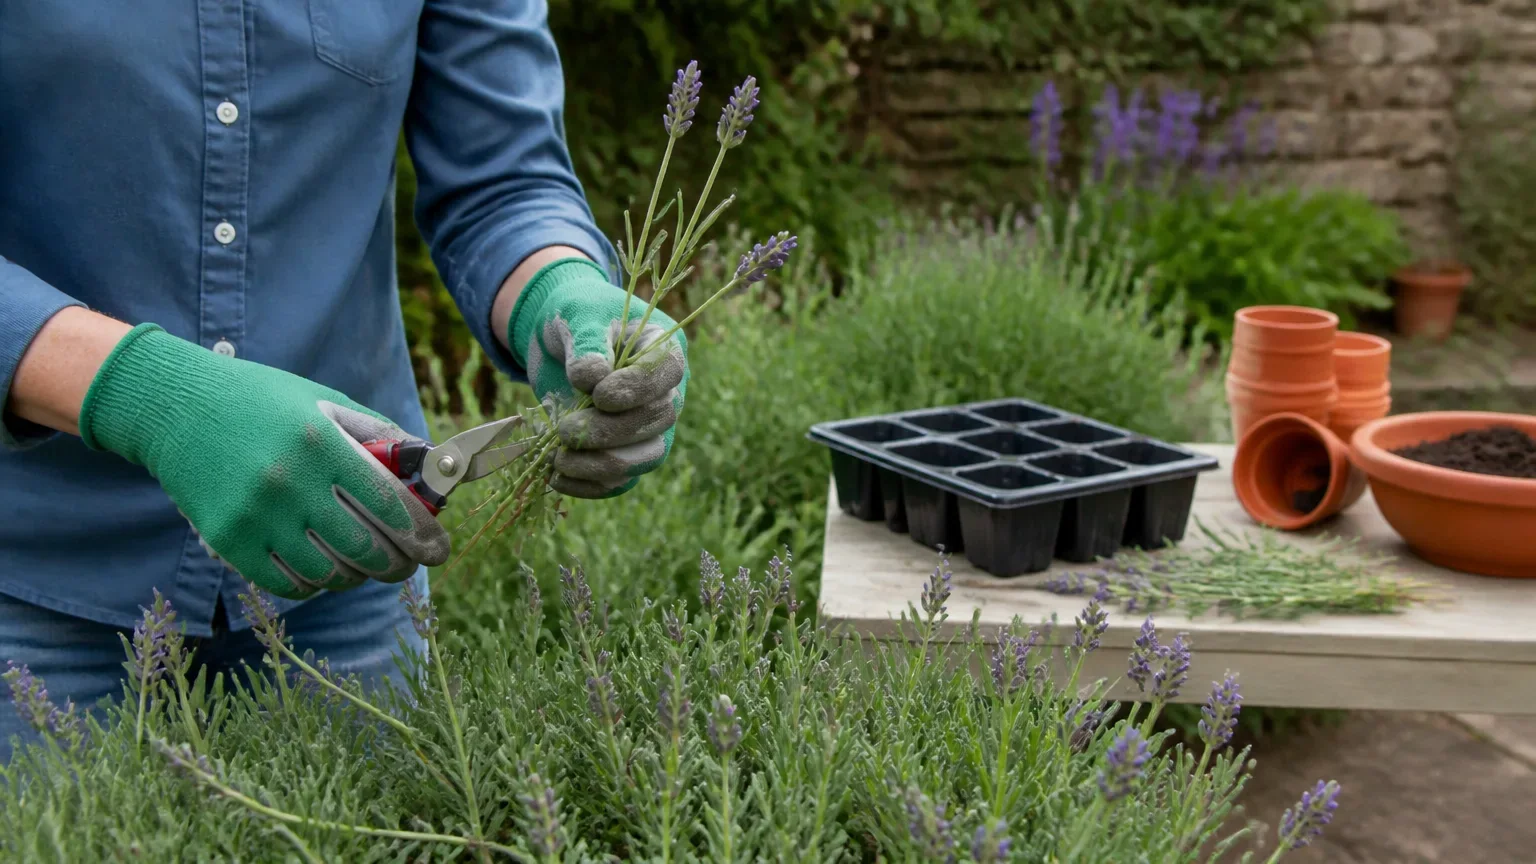
Lavender is one of those plants that quietly earns its place: a low hedge along a path, a froth of colour at the front of a border, or a pot by the door where you can brush past it on a summer evening. It is also short-lived compared with many shrubs, and older plants often become woody and sparse in the middle. Taking your own cuttings is the simplest way to keep a supply of fresh, well-shaped plants coming along — and softwood cuttings, taken from this season's growth while it is still pliable, are the usual method.
This guide walks through the whole job: when to take the cuttings, how to choose and prepare material, what to plant them into, and how to look after them until they are ready to pot on. It is written for UK gardens, where the timing and the weather you can expect both matter.
Why take lavender cuttings
You have a lavender plant you like — perhaps one that has performed well, or a named variety you want more of — and you would like to raise new plants from it rather than buy replacements. You may have tried before and ended up with a tray of limp, rotting stems, or cuttings that sat in the compost for months without rooting.
The goal here is modest and achievable: to take a batch of softwood cuttings at the right stage, look after them sensibly, and end up with a reasonable proportion of rooted young plants. Not every cutting will strike, and that is normal. Taking a few more than you need is part of the method, not a sign of failure.
Before you start
What "softwood" means for lavender
Softwood cuttings are taken from young, current-season growth that has not yet hardened into wood. On lavender this is the soft, green tip growth produced this year. It bends easily between finger and thumb rather than snapping, and it has not yet formed a woody core.
The distinction matters because lavender sits on the boundary between softwood and semi-ripe material. Very soft, sappy tips can collapse quickly, while older, woody stems root poorly. The sweet spot is growth that is still green and flexible but has begun to firm up slightly at the base of the cutting.
When to take lavender cuttings in the UK
For softwood lavender cuttings in the UK, choose healthy new growth in early to midsummer, while the stems are green and still flexible. If you are working later in summer, the shoots may have firmed up and are better treated as semi-ripe cuttings.
Timing is not a single fixed date. It depends on your local climate, the variety, and how the season has gone. In a cool northern garden the growth may be behind; in a warm southern one it may firm up earlier. Watch the plant rather than the calendar: the material is ready when the new shoots are long enough to give you a cutting of a few centimetres below a set of leaves, and when the stems are still green rather than brown.
If you take firmer, semi-ripe cuttings later in summer, allow for slower rooting and protect young plants as the weather cools. The steps below focus on softwood shoots.
Choosing the parent plant
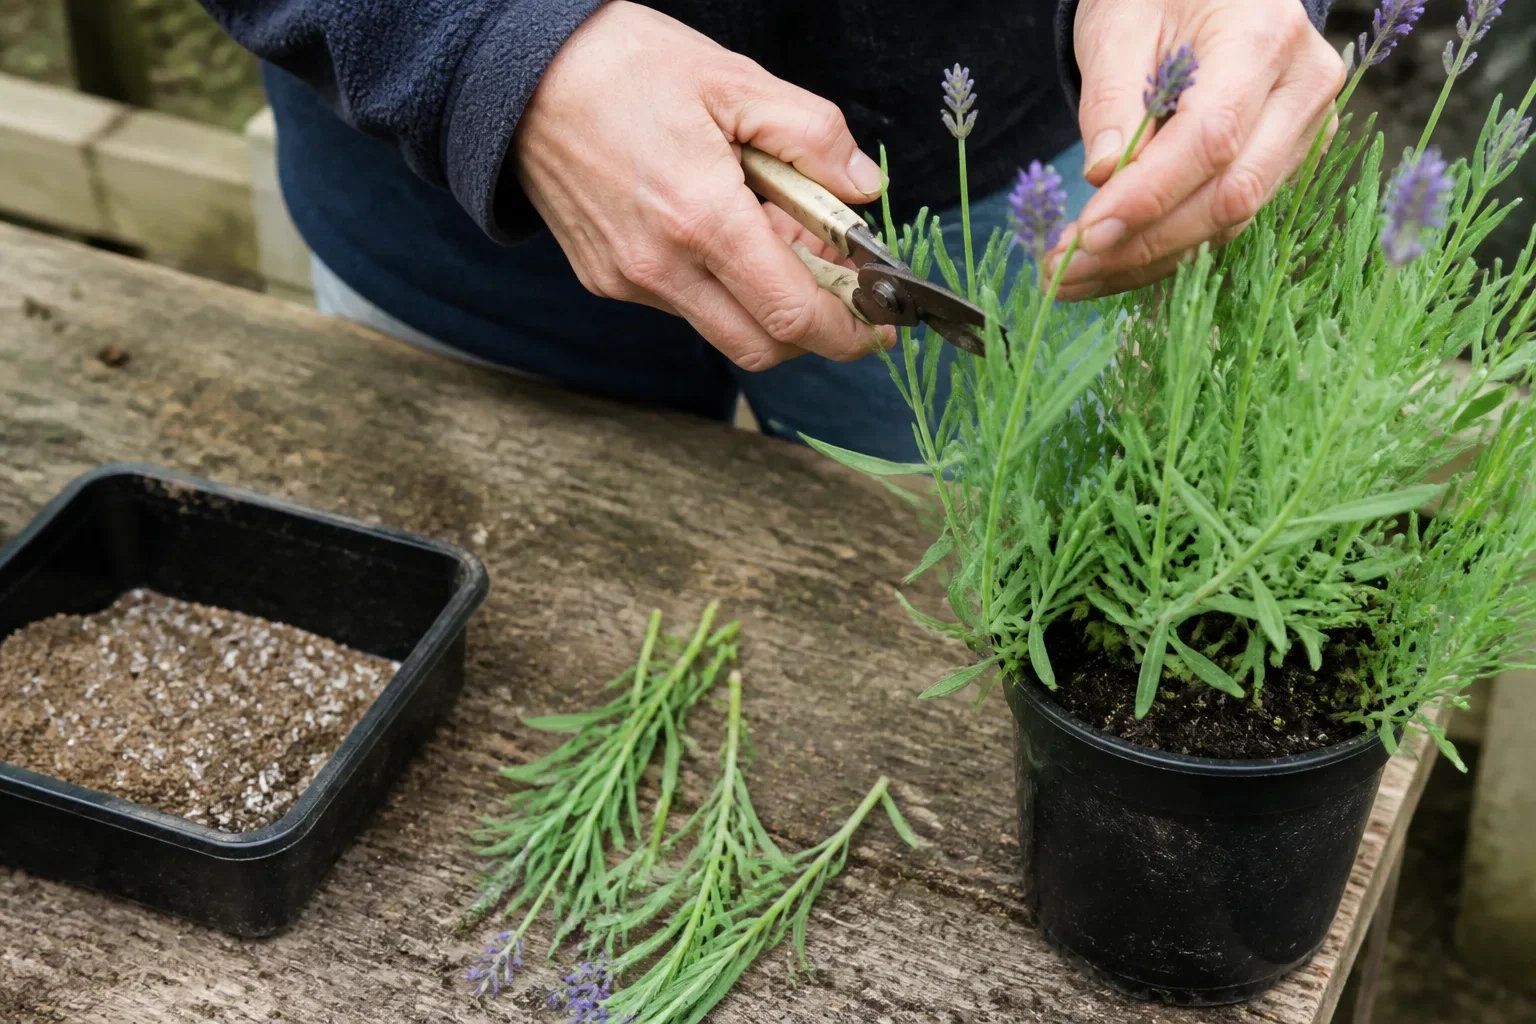
Select healthy, vigorous growth from a plant that is true to the variety you want. Avoid shoots that are flowering, since the plant's energy is going into flower and seed rather than root production, and flowering stems make poorer cuttings. Also avoid any material showing pest damage, discolouration or dieback.
Take cuttings from several shoots around the plant rather than stripping one side. This keeps the parent plant balanced and gives you a more representative batch.
Taking lavender cuttings: step by step
1. Prepare before you cut
Have everything ready so the cuttings spend as little time as possible out of the plant. You will need:
- Clean, sharp secateurs or a sharp knife
- A clean tray or bag to hold the cuttings
- Small pots or a seed tray with drainage holes
- A free-draining cutting compost — a gritty, open mix rather than a rich potting compost
- A clear plastic bag, propagator lid or similar cover to maintain humidity
- A dibber or pencil for making holes
Cleanliness is worth taking seriously. Dirty tools and containers are a common route to rotting cuttings. Wash pots and trays, and wipe or sharpen your blade before you start.
2. Take the cuttings
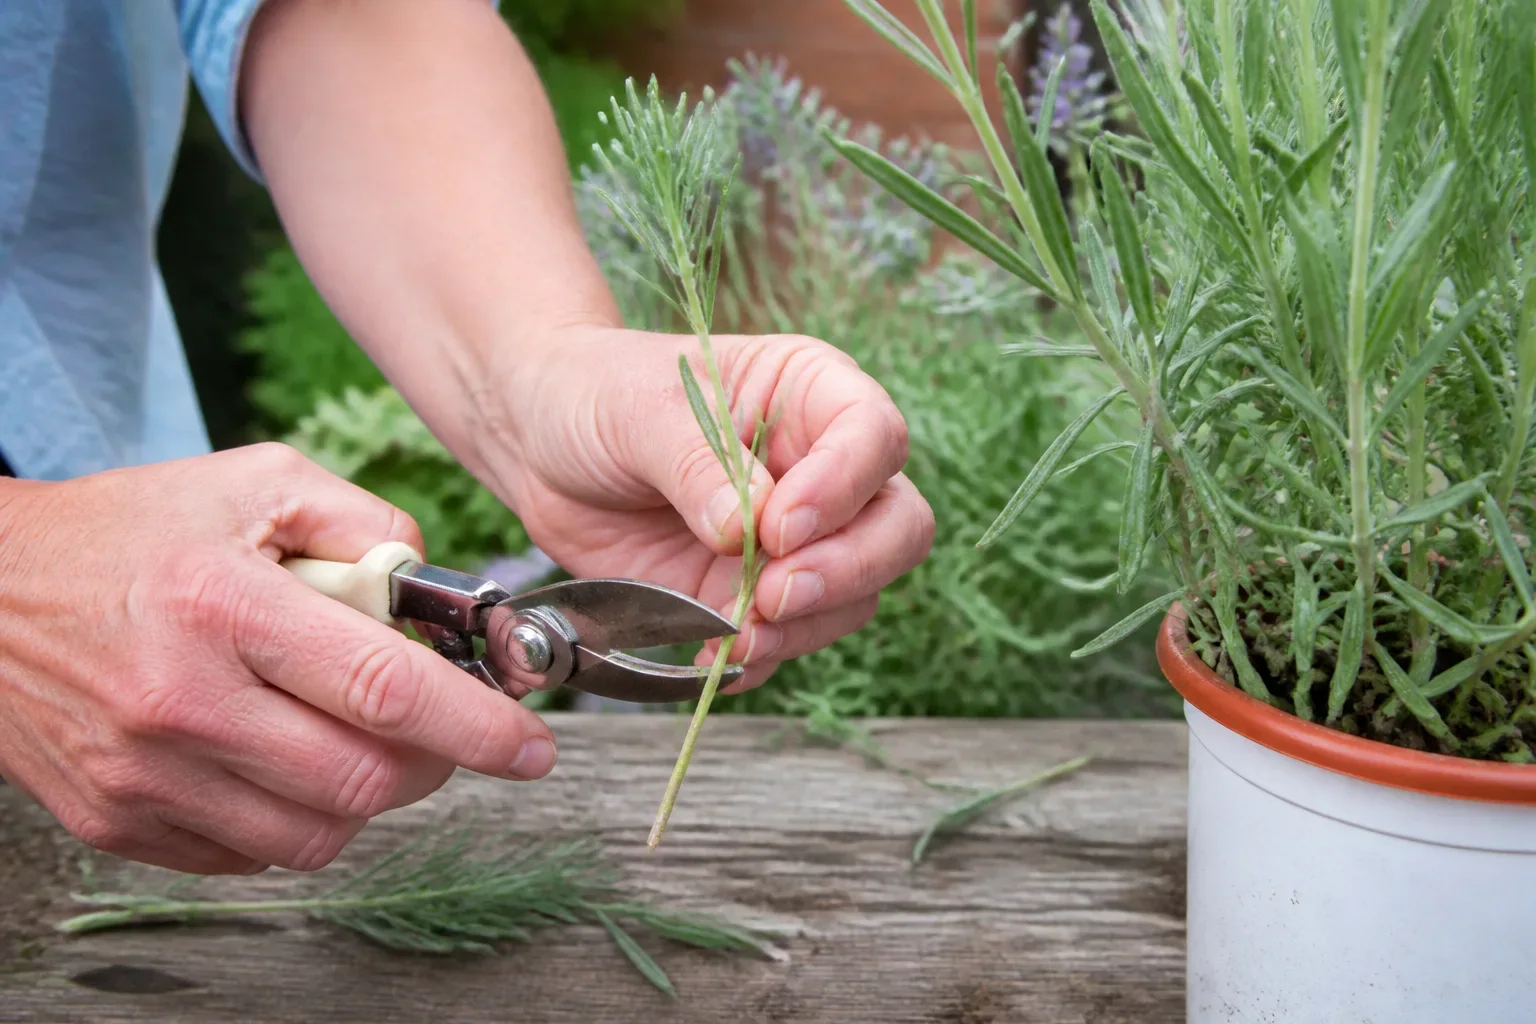
Choose healthy, non-flowering side shoots from this year's growth. Prepare each cutting to about 8-10 cm long using a sharp blade, trimming just below a leaf node — the point where leaves join the stem. Make a clean cut rather than crushing the stem.
Collect the cuttings into your tray or bag and keep them shaded and cool. If you cannot prepare them straight away, wrap them in a damp cloth or place them in a sealed bag in a cool spot. Do not leave them drying in the sun.
3. Prepare each cutting
Working through the material promptly:
- Trim the base of each cutting just below a node with a clean cut.
- Strip the lower leaves so that a clear length of bare stem — roughly the bottom third to half — will sit below the compost surface. Leaving leaves buried in compost invites rot.
- Remove any flower buds or flowers.
- Keep a few leaves at the top. If the remaining leaves are large, you can reduce them slightly to lessen water loss, but do not strip the cutting bare.
Some gardeners wound the base of the stem lightly to encourage rooting. It is not essential for lavender, and a clean cut is the priority.
4. Insert into compost
Fill your pots or tray with the free-draining mix and firm it gently. Water the compost before inserting the cuttings so it is moist but not sodden.
Make a hole with a dibber or pencil and insert each cutting so that the stripped section of stem is below the surface and the leaves sit just above it. Firm the compost around the stem gently — you want good contact without crushing it. Space cuttings so their leaves do not overlap heavily, which helps airflow and reduces disease.
5. Cover and place
Water lightly to settle the compost, then cover with a clear plastic bag or propagator lid to hold in humidity. Place in a warm, bright spot out of direct, scorching sun — a bright windowsill or a shaded greenhouse bench works well. Too much direct sun through a cover can cook the cuttings; too little light makes them weak and leggy.
Common mistakes and alternatives
Common problems and how to avoid them
Cuttings rot before rooting. This is the most frequent failure. It usually comes from compost that is too wet, a cover that traps too much condensation, or leaves buried in the compost. Keep the mix just moist, remove excess condensation from the cover, and make sure the stripped stem, not the leaves, is what sits below the surface.
Cuttings dry out and collapse. The opposite problem: too little humidity, or cuttings left too long before insertion. Get them into compost promptly and keep the cover in place.
Cuttings sit for months without rooting. Material taken too early (too soft) or too late (too woody) roots poorly. Aim for the firm-but-flexible stage, and be patient — lavender can be slow, and rooting may take several weeks.
Mould or grey fuzzy growth. Poor airflow and excessive damp are usually behind this. Ventilate the cover for a short time each day, remove affected cuttings promptly, and avoid overcrowding.
Flowering material used. Flowering shoots root less reliably. Choose non-flowering growth where you can.
Alternatives worth knowing
If you miss the softwood window, semi-ripe cuttings taken later in the season from firmer growth are the usual follow-on method, though they root more slowly. Layering — bending a low stem to the ground and pinning it until it roots — is another option, particularly for a plant you want to propagate in place. And if you simply want more lavender quickly, buying named plants remains the most reliable route, especially for a specific variety you want to match exactly.
Aftercare and potting on
Checking for roots
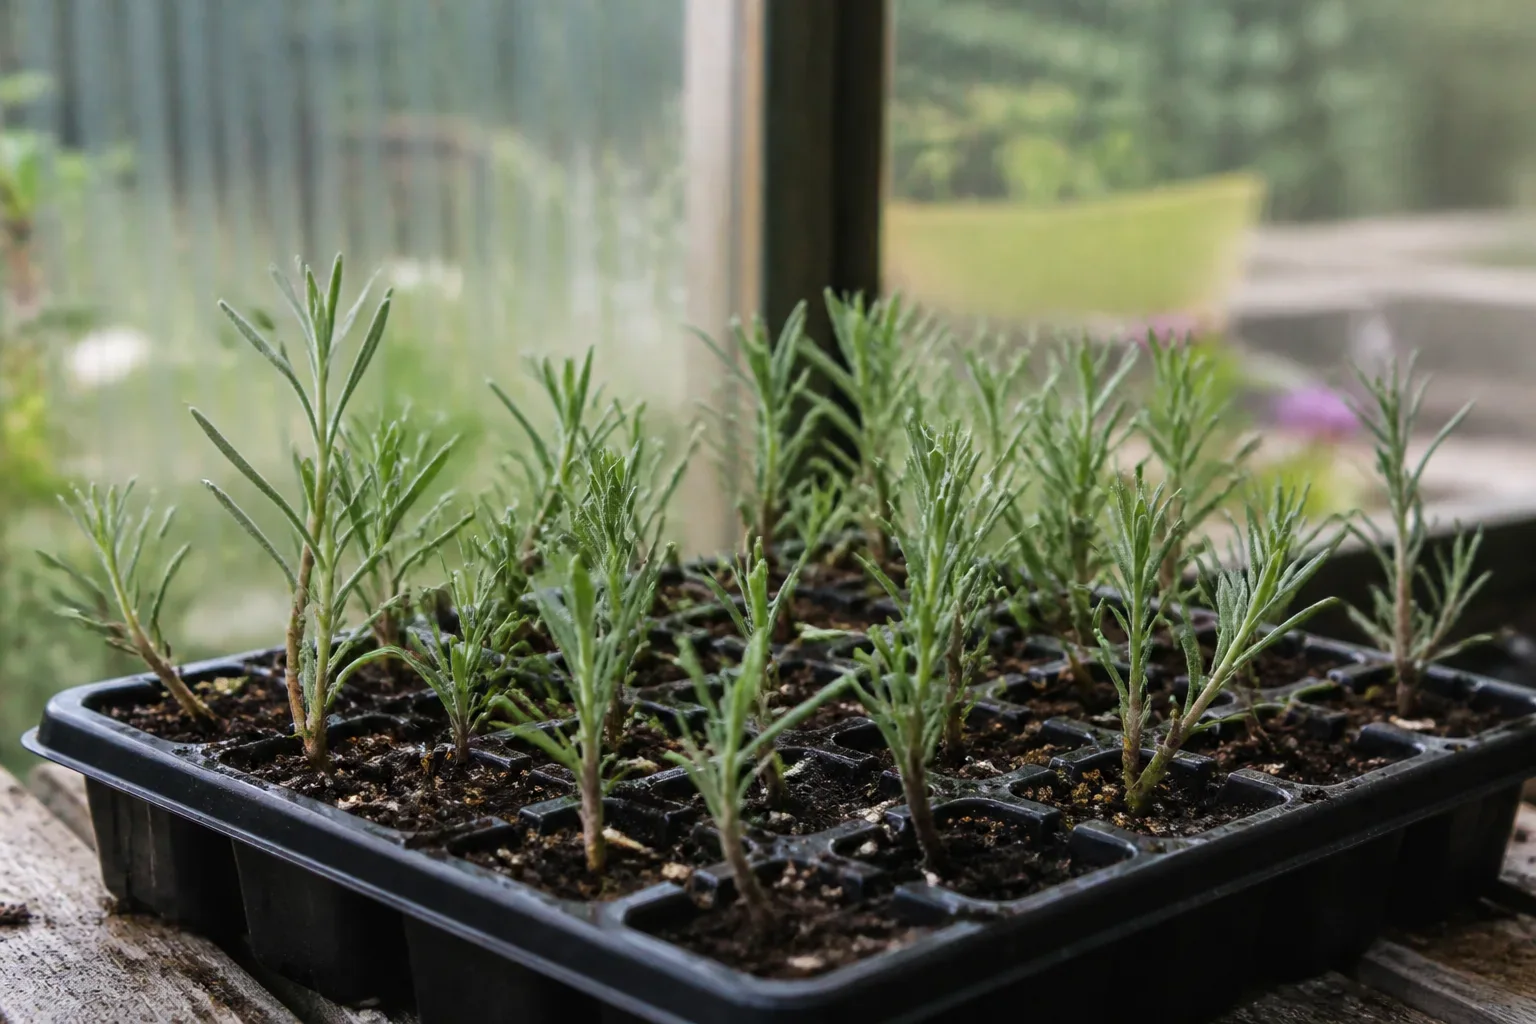
Resist the urge to tug at cuttings to test them. Instead, watch for new growth at the tips, which is a good sign that roots are forming. After several weeks, you can gently lift a pot or ease one cutting from the edge of the tray to check. Roots will appear as fine white threads.
Once roots are visible, gradually harden the cuttings off by opening or removing the cover over a week or so, so they adjust to normal humidity. Keep them in a sheltered, bright spot.
Potting on and overwintering
Pot rooted cuttings into individual pots of free-draining compost and grow them on in a sheltered position. In the UK, young lavender plants raised in late summer are best kept in a cold frame, unheated greenhouse or similarly protected spot through their first winter, then planted out the following spring once the risk of hard frost has passed. Avoid planting out into cold, wet soil in autumn.
Looking after the young plants
Keep new plants watered while they establish, but lavender dislikes sitting wet. Good drainage and plenty of light are the priorities. Pinch out the tips of young plants to encourage a bushy shape rather than a single straggly stem.
Taking your own lavender cuttings is a slow, quiet sort of gardening — a tray on a windowsill, a bit of patience, and a handful of new plants to show for it. Take more cuttings than you think you need, keep the compost on the dry side of moist, and give them light and air. The failures will teach you as much as the successes.
Useful tools and supplies
Affiliate links may earn GardenWizz a commission at no extra cost to you.