
Designing a Wildlife Pond
A well-designed wildlife pond is the single most powerful feature you can add to a UK garden. It pays back faster than almost any other planting project: dragonflies arrive in the first summer, frogs…
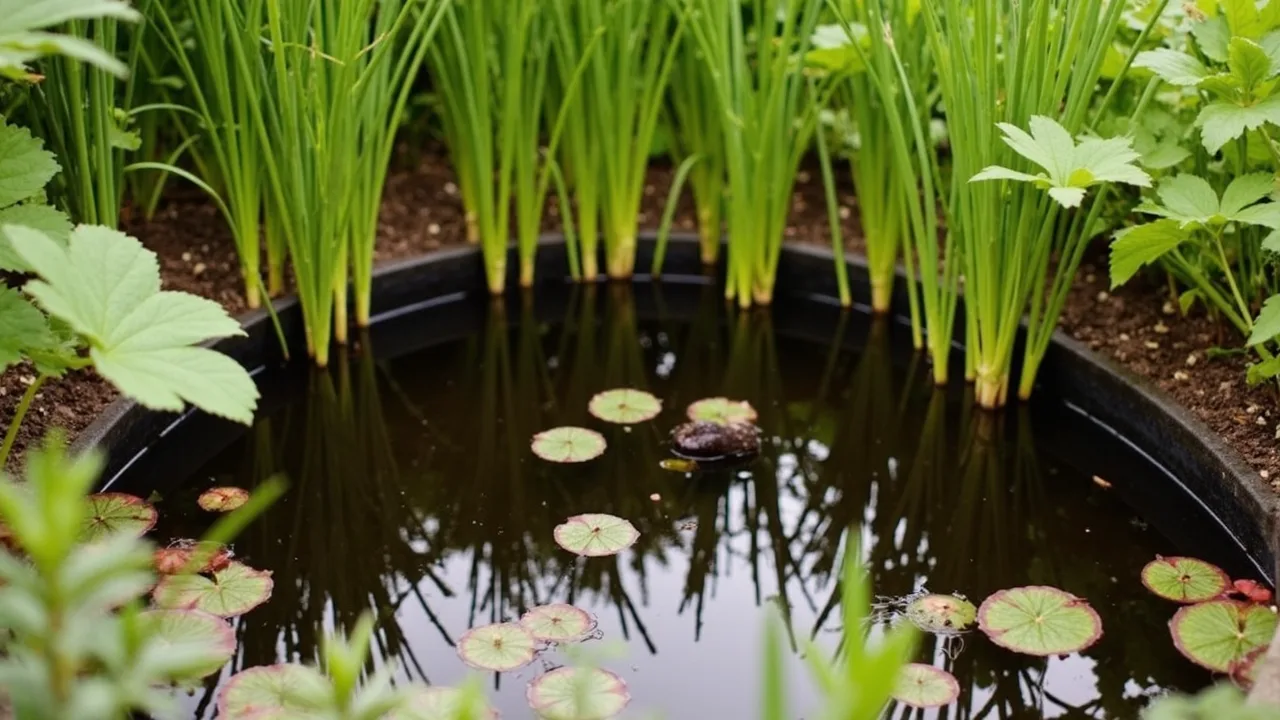
A well-designed wildlife pond is the single most powerful feature you can add to a UK garden. It pays back faster than almost any other planting project: dragonflies arrive in the first summer, frogs usually within a year, and a healthy pond quietly regulates slugs, mosquitoes and compost-Heap leachate for decades. A bad one — too shallow, too steep, in the wrong place — turns green, smelly, and unusable. The difference is design, not luck.
The best time to dig is autumn (September to early November) when the ground is workable, the water table is rising, and the soil can settle over winter. You can also dig in early spring (March to mid-April), but avoid the main bird nesting season (March–August) and the frost windows. Aim to finish and fill by mid-April so amphibians have a breeding pond ready for the season.
Why and when a wildlife pond works in the UK
The UK is unusually well-suited to garden ponds. Mild, wet summers, frost-free windows in the south and west, and a long history of amphibian colonisation make a 2 m × 2 m pond viable in almost every region. The Wildlife Trusts and Pond Conservation recommend a minimum surface area of about 2 m² and a minimum depth of 60 cm, but bigger is better: a 3 m × 2 m pond with a deep zone of 75–90 cm is more stable through a hot July and survives a cold snap better.
Choose a site that gets 4–6 hours of direct sun (helps newts and warms the water in spring) but is not in full sun all day — too much sun encourages blanket weed. Sit it on level ground, away from overhanging trees (leaf litter, falling branches, shading) and at least 1.5 m from a fence so you can maintain the edge. Avoid siting directly under a bird feeder or under a roof drip line.
What you'll need
- Liner: butyl rubber, 0.75 mm (most reliable for a lifetime install) or 1 mm EPDM. Pre-formed plastic shells are rigid and limit shape — avoid them for wildlife.
- Underlay: old carpet, sand, or purpose-made geotextile, 100–150 mm bigger than the liner on every edge.
- Excavation tools: spade, half-moon edger, wheelbarrow, a plank to kneel on.
- Substrate and edging: a few barrow-loads of washed sand, cobbles, log sections, paving slabs, and a bag of aquatic soil if you plan to plant deep-water aquatics.
- Plants: oxygenators (2–3 bunches, in 1-litre pots), marginal plants (4–6 in 9 cm or 1-litre pots, on planting shelves), and one water lily for a 2 m²+ pond.
- Water: tap water is fine in the UK (no chlorine treatment needed for wildlife in most cases, but let it stand 24 h if you use a lot).
For a typical 3 m × 2 m pond, expect to shift 2–2.5 cubic metres of soil. That is roughly 35–40 barrow loads — a serious but manageable weekend job for two people.
Step-by-step: building the pond
1. Mark and dig the shape
Lay out a hosepipe or sand line on the lawn. A natural kidney or oval shape is easier to landscape than a perfect rectangle. Dig a marginal shelf first, 200–300 mm wide, 100–200 mm deep, all the way around — this is where bog plants sit. Then dig the main bowl to a central depth of 75–90 cm. Leave a sloping ramp on one side at about 20–30° so hedgehogs, frogs, and fledglings can walk out if they fall in. This ramp is the single most important wildlife feature of the design.
2. Tamp and protect the bed
Remove every sharp stone, root, and clod. Compact the base by walking on it. Add a 50 mm layer of damp sharp sand, then the underlay (carpet or geotextile), then the liner. Let the liner slump and settle for at least 30 minutes before filling — never stretch it taut.
3. Fill slowly, in stages
Fill with a hose to about 50 mm depth first, then walk around the pond to let the liner settle. Top up while the liner is still slack. Filling a 3 m × 2 m × 0.8 m pond takes roughly 2,000 litres — about an hour on a standard outdoor tap.
4. Edge the pond
Paving slabs on the marginal shelf double as planting ledges and a place to stand. Let turf or marginal plants overhang the edge by 50–80 mm so at least one third of the perimeter is hidden by vegetation — this is what gives the pond its wildlife value, exposing a hard rim puts amphibians off.
5. Plant in the right zones
- Oxygenators (hornwort, curled pondweed, water starwort): drop bunches, weighted with a pebble, into the deep zone — aim for a clump every 30–40 cm.
- Marginals (marsh marigold, water mint, purple loosestrife, brooklime): in 9 cm or 1-litre pots on the shelf, in 50–100 mm of water.
- Floaters (frogbit, water hyacinth — avoid invasive floating pennywort): a small handful in the open water.
- One water lily for ponds over 2 m²: choose a small cultivar such as Nymphaea 'Pygmaea Helvola' for a 2 m² pond, larger ones for bigger ponds. It should cover about a third of the surface at maturity — too much shade and the water goes stagnant.
Common mistakes to avoid
- Sheer sides with no ramp. This is the most common wildlife-killing design error. Always include a gentle slope on at least one side, ideally with stones or logs breaking the line.
- Koi or goldfish. Fish eat amphibian eggs and larvae. A true wildlife pond has no fish, or at most a few native sticklebacks in a very large pond.
- Too deep, too soon. A 1.5 m deep pond in a small garden is a wasted, dangerous hole. The 60–90 cm range is the sweet spot.
- No marginal shelf. Marginal plants filter the water and provide cover for newts. A flat-bottomed bucket shape with vertical sides is functionally a swimming pool.
- Pumps and fountains. Wildlife ponds are still, or nearly still. A fountain will drain spawn and disturb breeding. Skip it.
- Concrete or treated timber against the water. Lime from fresh concrete raises pH and kills invertebrates. Use natural stone or untreated oak.
Troubleshooting
- Green water in the first 6–8 weeks. Normal — nutrient flush from soil and new planting. It usually clears as plants establish. If it persists into the second summer, add more oxygenators and a small barley bale in spring.
- Blanket weed (long green strands). Twirl out with a stick. The cause is too much sun and not enough competition — add a water lily and trim back overhanging plants.
- No amphibians by year two. Check the ramp works, confirm you have at least 60% of the edge planted, and add a log pile within 1 m. Frogs often colonise a neighbouring pond first.
- Herons taking fish (if you do have fish). A 50 mm mesh laid 100 mm above the surface, or a thin wire perimeter at 30 cm, deters them.
Tips for a thriving pond
- Leave it alone in autumn. Don't cut back marginal plants until late February — old stems harbour overwintering insects and egg cases.
- Top up in summer with rainwater if possible. Tap water is fine short-term, but in a drought it can push pH up.
- Add a log pile within a metre of the edge. Frogs, toads, and grass snakes all use it for cover.
- Skip the water lilies for the first year if the budget is tight — oxygenators and marginals will establish the pond for you.
- Register your pond with the Big Pond Dip or your local Wildlife Trust record — it contributes to national amphibian monitoring.
A well-designed wildlife pond is a 30-year project in a weekend. The dig is the hard part; the rest is patient waiting for nature to do what it has done in British gardens for centuries. Once the newts arrive, you have created a small, living piece of the wider countryside.

Recommended Products
GardenWizz earns a commission from qualifying purchases made through affiliate links on this page (including links within the article) — as an Amazon Associate, and from Thompson & Morgan via the Awin network. This does not affect the price you pay. See our disclaimer for details.
Related Articles
More →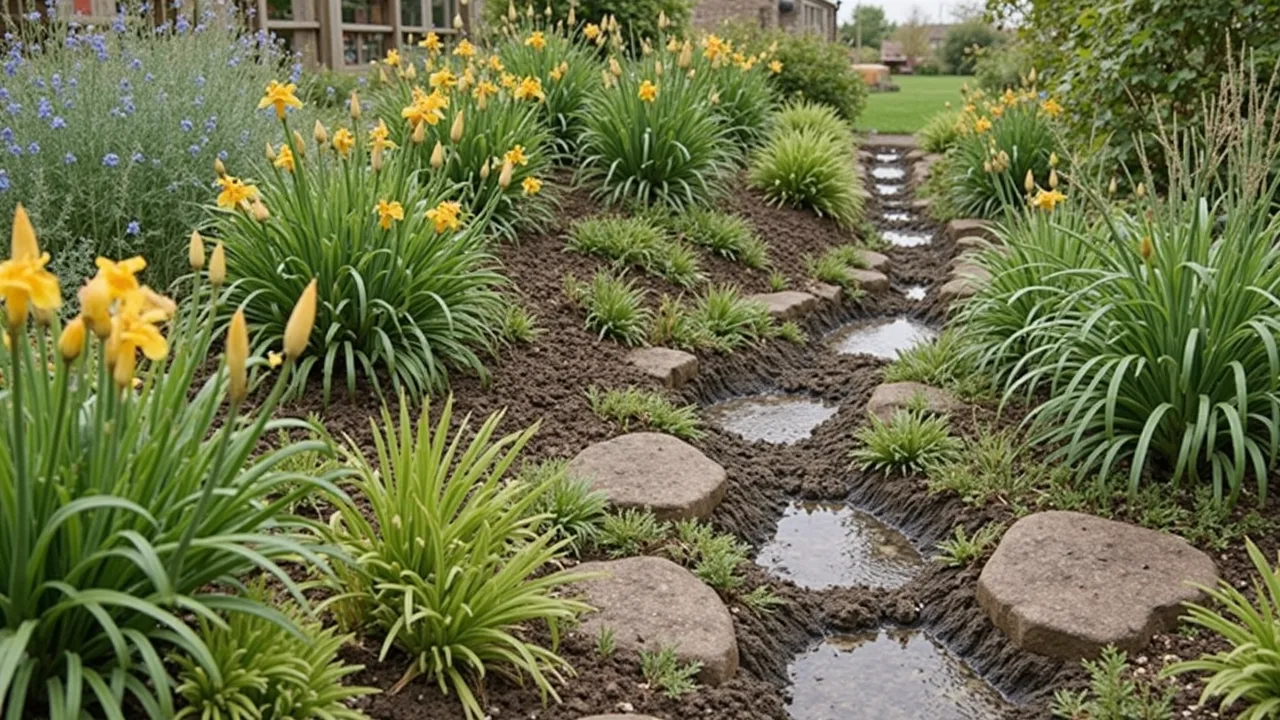 Garden Design
Creating a Rain Garden
12 June 2026A rain garden is a shallow, planted dip in the lawn or border that catches roof and paving runoff, lets it soak into the ground, and filters it through plant roots on the way down. In a UK garden it…
 Garden Design
How to Attract Birds to Your Garden
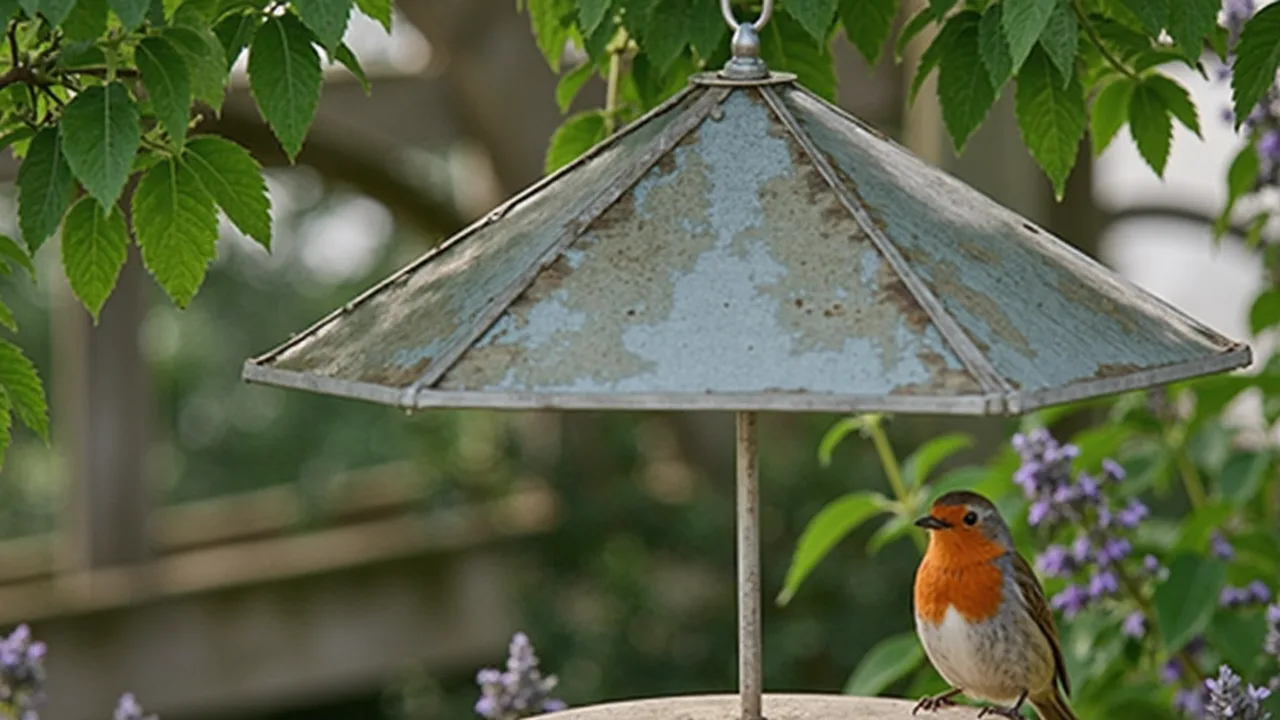
12 June 2026A garden with birds is a working garden. They eat aphids, caterpillars, slugs and snails; they pollinate as they forage; and they tell you, quickly, when something in your patch is out of balance.…
 Garden Design
Best Climbing Plants for UK Walls and Fences
12 June 2026A bare fence or blank wall is wasted growing space. Choose the right climber and that same square metre of garden becomes flowers from May to October, shelter for nesting birds, a windbreak for the…