
How to Build a Simple Compost Bin
A home compost bin turns roughly a third of your household waste — peelings, tea bags, cardboard, prunings — into free, peat-free soil improver. For a UK gardener it is the single cheapest upgrade…
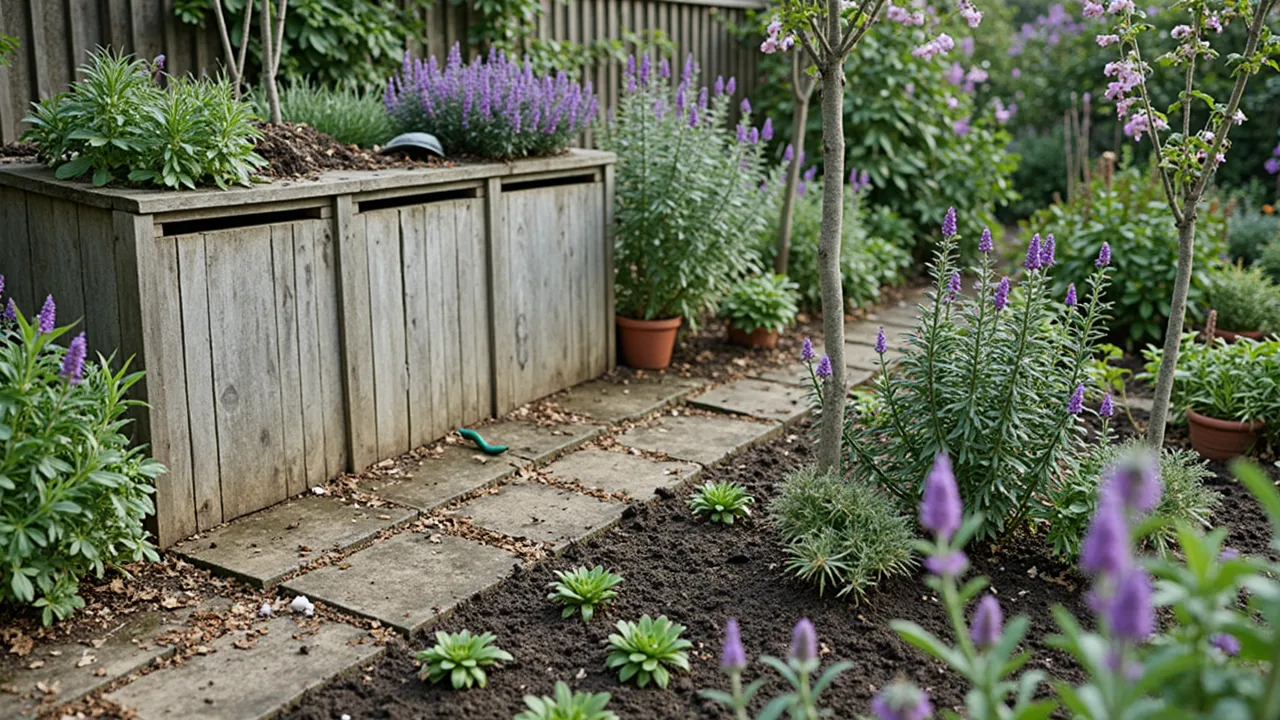
A home compost bin turns roughly a third of your household waste — peelings, tea bags, cardboard, prunings — into free, peat-free soil improver. For a UK gardener it is the single cheapest upgrade you can make: one bin, built in an afternoon, feeds beds and borders for years. This guide covers the simplest, most reliable bin to build at home using timber pallets, plus the composting basics that make it actually work.
Why bother, and when to start
Composting at home diverts around 200–300 kg of material per person a year from kerbside collection, and returns it to the soil as a conditioner that holds moisture and feeds worms and microbes. In a typical UK garden, one well-managed 1 m × 1 m bin produces roughly 150–200 litres of usable compost a year — enough to mulch two vegetable beds or top-dress a small lawn.
The best time to build a compost bin is autumn or early spring. Autumn gives you a free supply of fallen leaves (the ideal "brown" ingredient) before winter, and the heap will be quietly working through the cold months ready for use the following spring. Starting in March or April also works well: the heap warms up fast as temperatures rise and you'll get a usable batch by late summer. You can build the bin in any month — it is the filling and turning that benefits from warmer soil.
What you'll need
Materials for a single 1 m × 1 m pallet bin:
- 4 timber pallets of the same size (standard UK Euro pallet is 800 mm × 1200 mm; garden-centre pallets are often 1 m × 1 m — either works, just trim to suit)
- 4 corner posts: 100 mm × 100 mm treated timber, 1.5 m long (or 4 sturdy fence posts)
- 20–24 wood screws or coach bolts, 60–80 mm long, with washers
- A roll of chicken wire or 4 wooden battens (optional, to brace the front pallet so it can be removed)
- A sheet of old carpet or a piece of thick cardboard for the top "lid"
- A roll of weed-suppressing membrane if the bin will sit on grass (optional)
Tools: cordless drill with a pilot-hole bit and driver bit, a hammer, a saw if pallets need trimming, and a spirit level. A staple gun is handy for attaching membrane.
Avoid: chemically treated pallets that smell strongly of creosote or solvent. Look for pallets stamped HT (heat-treated) rather than MB (methyl bromide). For most domestic builds, standard shipping pallets are fine once any loose nails are hammered flat.
The ingredients — keep this ratio in mind from day one:
- Greens (nitrogen-rich): vegetable peelings, coffee grounds, tea bags, grass cuttings, soft prunings. Aim for one bucket.
- Browns (carbon-rich): dry leaves, shredded cardboard, egg boxes, straw, twiggy prunings, scrunched paper. Aim for one bucket.
- Roughly 50:50 by volume is the rule of thumb. Layered 1 bucket browns to 1 bucket greens, with a handful of soil or finished compost every few layers to introduce the microbes that drive the process.
Step-by-step: building a 1 m × 1 m pallet bin
- Pick the site. Choose level ground in part-shade or full sun — full sun speeds decomposition in spring and autumn, while shade prevents the heap drying out in midsummer. Site it directly on bare soil (not concrete) so worms can colonise from below. Leave at least 30 cm clearance on the side you'll open for turning and shovelling out the finished compost.
- Prepare the base. Fork over the soil lightly to loosen the top 5–10 cm. If weeds are a concern, lay a single sheet of cardboard or a square of weed-suppressing membrane first; this smothers couch grass and bindweed without sealing the heap from the soil life.
- Cut four posts. Saw the 1.5 m posts to 1.2 m each, or leave full length and sink 30 cm into the soil for a sturdier bin on soft ground. A taller bin holds more but is harder to turn — 1 m above ground is the practical sweet spot.
- Stand the first three pallets. Slot one pallet between two corner posts and one between the other two, so the posts sit at the outside corners. Drive the screws through the pallet blocks into the posts — pilot-hole first to avoid splitting. Stand the third pallet on the remaining open side to form the back and sides. Use a spirit level to check the first pallet is upright.
- Fit the fourth pallet as the front. Screw it in place for now, then either hinge it on the top edge (using a couple of heavy-duty gate hooks) or simply leave it removable. A removable front is simpler and makes shovelling out finished compost far easier.
- Brace the corners. Add a short batten diagonally across each inside corner, screwed into both the post and the pallet. This stops the bin racking out of square as the heap gets heavy and wet.
- Cover the top. Lay a piece of old carpet, a sheet of cardboard, or a cut-to-size piece of corrugated plastic on top. The lid should weigh the heap down and shed rain, but not be airtight — air needs to get in.
- Start filling. Add a 10–15 cm layer of twiggy prunings or scrunched cardboard at the bottom to aid airflow from beneath. Then alternate in roughly 10 cm layers: a brown layer, a green layer, a light sprinkle of soil. Continue until the bin is full. A full bin heats up and composts far faster than a half-empty one.
Common mistakes to avoid
- All greens, no browns. Grass clippings alone turn into a slimy, smelly, anaerobic mess. Mix one bucket of greens to one of browns, especially after mowing the lawn.
- Letting the heap dry out. In a UK summer a bin can stop working after 3–4 dry weeks. Water it with a can when you add dry layers, and aim for the consistency of a wrung-out sponge.
- Letting it get waterlogged. The opposite problem after heavy autumn rain. Loosen the top with a fork, add a fresh layer of dry browns (cardboard, straw), and keep the lid shedding rain rather than funnelling it in.
- Adding the wrong things. Cooked food, meat, fish, dairy, and bread attract rats. Cat and dog waste can carry parasites. Persistent weeds with seed heads (dandelion, groundsel, hairy bittercress) survive composting unless the heap reaches 60 °C — which a small home bin rarely does, so send those to the council green waste instead.
- Not turning it. A heap that is never forked over takes 12–18 months. Turned every 6–8 weeks, it produces usable compost in 4–6 months in summer.
Troubleshooting and tips
The heap smells of ammonia or rotten eggs. Too wet and too green. Fork it out, add a thick layer of dry browns (cardboard, straw, dry leaves), and mix through. Smell should clear within a week.
Nothing is happening after two months. Usually too dry, too small, or too low on greens. Add a bucket of fresh grass clippings or chicken manure, water until moist, and fork the heap to introduce air. In cold weather (below 5 °C) the heap will simply pause — it will restart as the soil warms.
Rats have moved in. They are usually after food waste. Switch to a closed bin (the wooden one in this guide is open — the front pallet is the only barrier) or add a wire mesh floor. Stop adding cooked food, bread, and cereals. Avoid putting in whole nuts and seeds, which attract them.
It's full of flies. These are usually harmless vinegar flies (small, hovering) feeding on fruit peel. Bury new kitchen scraps under a 10 cm layer of browns and they vanish within a day or two. If you see large flies, maggots, or smell rotting meat, the rats advice applies.
Pro tip — the autumn leaf shortcut. Fallen leaves in October/November compost slowly on their own (leaf mould takes 12–24 months). To speed it up, run a mower over the leaves first to shred them, mix one part grass clippings to three parts leaves, and the heap will be ready by spring.
UK-specific notes
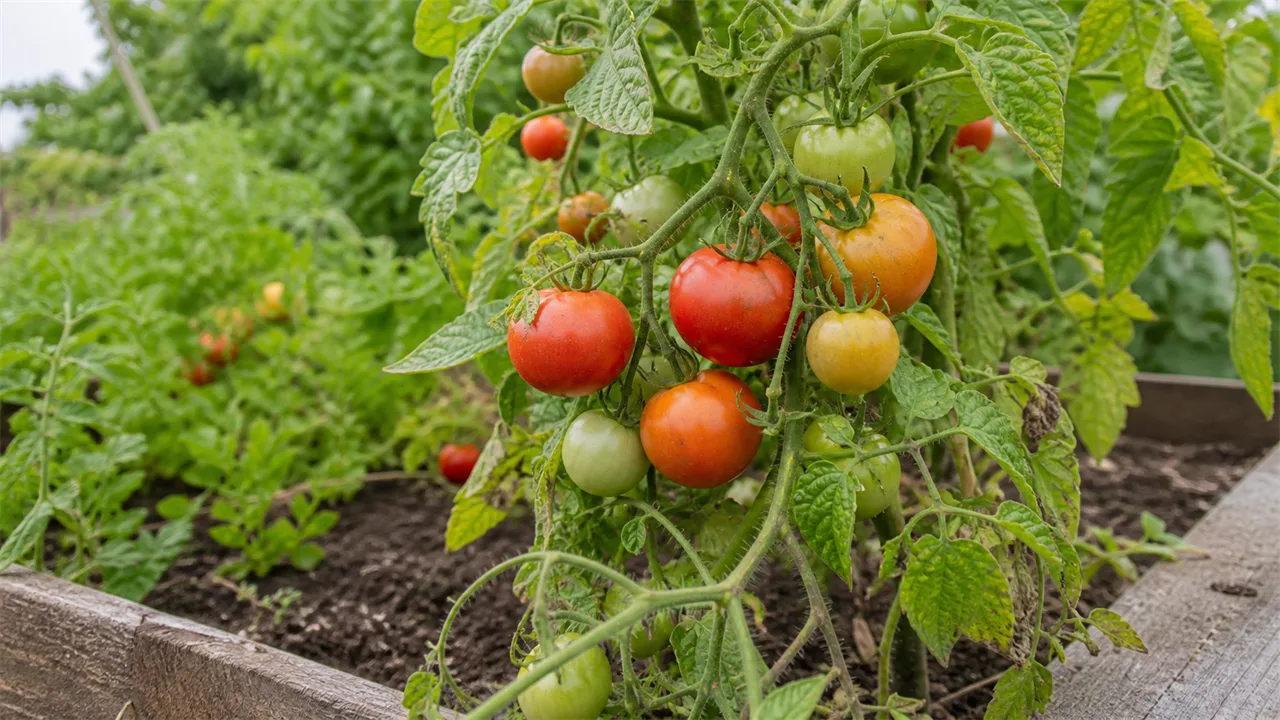
- British spellings throughout — compost, fibre, colour, flavour (this one is for your tomatoes).
- Compost is sold by the litre in UK garden centres, not by the cubic yard. A standard 1 m × 1 m bin holds roughly 1,000 litres when full.
- Council collections — most UK councils now collect food waste separately. The cooked food, meat, and bread that don't belong in a home bin go in your caddy instead.
- Wood preservatives — if you want to extend the life of the timber, use a plant-safe, water-based wood treatment. Traditional creosote is banned for domestic use in the UK.
- For an even simpler build — the "New Zealand box" uses four wooden pallets bolted at the corners with no posts, and the bottom pallet can be slid out the front to harvest compost. Same principle, 20 minutes of work.
A simple compost bin costs £20–40 in timber and screws, lasts 5–10 years, and pays for itself within a season in reduced bagged compost and bin collections. Build it once, fill it properly, and your garden will quietly feed itself.
Plants in this guide
Recommended Products
GardenWizz earns a commission from qualifying purchases made through affiliate links on this page (including links within the article) — as an Amazon Associate, and from Thompson & Morgan via the Awin network. This does not affect the price you pay. See our disclaimer for details.
Related Articles
More →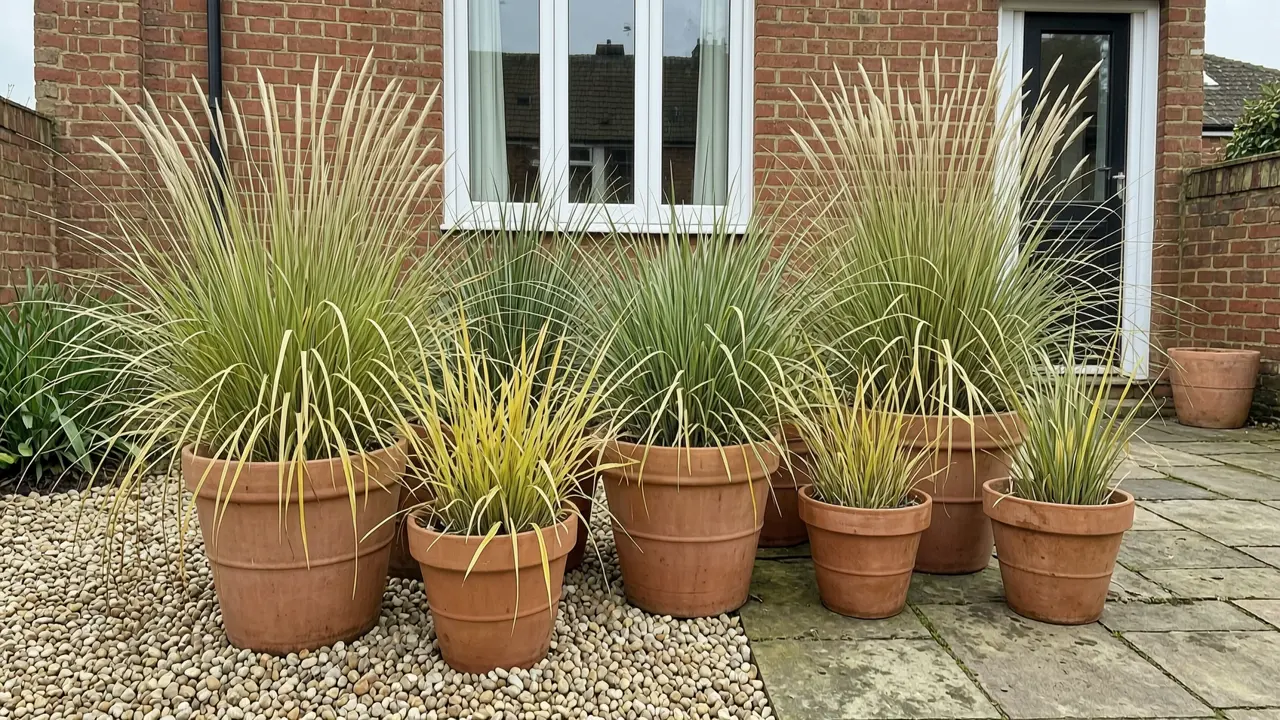 Growing Guide
How to grow ornamental grasses in pots
5 August 2026Grow ornamental grasses successfully in containers with advice on pot size, compost, watering, feeding, winter care and long-term maintenance.
 Growing Guide
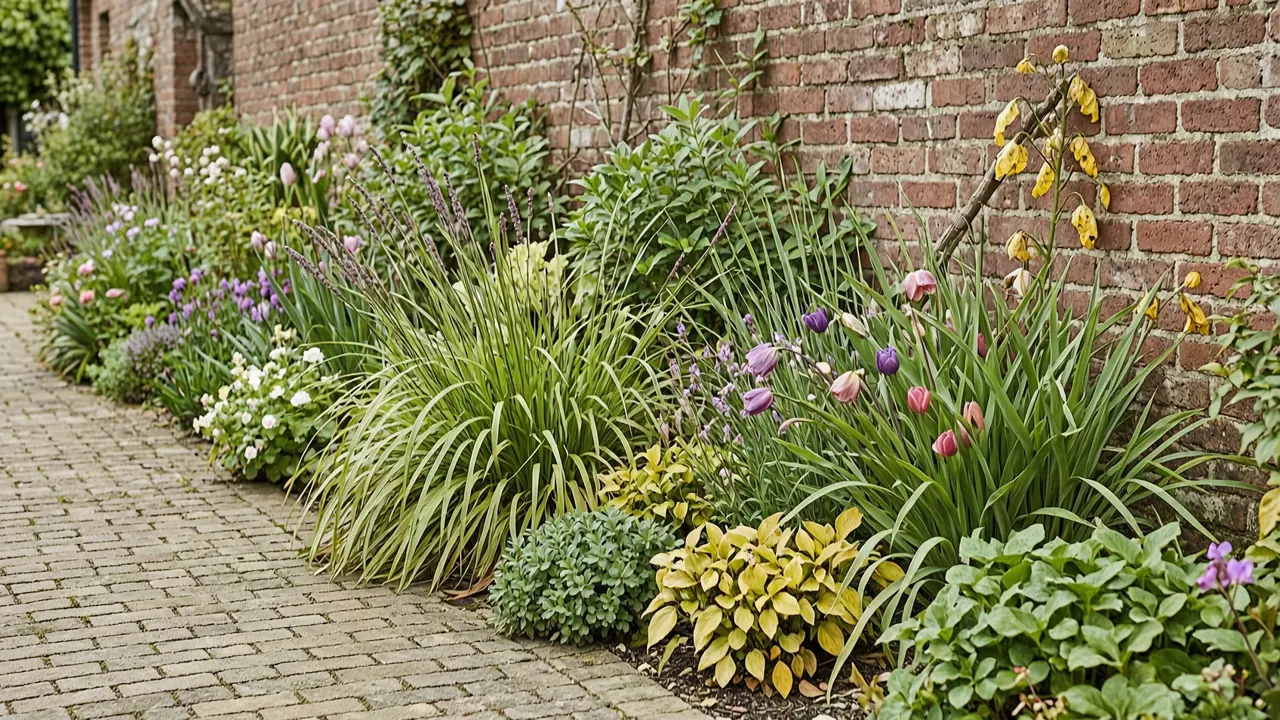
How to plan a perennial border
5 August 2026Plan a balanced perennial border with practical guidance on position, colour, height, spacing, flowering succession and year-round structure.
 Growing Guide
How to take hardwood cuttings
29 July 2026Take hardwood cuttings from suitable dormant shrubs and climbers with this step-by-step guide to timing, preparation, rooting and aftercare.