
How to Harden Off Seedlings Before Planting Out
Hardening off seedlings is the crucial step that transforms tender indoor-grown plants into resilient outdoor gardeners.
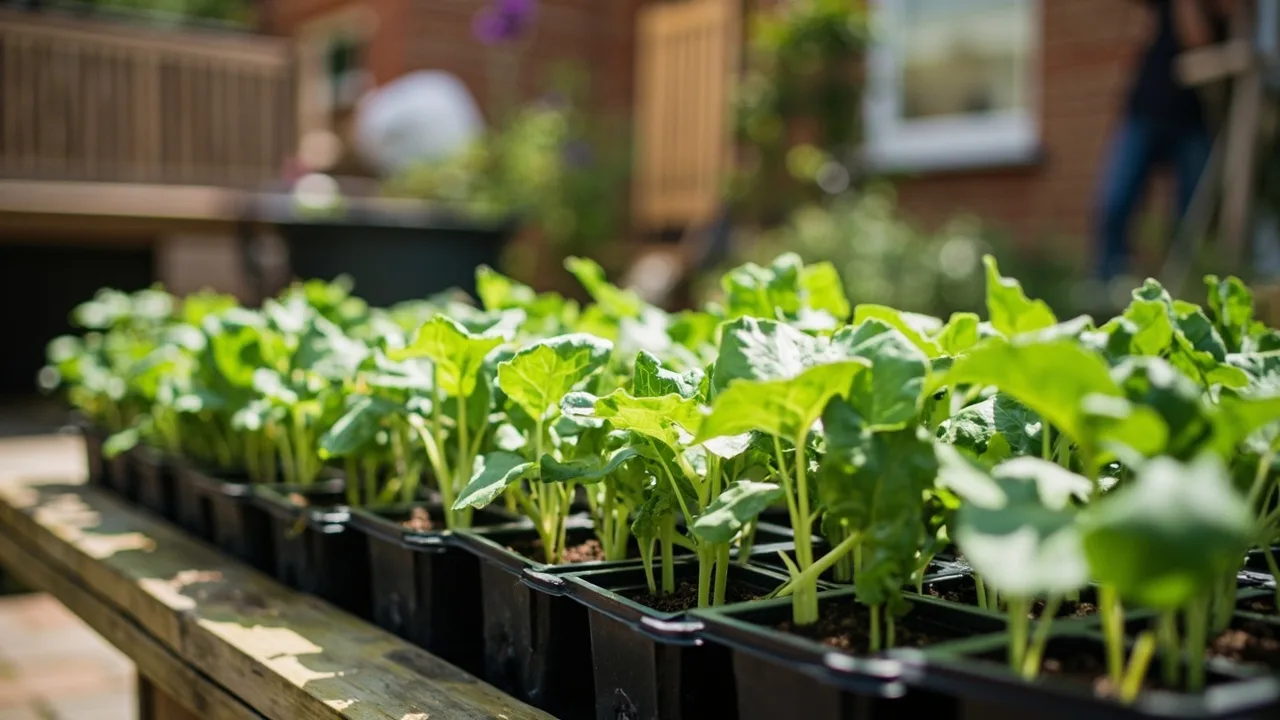
Hardening off seedlings is the crucial step that transforms tender indoor-grown plants into resilient outdoor gardeners. Skipping it risks shocking your seedlings with sudden sun, wind, or temperature drops, leading to wilting, leaf burn, or death. This simple, step-by-step process builds their natural defences, ensuring they thrive once planted in the garden. In the UK, where spring weather can swing dramatically, this process isn’t optional—it’s the difference between a thriving crop and a wasted season. Whether you’re growing tomatoes for a summer salad or brassicas for winter storage, proper hardening ensures your seedlings develop the strength to face our unpredictable climate.
Timing: When to Start Hardening Off
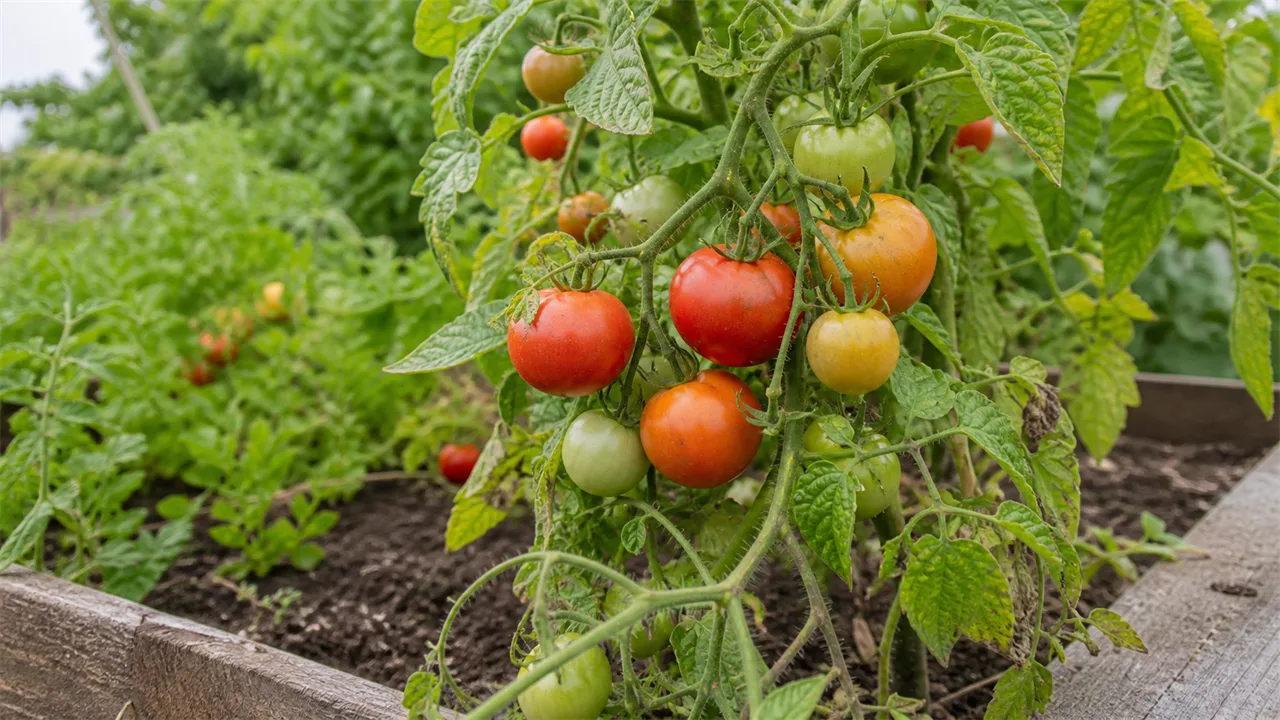
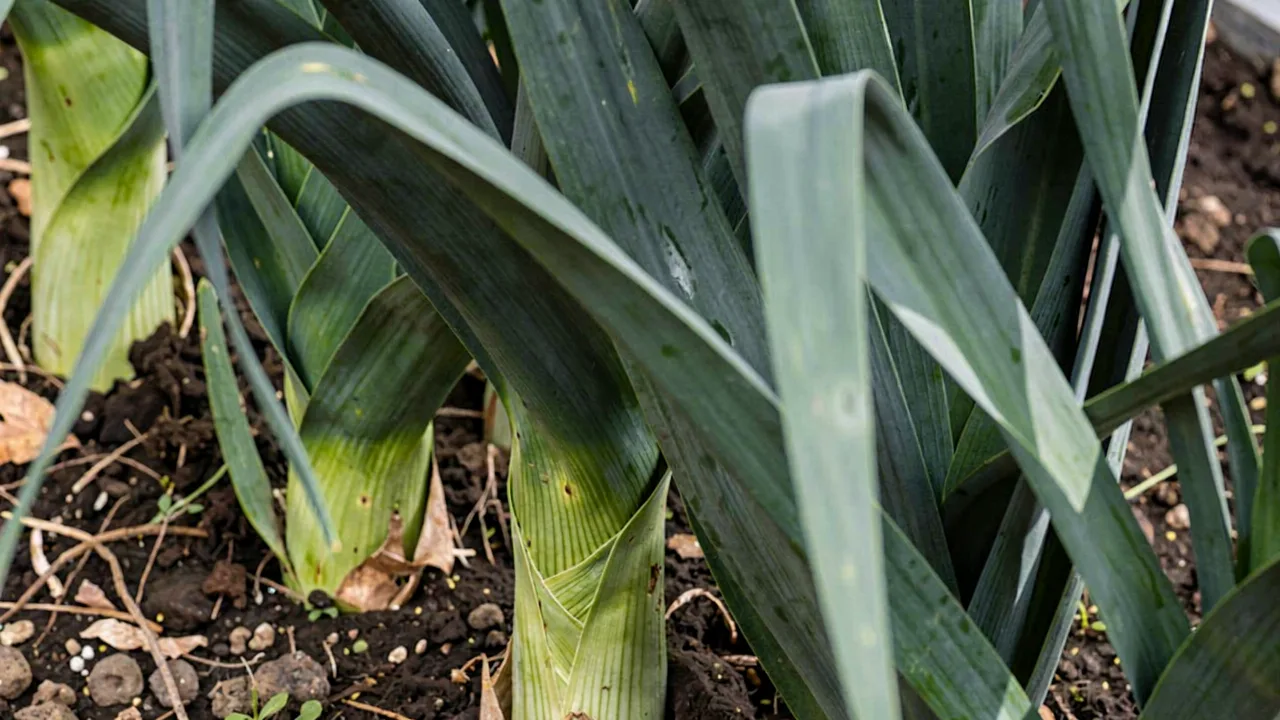
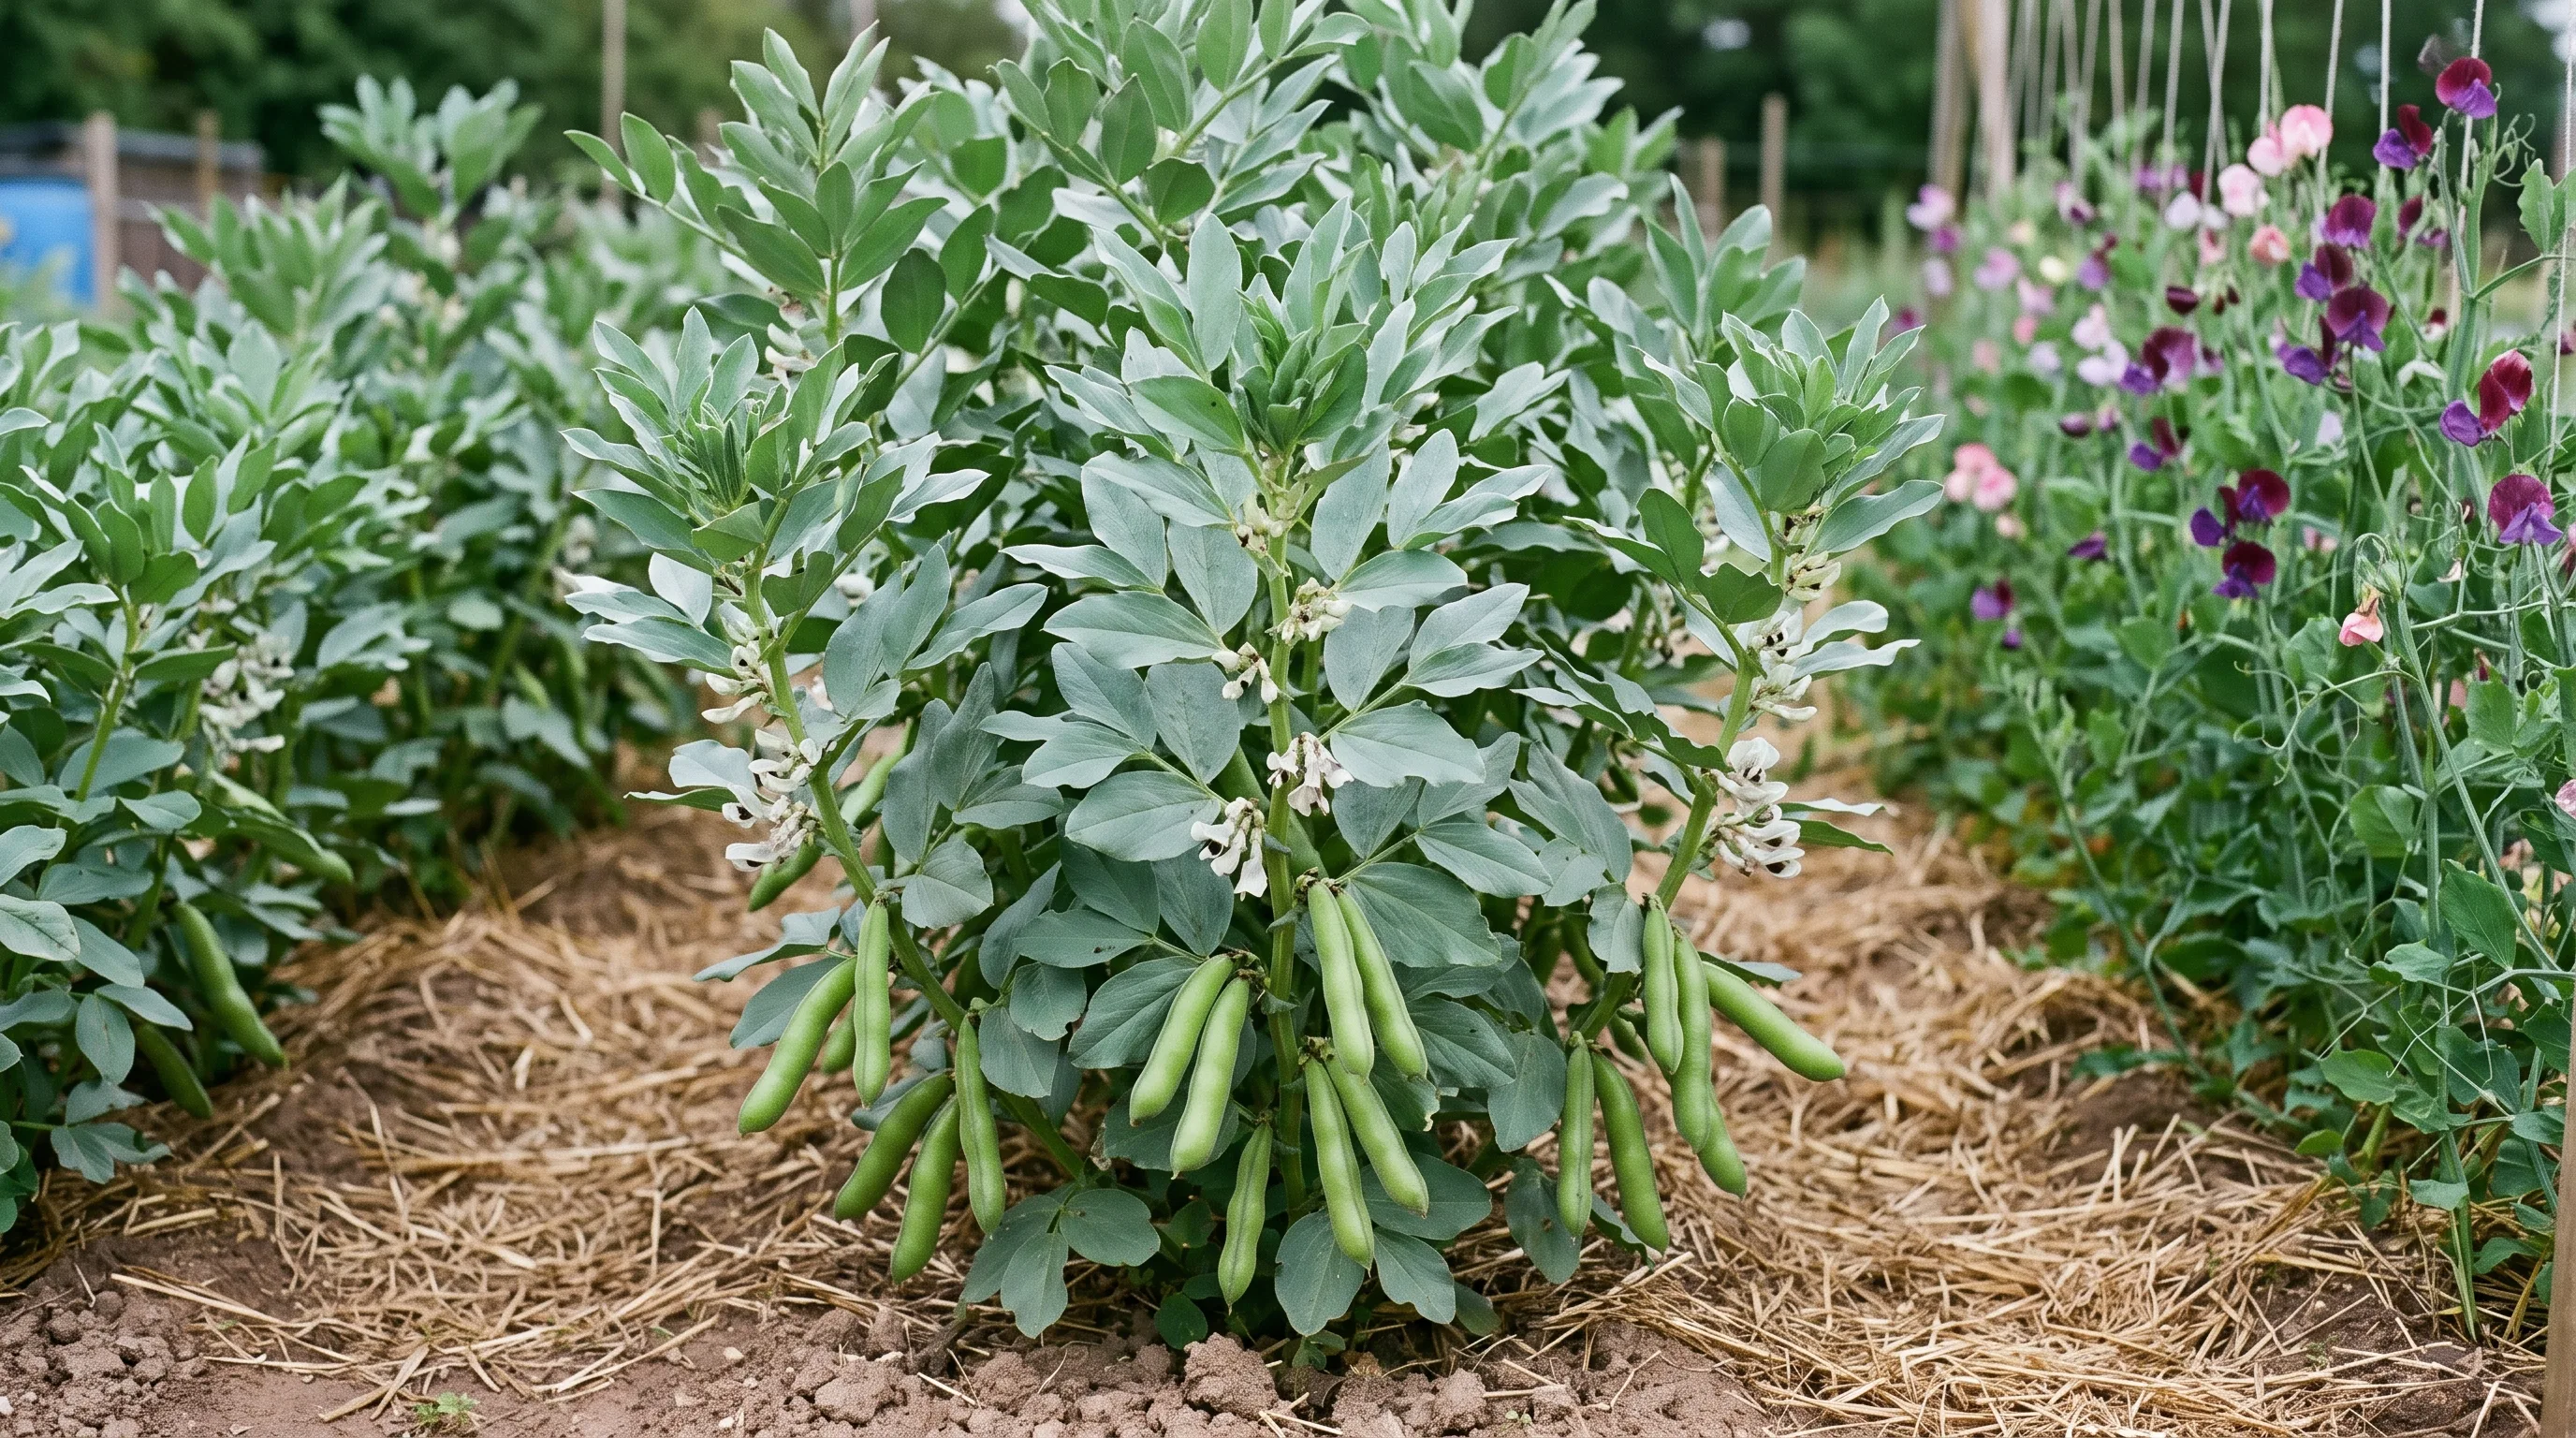
The absolute cornerstone of successful hardening off is timing your start date correctly. Begin only when your seedlings have developed sufficient resilience—typically when they possess 2-4 true leaves and reach a height of 5-10cm (2-4 inches), and crucially, after the last expected frost. In southern England and the South West, this usually falls between late March and mid-April, aligning with the average last frost date of around 15th April in zones 8-9 (RHS climate zones). However, for Scottish gardeners, the northern UK’s cooler climate means delaying until mid-April to May, as frost risk persists longer; Glasgow’s last frost averages 1st May, Edinburgh 15th April. Always cross-reference with your local weather forecast: avoid starting if a cold snap (below 5°C/41°F) or heavy rain is predicted within 48 hours. A reliable UK indicator is when the average daytime temperature consistently stays above 10°C (50°F) for a full week, as recommended by the RHS for tender plants. For instance, tomato varieties like 'Sungold' or 'Costata Romanesco' broccoli require this process, while hardier crops such as onions (e.g., 'Sturon'), leeks ('Autumn Giant'), and broad beans ('Aquadulce Compressa') can often be planted out directly from their seed trays without hardening. Never rely solely on calendar dates; check your specific region’s Met Office forecast and garden microclimate—sheltered spots like south-facing walls can warm up 2-3°C faster than open borders.
The Step-by-Step Hardening Process
Execute hardening off gradually over 7-10 days, incrementally increasing exposure time and intensity. Start on a calm, mild day with low wind and no direct sun—ideally a cloudy morning or a day with gentle east wind. Place seedlings in a sheltered, partially shaded spot outdoors: beneath a porch roof, against a south-facing brick wall (which absorbs and radiates heat), or under a 50% shade cloth. On day one, leave them for just 1-2 hours, ideally between 9am and 11am when the sun is gentle. Bring them back indoors or to a fully sheltered spot (like a greenhouse or porch) before evening, always before dusk. Each subsequent day, add 1-2 hours of outdoor time, extending exposure to later in the day as they adapt. By days 3-4, they should tolerate 2-3 hours in partial shade (e.g., 9am-12pm), then days 5-6 for 4-6 hours (9am-3pm), avoiding the hottest midday sun. On day 7, they should be spending most of the day outside—ideally from dawn until dusk—but still protected from strong winds and direct 11am-3pm sun. Crucially, never leave seedlings unattended outdoors overnight until fully hardened; even a 5°C drop overnight can kill tender seedlings. If temperatures dip below 10°C (50°F) at night, bring them in early. For example, a typical hardening schedule for tomatoes in London might look like: Day 1: 1 hour (9-10am), Day 3: 3 hours (9am-12pm), Day 5: 5 hours (9am-2pm), Day 7: 8 hours (dawn-dusk, shade cloth). Always check for frost risk overnight using the Met Office’s overnight low forecast.
Daily Hardening Routine Checklist:
- Day 1-2: 1-2 hours, morning (9am-11am), sheltered spot (e.g., porch)
- Day 3-4: 2-3 hours, morning to early afternoon (9am-1pm), partial shade
- Day 5-6: 4-6 hours, morning to late afternoon (9am-3pm), dappled sun
- Day 7: Full daylight (except midday sun), sheltered from wind
- Always: Bring inside before dusk; check Met Office overnight low forecast
Troubleshooting Common Issues
Wilting during the day is normal as seedlings adjust to outdoor conditions, but brown or crispy leaves indicate sunburn or wind damage. Move them to a shadier spot or reduce exposure time by a day. Conversely, if seedlings become leggy (stretched, pale stems), they need more light—move them to a sunnier location or extend outdoor time slightly. Avoid watering heavily before hardening off, as wet soil can cause root rot when plants are stressed; allow the compost to dry slightly (top inch dry) before starting. If rain is forecast, bring seedlings in early to prevent waterlogging and fungal issues like damping-off. For plants like tomatoes, a light mist of water in the morning on days 6-7 can help prevent leaf scorch during final hardening, but never soak the soil—this increases disease risk. Remember, hardening off is about building resilience, not forcing plants to endure harsh conditions. If seedlings show signs of disease (e.g., yellowing leaves, mould), address the issue first before hardening; a fungal infection will worsen under outdoor stress.
What NOT to Do: Common Mistakes
Never rush the process—skipping days or leaving seedlings out for too long too soon causes irreversible damage. A frequent error is placing seedlings directly in full sun on day one; this is a recipe for sunburn, especially on sunny April days in the South West. Avoid hardening off seedlings that are stressed (e.g., root-bound, pest-infested, or showing signs of disease)—address these issues first. Never leave seedlings unattended outdoors overnight until fully hardened; a sudden frost can kill them instantly, as seen in late April frosts common in northern England. Also, avoid moving them between microclimates without gradual transition: don’t take seedlings from a heated greenhouse straight to a windy border on a cold day. For example, moving 'Cherry Tomato' seedlings from a greenhouse (20°C) to a cold, exposed garden bed (8°C) on a windy day without hardening leads to rapid shock. The RHS consistently warns against this abrupt change, noting it causes 70% of seedling failures in early spring. Another critical mistake is ignoring wind exposure—seedlings hardened only in sheltered spots will collapse in a breeze once planted; always include brief exposure to gentle wind during the final days.
Final Checks Before Planting Out
Before planting your hardened seedlings into the garden, conduct a thorough health check. Gently lift a plant from its pot: roots should be white, firm, and not circling the pot (if they are, gently tease them apart with fingers). The soil should feel moist but not soggy—overly wet compost increases root rot risk. If seedlings are pot-bound, trim the outer roots slightly with clean, sharp scissors to encourage new growth. Ensure the planting site has been prepared with well-draining soil; for heavy clay soils (common in the Midlands), mix in 25% sharp sand or grit by volume to improve drainage (organic matter doesn’t alter pH, so avoid adding it for this purpose). Plant on a cloudy day or in the evening to minimise stress—this is especially vital for tomatoes in the South East, where afternoon sun can be intense. Water thoroughly after planting, using a watering can with a fine rose to avoid dislodging seedlings. For brassicas like 'Green Magic' cabbage, choose a site with at least 6 hours of sun; tomatoes need a warm, sheltered south-facing spot, ideally near a wall for extra heat. Space plants according to their mature size—e.g., tomatoes 45cm (18") apart, broccoli 50cm (20") apart—to prevent overcrowding, which increases disease risk like clubroot.
Plants in this guide
Recommended Products
GardenWizz earns a commission from qualifying purchases made through affiliate links on this page (including links within the article) — as an Amazon Associate, and from Thompson & Morgan via the Awin network. This does not affect the price you pay. See our disclaimer for details.
Related Articles
More →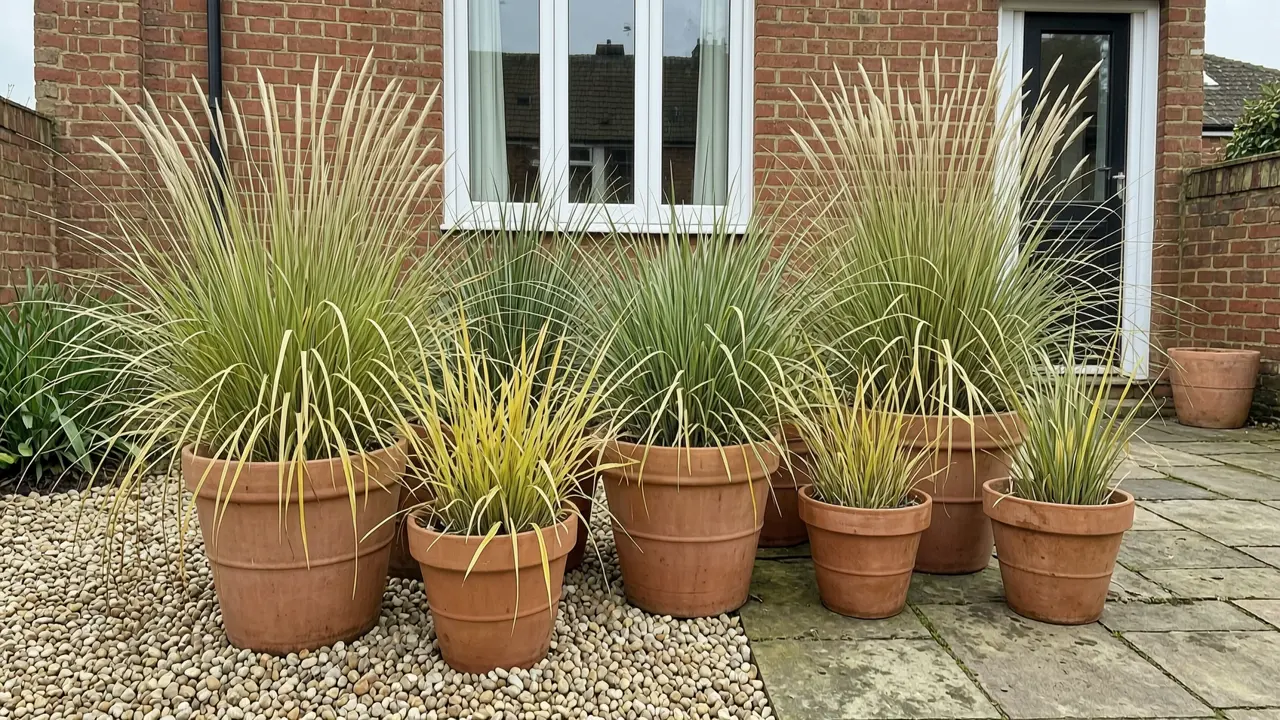 Growing Guide
How to grow ornamental grasses in pots
5 August 2026Grow ornamental grasses successfully in containers with advice on pot size, compost, watering, feeding, winter care and long-term maintenance.
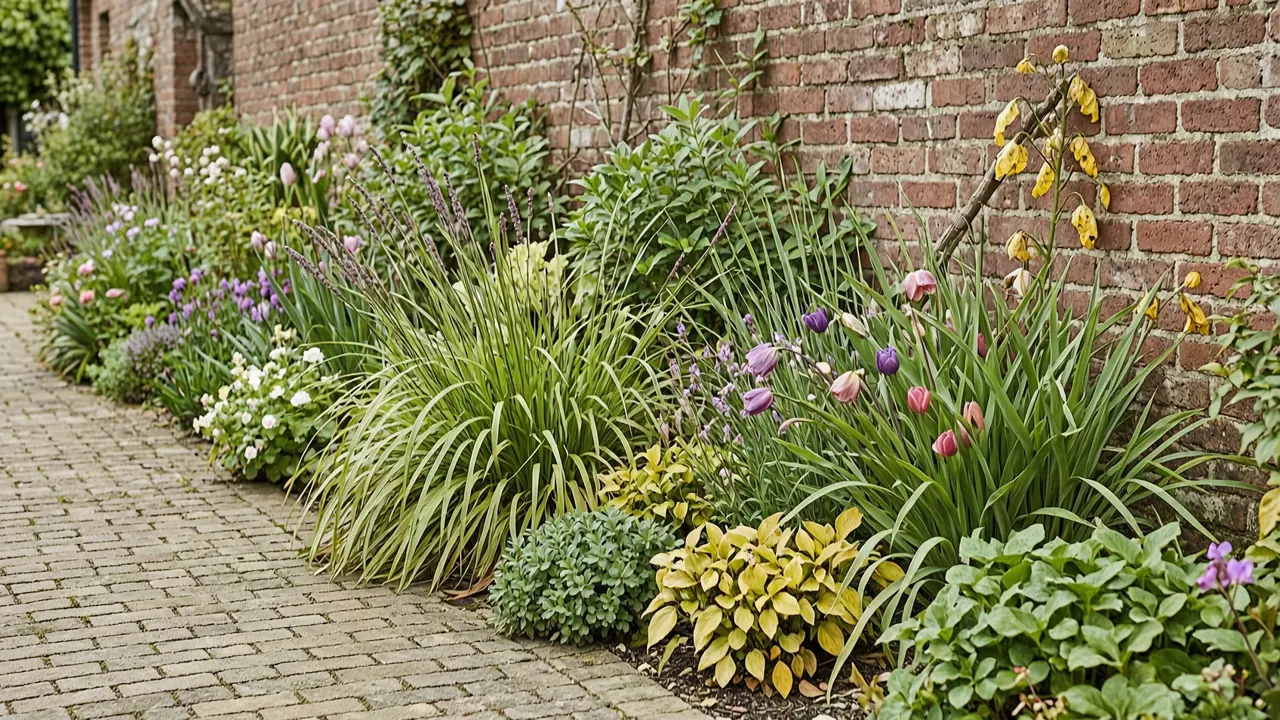 Growing Guide
How to plan a perennial border
5 August 2026Plan a balanced perennial border with practical guidance on position, colour, height, spacing, flowering succession and year-round structure.
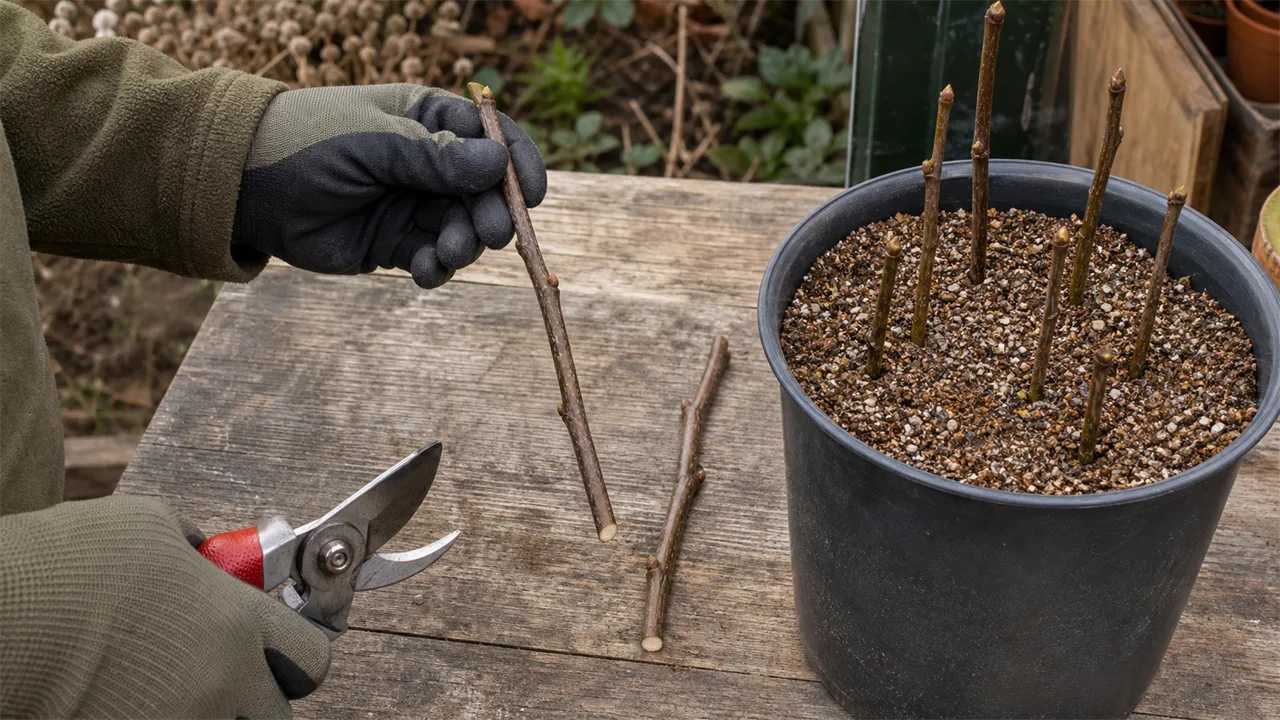 Growing Guide
How to take hardwood cuttings
29 July 2026Take hardwood cuttings from suitable dormant shrubs and climbers with this step-by-step guide to timing, preparation, rooting and aftercare.