
Tackling Black Spot on Roses
Black spot (Diplocarpon rosae) is the most common fungal disease of outdoor roses in Britain. Left unchecked, it yellows the leaves, defoliates the plant by August, and weakens it going into winter —…
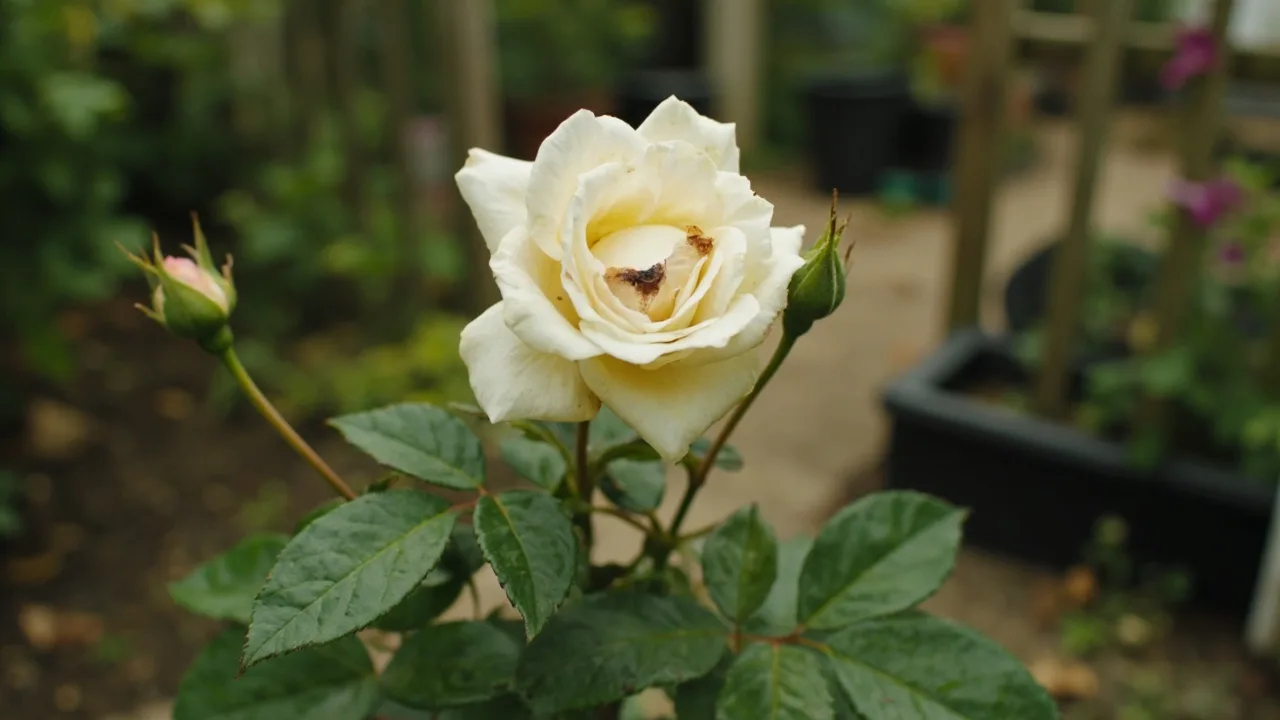
Black spot (Diplocarpon rosae) is the most common fungal disease of outdoor roses in Britain. Left unchecked, it yellows the leaves, defoliates the plant by August, and weakens it going into winter — fewer flowers next year, and a rose that's slower to get going in spring. The good news: in most UK gardens it can be managed without routine spraying, provided you act early and stay consistent from April through to the first hard frost.
Why and when to act
Black spot thrives in the conditions British weather provides almost free of charge: warm, wet leaves overnight, daytime temperatures between about 18–26 °C, and poor air movement around the plant. Spores splash up from infected fallen leaves and from canes, then germinate on damp foliage within roughly 7 hours. By the time you see the first fringed black blotches with a yellow halo, infection has usually been active for a week or more.
In the UK, the first infections typically appear in late May or June, build through July, and peak in damp Augusts. The two most important windows for action are:
- Late March to mid-April — final winter tidy-up and first mulch. Removing overwintered inoculum now is the single most effective thing you'll do all year.
- Within 24–48 hours of any warm, wet spell from late May onwards — a quick check of the lower leaves lets you catch new infections before they spread.
If your roses were badly hit last year, start the routine in April. If they've historically been clean, a watchful approach from late May is usually enough.
What you'll need
- Sharp secateurs (bypass type, not anvil) and a small pruning saw for thicker canes.
- A bucket of methylated spirit or 10% domestic bleach solution for wiping blades between plants.
- Heavy-duty gloves and a bin bag for infected material — never a compost heap.
- A mulch — well-rotted garden compost or bark, roughly a 5–8 cm layer over the root area, kept clear of the rose's stem.
- A rose feed with balanced NPK plus magnesium (e.g. a proprietary rose fertiliser at the maker's spring rate).
- A pump sprayer (5–8 litres is a sensible size for a small garden) if you choose to use a fungicide.
- Watering can with a rose attachment, or a hose on a fine setting.
How to treat an established infection
- Pick a dry day. Strip off every leaf that shows spots — yellow haloed or not — and any fully yellow leaves. Drop them straight into the bin bag. Don't shake the bush.
- Prune out badly infected canes. Anything thinner than a biro, or any cane with dark lesions, goes to within 5 mm of a healthy outward-facing bud. Wipe blades with meths between cuts.
- Clear every leaf within roughly 30 cm of the base — this is where spores splash up from. Rake the surrounding soil clean.
- Apply a fungicide if you wish to. In the UK, products containing myclobutanil, tebuconazole, or potassium bicarbonate are legally available to amateur gardeners on roses. Cover both sides of the leaves to the point of run-off. Repeat at 7–14 day intervals through the growing season, alternating active ingredients to slow resistance build-up. If you'd rather not spray, skip to step 5 — the cultural steps alone will usually keep a mild outbreak under control.
- Feed and water the plant back into growth. A rose that's been half-defoliated is stressed. Apply rose fertiliser at the maker's recommended spring/summer rate, water in with at least 10 litres per plant for a mature shrub, and renew the mulch to 5–8 cm.
- Repeat the leaf check weekly until mid-September. Each new spot removed in the first few days saves you dozens later.
How to prevent it next year
Prevention is mostly about keeping foliage dry and breaking the lifecycle. A handful of small changes, applied consistently, will usually outperform any spray programme.
- Water at the base, not over the leaves. Soak the root zone once or twice a week in dry spells rather than a daily light sprinkle. A mulch helps the soil stay moist longer.
- Give the rose space. Aim for at least 60 cm of clear air around a shrub rose and 90–120 cm around a climber. If two plants are touching, the air stays still and leaves stay wet.
- Prune for an open centre. In March, remove crossing and inward-facing stems so air moves freely through the bush. The classic "goblet" shape works well for bush and shrub roses.
- Choose resistant cultivars when planting new roses. The RHS runs a Trial of Rose Black Spot Resistance; varieties rated as "good" or "excellent" include many in the 'Rosa rugosa' group, several 'Flower Carpet' ground-cover types, and modern shrub roses such as 'Munstead Wood' and 'Wild Edric'. No rose is immune — "resistant" means noticeably less infection, not zero.
- Do the autumn clear-up properly. Once the plant is fully dormant (late November to early January is the sweet spot), strip off every remaining leaf and bin it. Don't leave a single leaf on the bed. This is the single biggest reduction in next year's spores.
Common mistakes
- Composting infected leaves. A domestic heap rarely runs hot enough to kill Diplocarpon rosae spores. Bag them and put them in the green waste collection, or burn them if that's permitted where you are.
- Watering in the evening. Leaves that stay wet overnight are an open invitation. Water in the morning so the sun dries the foliage.
- Overcrowding. Planting roses 30 cm apart "to fill the bed quickly" guarantees black spot problems by year three. Give them the space from day one.
- Stopping the routine after one dry week. Black spot pressure comes in waves. Two wet days in August can restart an outbreak you've had under control since June.
- Spraying and forgetting the mulch. Fungicide on dry-stressed leaves scorches them, and a dry plant is a susceptible plant. Mulch + watering beats spray alone.
Troubleshooting
| Symptom | Likely cause | Fix |
|---|---|---|
| Spots only on lower leaves, upper leaves clean | Spores splashing up from soil/old leaves | Mulch 5–8 cm thick, remove lowest leaves up to ~30 cm |
| Yellow halos but no black centre yet | Early-stage infection, often after warm rain | Strip affected leaves within 48 h, begin protective spray |
| Spots appear on new growth at the shoot tips | Secondary spread from a missed stem lesion | Prune back to clean wood, disinfect secateurs, spray |
| Plant defoliates by late July | Heavy inoculum from last year + dry stress | Hard prune in March, autumn leaf clear-up was missed, double down on watering and feeding |
| Spots return within days of spraying | Resistance build-up or spray coverage gaps | Switch to a fungicide with a different active ingredient; check you're covering leaf undersides |
A realistic UK routine
For most British gardens, the following annual rhythm is enough to keep black spot cosmetic rather than destructive:
- March: final prune, autumn debris check, top up mulch.
- Late April: spring feed, watch for early spots after the first warm rain.
- June–August: weekly leaf check, remove and bin spotted leaves, water at the base in dry spells, spray only if infection builds.
- November–December: full leaf strip, clear the bed, bin the lot.
Stick to this for two seasons and most UK rose growers find black spot drops from "constant nuisance" to "something I notice on one bush after a wet week." That's the realistic target — eradication isn't, control absolutely is.
Recommended Products
GardenWizz earns a commission from qualifying purchases made through affiliate links on this page (including links within the article) — as an Amazon Associate, and from Thompson & Morgan via the Awin network. This does not affect the price you pay. See our disclaimer for details.
Related Articles
More →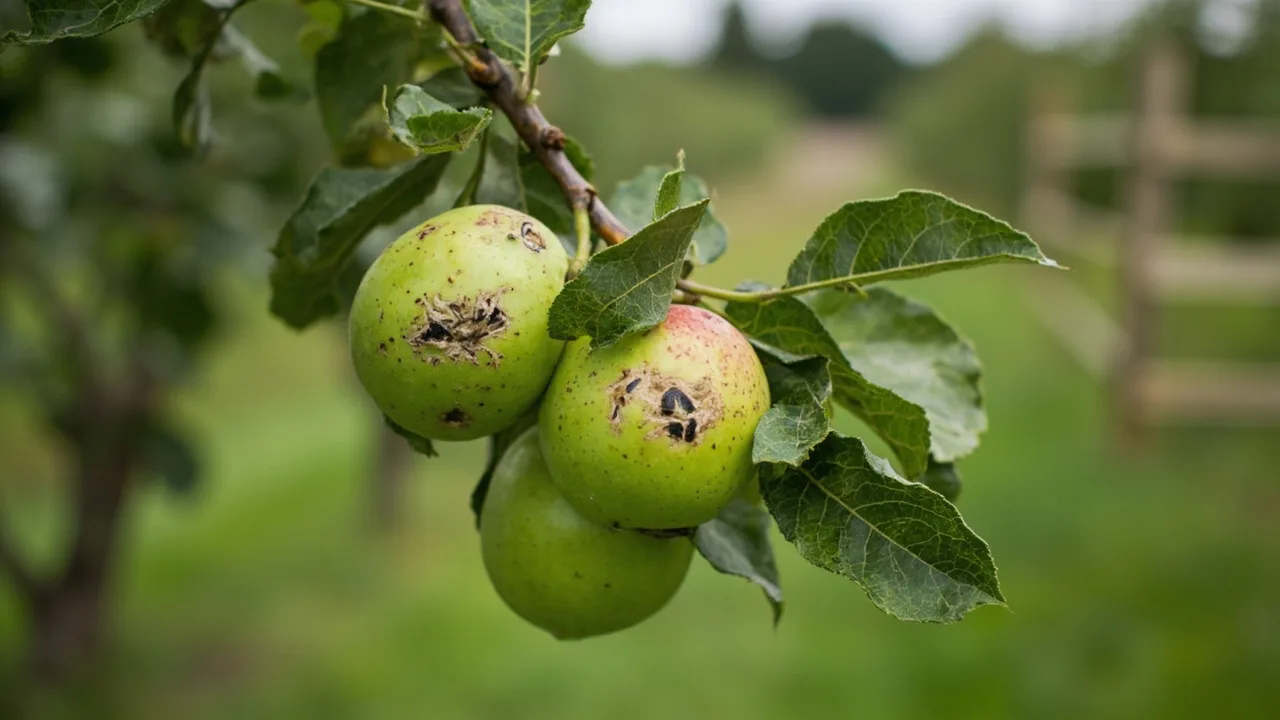 Problem Solver
Apple Scab: How to Identify and Treat It
22 July 2026Apple trees in your garden can be a source of joy, but apple scab can turn your harvest into a disappointing mess of distorted, blackened fruit. This common fungal disease, caused by Venturia…
 Problem Solver
How to Get Rid of Burdock
21 June 2026Lesser burdock (Arctium minus) is a large biennial weed of UK hedgerows, waste ground and the neglected corners of gardens. In its first year it builds a broad rosette and a deep taproot; in its…
 Problem Solver
How to Get Rid of White Bryony
21 June 2026White bryony (Bryonia dioica) is a fast-growing perennial climber found scrambling through UK hedges, fences and shrubs, mainly in England. It is Britain's only native member of the cucumber family,…