
Drip Irrigation Systems: Save Time and Water
A drip irrigation system is the single biggest time-saving upgrade most UK gardens can have fitted in a weekend. Water goes straight to the root zone of each plant through a network of narrow pipes…
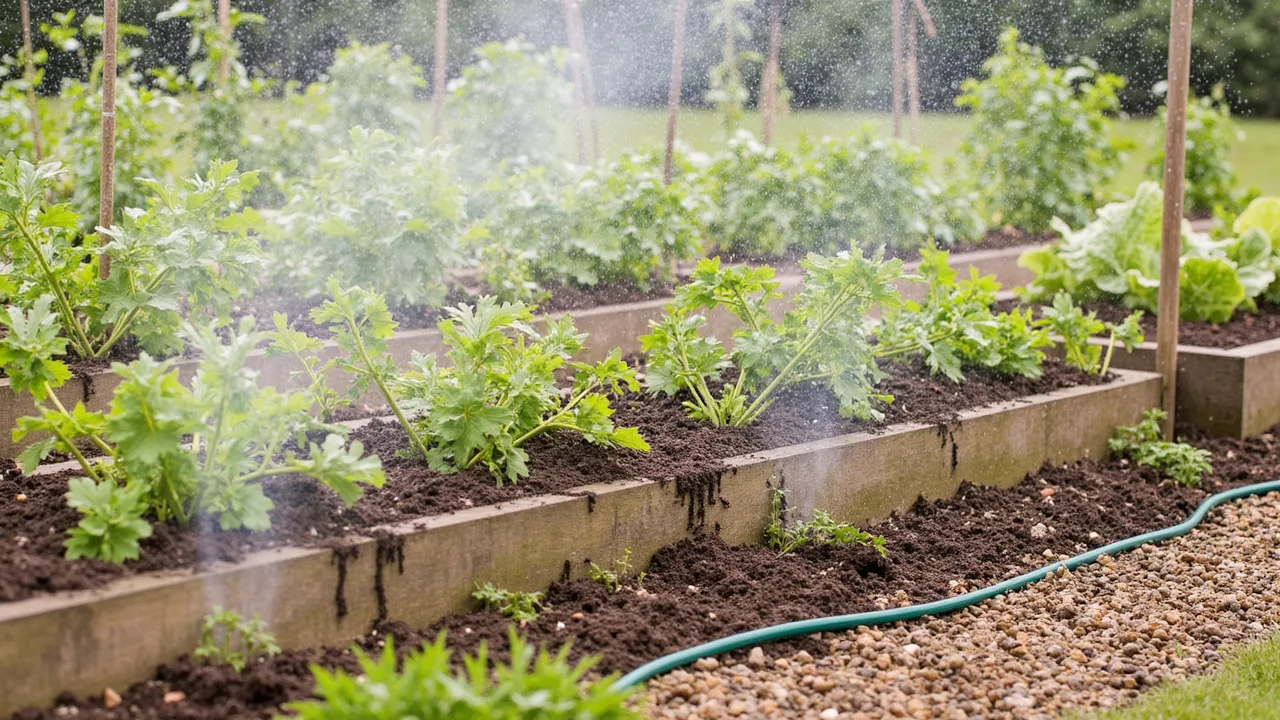
A drip irrigation system is the single biggest time-saving upgrade most UK gardens can have fitted in a weekend. Water goes straight to the root zone of each plant through a network of narrow pipes and adjustable emitters, so you stop throwing water over leaves, paths and weeds. In dry spells that can mean cutting outdoor water use by 50% or more, and it removes the daily trudge with a watering can.
The trade-off is a small amount of setup thought. Get the layout right and the system runs itself for years.
Why it matters (and when to install)
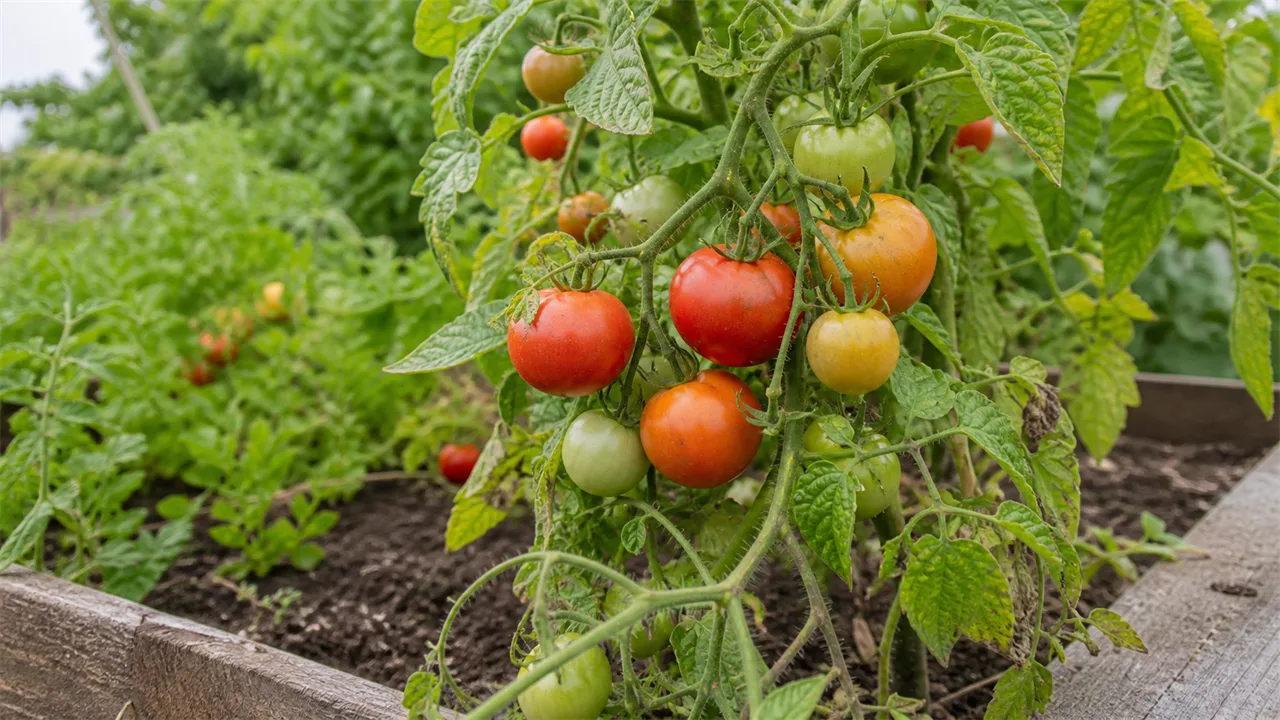
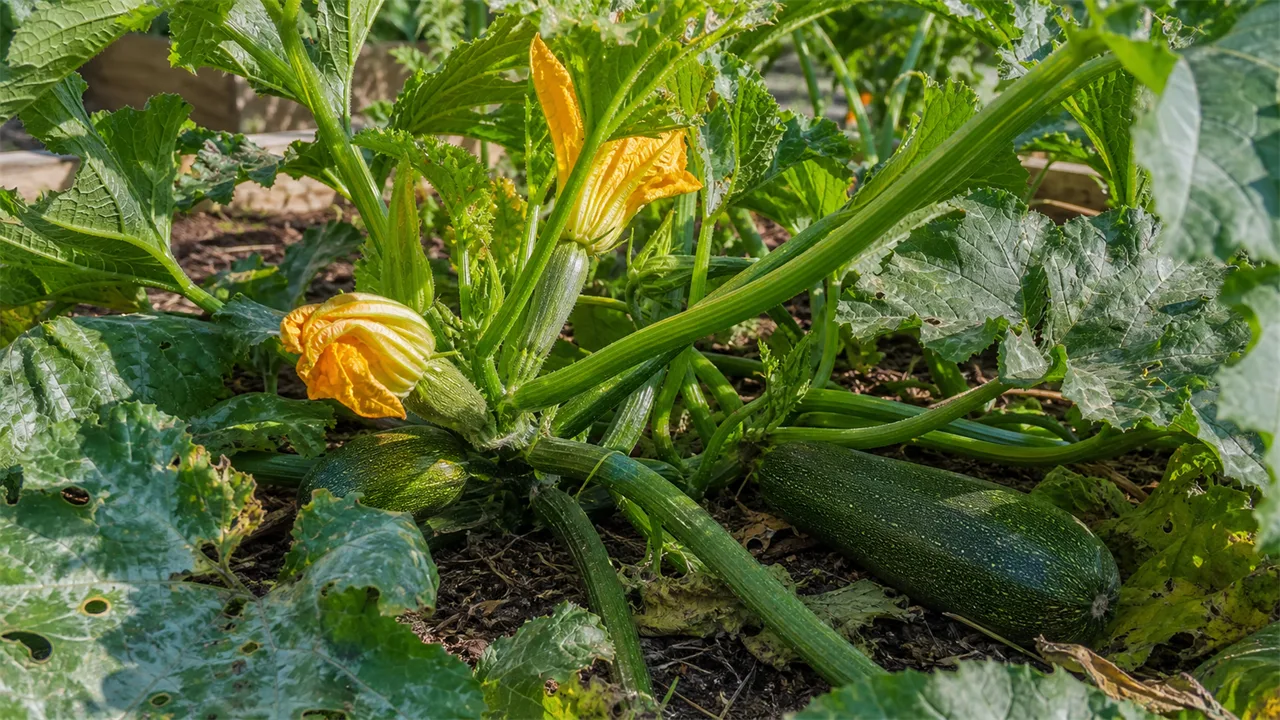
Drip makes sense as soon as you have more than a couple of beds, a greenhouse, a row of tomatoes, a hedge, or a patio of pots that all need watering through the summer. In the UK the case is strongest from late May to early September, when rainfall is unreliable and the plants that suffer most (tomatoes, courgettes, beans, salads, fruit, greenhouse crops) need consistent moisture to crop well.
The best time to install is early spring (March to April), before the growing season kicks in. The soil is workable, the hosepipe ban season is still months away, and any system is easier to lay when beds are empty. A second window opens in early autumn for overwintering systems in the greenhouse or for new hedges going in.
If you are on a water meter, drip usually pays for itself in a season. The kit is cheap, the savings are not.
What you'll need
You do not need plumber's skills. Most home gardens can be done in an afternoon with parts from any garden centre or online retailer.
- A battery timer (single-outlet, 9 V tap timer is fine for a small garden). Expect to pay £25–£45.
- A pressure regulator that drops mains pressure (around 2–4 bar at the tap) down to roughly 1 bar. Many timers have one built in; if not, add a 1-bar in-line regulator (£8–£12).
- 13 mm LDPE (low-density polyethylene) supply pipe — the brown or black main line that runs around the garden. One 25 m roll covers most small gardens.
- 4 mm micro tube (also called "spaghetti tube") to branch off the 13 mm line to individual plants.
- Drippers / emitters: pressure-compensating, 2 litres per hour (lph) for borders and veg; 4 lph for pots and greenhouse; 8 lph for trees and large shrubs. Allow one emitter per plant, two for anything in a pot over 20 cm.
- Stakes or pegs to hold the 4 mm tube in place at the base of each plant.
- Fittings: 13 mm barbed tees, elbows and end-plugs; 4 mm barbed connectors; a "goof plug" for any holes you drill in the wrong place.
- A filter (a 75–120 mesh disc or in-line filter) if you are on a hard-water area or drawing from a pond — emitters clog easily.
- A hole punch (the dedicated one for the pipe, not a leather belt punch from the shed).
- A roll of PTFE tape for threaded connections.
- A multi-tool or secateurs for cutting pipe; a jug or 1-litre measuring bottle for testing emitter output.
For a typical 4 m x 3 m raised-bed veg patch plus a greenhouse, the kit totals around £60–£90. A whole small garden of beds, hedge and pots usually lands between £120 and £200.
Planning the layout
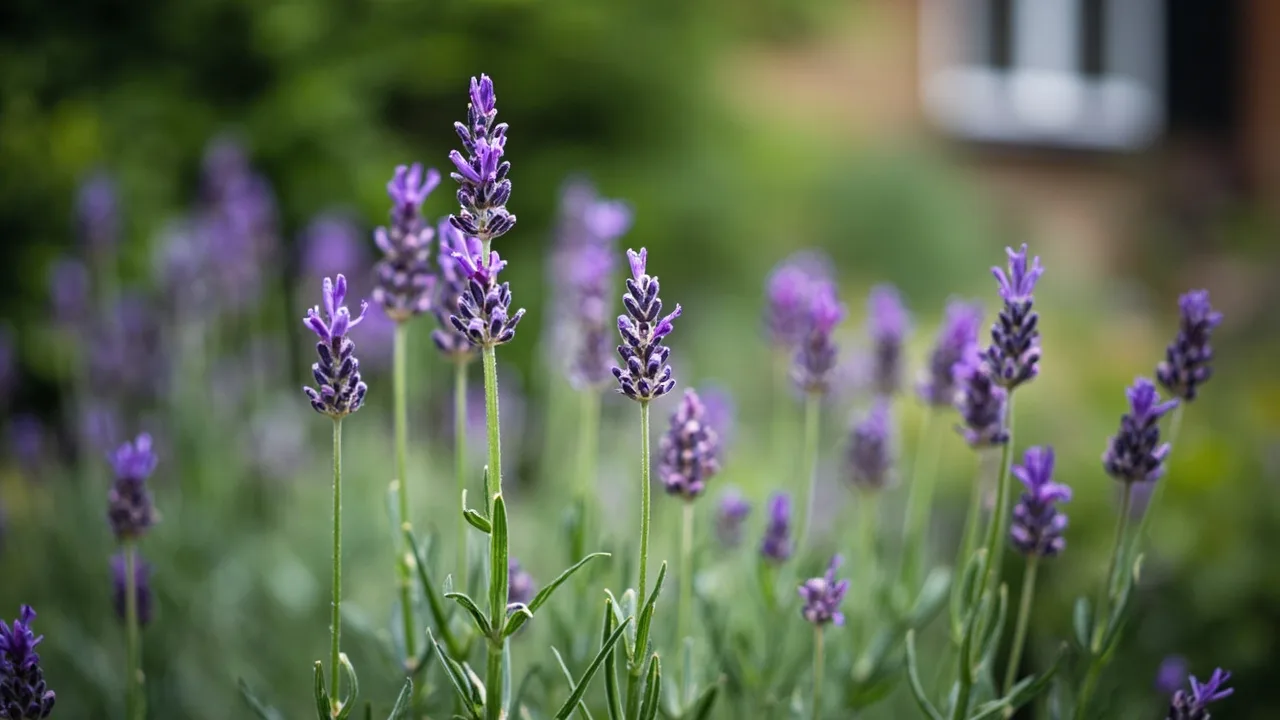
Walk the garden with a sketch. Group plants by water need: tomatoes, courgettes, salads, beans, fruit and pots in the "thirsty" group; established perennials, shrubs, lavender, rosemary and most hedging in the "low" group. Run two separate lines off the timer if you can — a 30-minute daily run for the thirsty group and a 15-minute run every two or three days for the low group. Putting them on the same zone means one set is always over- or under-watered.
Lay the 13 mm pipe along the bed edge, anchored with pegs every 1–1.5 m, with a loop at the end held by an end-plug. The pipe can sit on the soil surface or be covered with 5 cm of mulch; do not bury it deeply, you will want to find it again.
Step-by-step installation
- Fix the timer to the outdoor tap, with the pressure regulator between timer and pipe if it is not built in. Wrap the threaded joints with PTFE tape.
- Run the 13 mm pipe from the timer to the first bed, cutting it to length with secateurs and pushing fittings in firmly. Cold pipe is stiff; a 30-second soak in hot water makes fitting easier.
- Branch into beds with barbed tees. From each tee, run a short stub of 4 mm tube to the first plant.
- Punch a hole in the 13 mm pipe where you want a branch, push in a 4 mm barbed connector, and run the 4 mm tube to the plant. Cut the tube, fit a dripper on the end, and peg the dripper at the soil surface 5–10 cm from the stem.
- Add an end-plug at the far end of each 13 mm run. You will need to remove the plug once a year to flush the line.
- Test the system before you mulch. Turn the tap on, walk the line, and watch each dripper. A 2 lph emitter should fill a 1-litre jug in 30 minutes — if it does not, the dripper is blocked or the line has a leak.
- Set the timer. As a starting point in June–July, thirsty plants get 30–45 minutes a day, low-water plants 15–20 minutes every 2–3 days. Adjust after a week based on how the soil actually feels 5 cm down.
Common mistakes
- No pressure regulator. Mains pressure blows emitters off the tube or splits the pipe. Always fit a 1-bar regulator.
- Drippers on the leaves. The emitter must be on the soil, not up in the foliage. Water on leaves evaporates and can spread disease.
- One zone for everything. Tomatoes and lavender have nothing in common water-wise. Split the system.
- Forgetting the filter. On hard-water areas, calcium drops out of the water in the emitters and blocks them within a season. A £6 filter saves hours of unblocking.
- Running it at noon. Midday watering in summer loses 30–40% of the water to evaporation. Water at dawn, ideally.
- Over-watering clay soils. Clay holds water; running drip every day on a clay bed waterlogs it. Cut to every 2–3 days and check the soil.
Troubleshooting
- Emitter not dripping. Pull it off, hold it under the tap and blow through it backwards. If it still does not flow, replace it (£0.15 each). Check the 4 mm tube for kinks.
- End of the line is dry. Most likely a kinked 13 mm pipe or a blocked end-plug. Flush the line: turn the timer off, remove the end-plug, let water run for 30 seconds, refit.
- Plants wilting despite daily watering. Either the dripper has moved away from the rootball, the run time is too short, or the emitter is blocked. Lift the mulch and check the soil 10 cm down.
- Algae in the pipe. Cover the 13 mm line with mulch or black plastic; algae grows wherever sunlight reaches the inside of an open pipe.
- Hosepipe ban in force. Drip systems connected to a tap are covered by most UK bans, but a timer with a rain pause and a manual override keeps you on the right side of the rules. Check with your water company before installing.
UK-specific tips
- Frost. Drain outdoor lines in November if you are in a cold area. A 13 mm pipe full of water will split when it freezes. Disconnect the timer and store it indoors.
- Water butts. Drip can run off a water butt with a small 12 V pump, or simply by gravity if the butt is raised at least 1 m above the beds. Useful if you are on a meter.
- Greenhouse humidity. In a closed greenhouse, less is more. Drip directly into the pot, never through the floor, and ventilate on hot days.
- Hedges. A 25 m hedge needs about 30 m of 13 mm pipe run as a single line with 4 lph emitters every 40–50 cm. Run it for 1–2 hours once a week in dry summers.
- New trees. Two 8 lph emitters per tree, 30 cm apart on either side of the rootball, for the first two summers. After that, the roots will have found their own water.
Fit it once, set the timer, and you will get those summer evenings back.
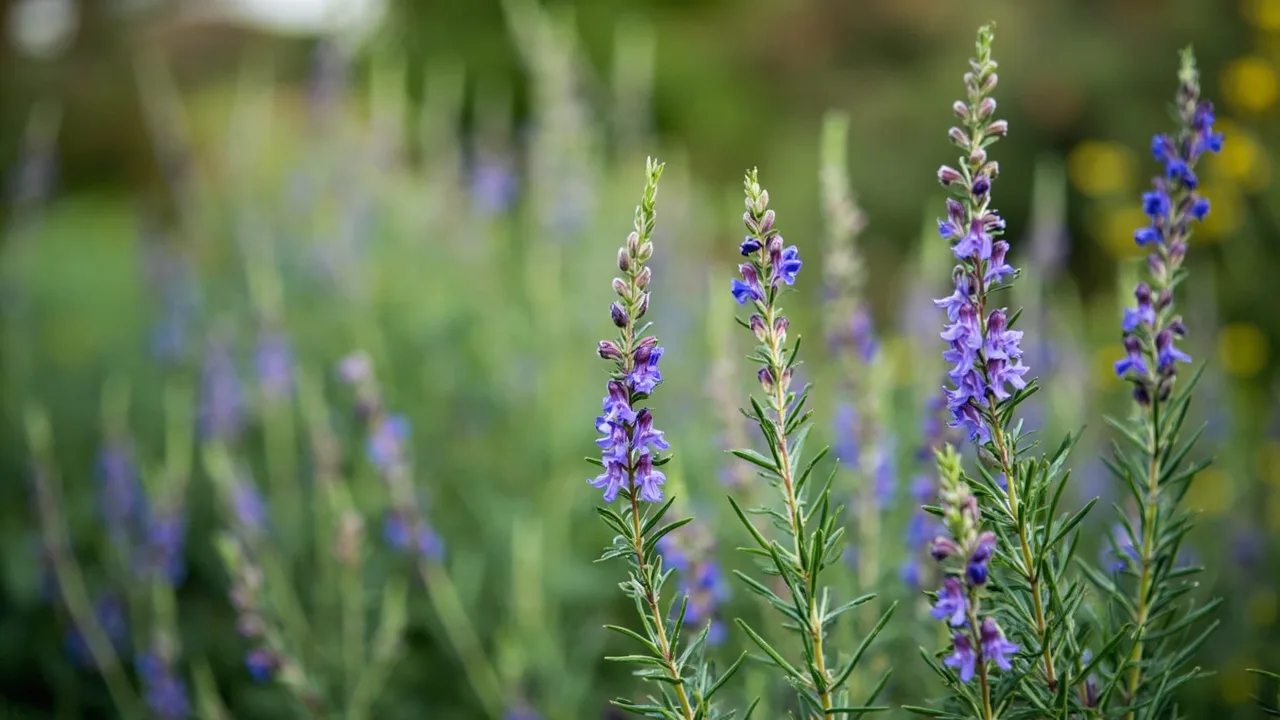
Plants in this guide
Recommended Products
GardenWizz earns a commission from qualifying purchases made through affiliate links on this page (including links within the article) — as an Amazon Associate, and from Thompson & Morgan via the Awin network. This does not affect the price you pay. See our disclaimer for details.
Related Articles
More →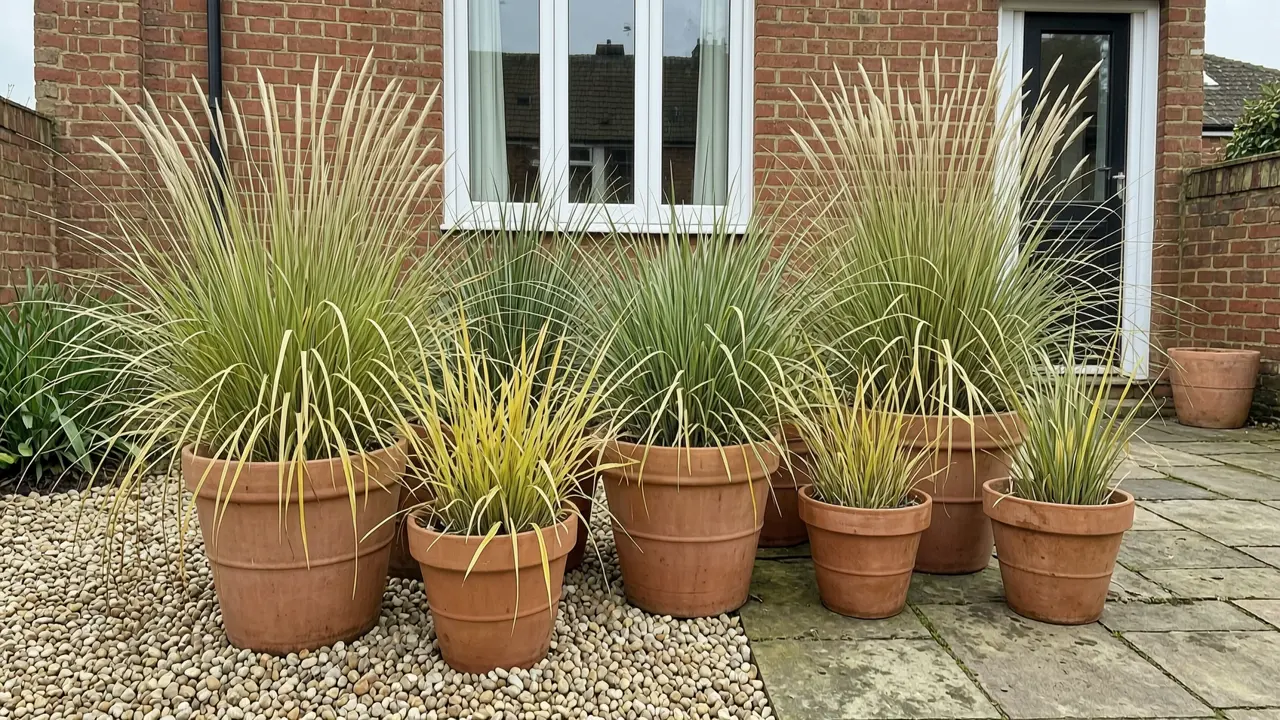 Growing Guide
How to grow ornamental grasses in pots
5 August 2026Grow ornamental grasses successfully in containers with advice on pot size, compost, watering, feeding, winter care and long-term maintenance.
 Growing Guide
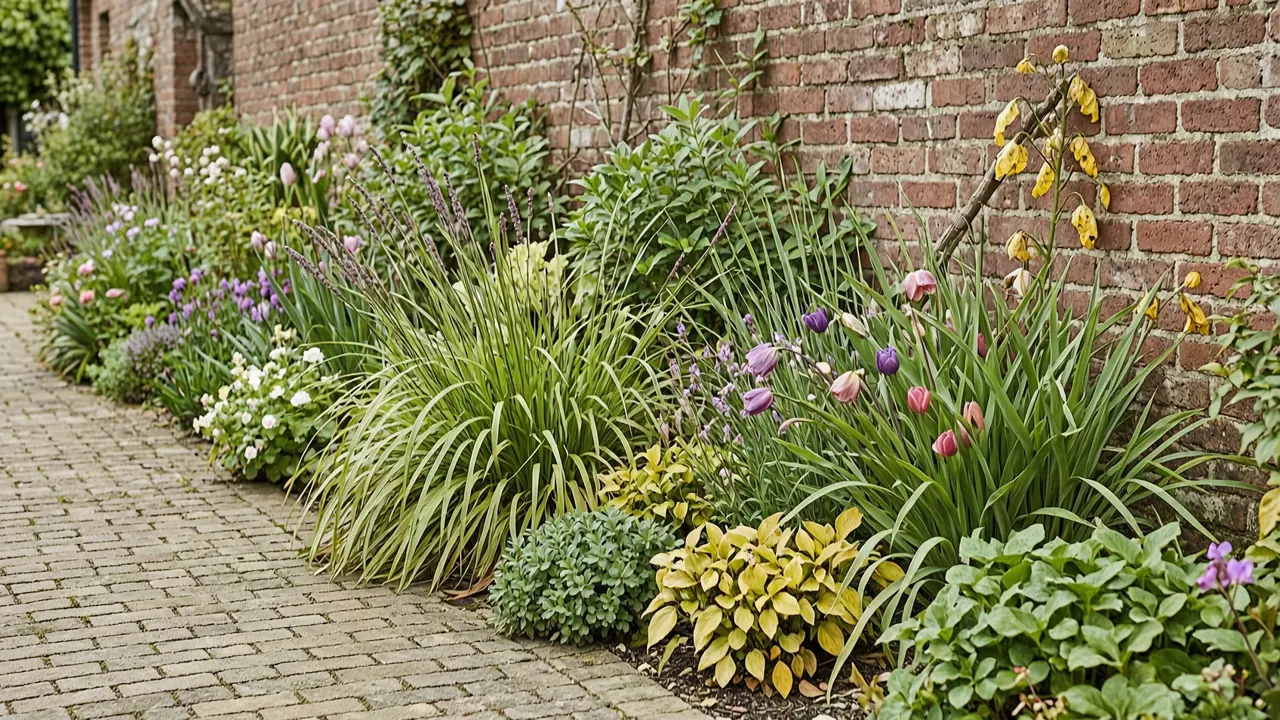
How to plan a perennial border
5 August 2026Plan a balanced perennial border with practical guidance on position, colour, height, spacing, flowering succession and year-round structure.
 Growing Guide
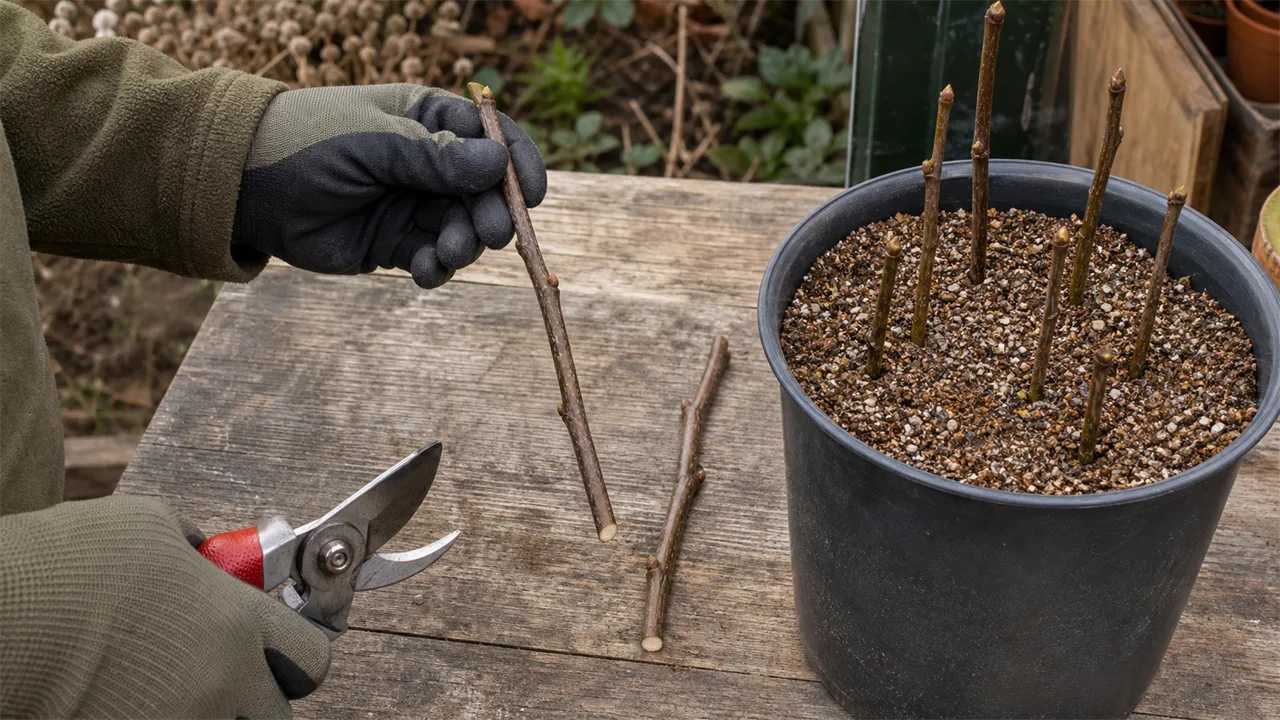
How to take hardwood cuttings
29 July 2026Take hardwood cuttings from suitable dormant shrubs and climbers with this step-by-step guide to timing, preparation, rooting and aftercare.