
Understanding Your Soil Type: Clay, Sandy, Loam or Chalk
Your soil type decides what you can grow well, how often you need to water, and how much feeding and digging the garden will demand. Get it wrong at the planting stage and you spend the next ten…

Your soil type decides what you can grow well, how often you need to water, and how much feeding and digging the garden will demand. Get it wrong at the planting stage and you spend the next ten years fighting it. Get it right and the garden largely looks after itself.
The best time to test your soil is autumn (September to November) or early spring (March), when the ground is workable but not frozen or bone dry. Testing in deep summer is misleading — a sandy soil that dusts to powder in July can still hold water well in February. Autumn is the sweet spot because you can also act on the result: add organic matter, plant green manures, or order hedging and bare-root roses for the dormant season.
What you'll need
- A small hand trowel or border spade
- A clean glass jar with a straight side (a jam jar is fine), plus a ruler
- Tap water
- A handful of washing-up liquid or a teaspoon of table salt (helps separate clay particles)
- A sheet of white paper or a saucer
- About 20 minutes
- Optional but useful: a pH test kit (a simple probe from any garden centre, or a soil-testing service through the RHS)
You do not need a lab. The jar test below is accurate enough to plan a border, a lawn, or a vegetable bed for the next decade.
Step-by-step: the jar test
- Dig down 15 cm (6 in) at three or four spots across the area you want to assess — front garden, back lawn, veg bed. Don't just take one sample; soil can change across a single plot.
- Scoop about a cupful from each spot into a bucket, mix them, and let the sample air-dry on newspaper for a few hours. Remove stones, roots, and worms.
- Fill the glass jar roughly one-third full with the dry soil. Add water to within about 2.5 cm (1 in) of the top.
- Add a teaspoon of washing-up liquid (or salt) and shake hard for two to three minutes. The soap stops clay particles clumping.
- Set the jar on a windowsill and leave it for 24 hours — minimum 12. Don't disturb it.
- Read the layers from bottom to top:
- Sand settles first, within a minute or two.
- Silt settles over the next few hours.
- Clay stays suspended longest, forming the very top fine layer.
- Organic matter and any floating debris sits on the surface.
- Measure each layer in millimetres. The proportions tell you your soil type.
A typical clay sample reads roughly 20% sand, 30% silt, 50% clay. A sandy soil is more like 70% sand, 20% silt, 10% clay. Loam sits in the middle — around 40% sand, 40% silt, 20% clay — and is what most plants want. Chalky soils are thin and pale, often with visible white lumps of limestone; a few drops of vinegar fizz on a lump confirms it.
Step-by-step: the feel test (for a quick answer)
If you don't want to wait 24 hours, this works in five minutes.
- Take a small handful of slightly damp soil (moisten it with a water spray if it is dry).
- Squeeze it in your fist, then open your hand.
- It holds a tight shiny ribbon longer than 5 cm (2 in) when you push it out between thumb and finger: clay.
- It forms a short ribbon of 2–5 cm and feels gritty: silty loam or clay loam.
- It crumbles immediately and feels rough: sandy.
- It feels like moist cake crumbs, holds shape briefly, then breaks: loam — the sweet spot.
- Smell it. A good loam smells earthy and slightly sweet. Clay often smells metallic when wet. Sand has almost no smell.
Common mistakes
- Only testing the top 5 cm. The top layer is often improved compost or mulched bark and tells you nothing about the soil the roots actually sit in. Dig to 15 cm.
- Confusing clay with "heavy" and giving up on it. Clay is the most nutrient-rich soil in Britain. Drainage is the issue, not fertility. Improve the structure and it outperforms most loams.
- Adding sand to clay to "break it up". This makes concrete. Clay plus sand plus a little water equals brick. Add organic matter — compost, well-rotted manure, leaf mould — at least a 5 cm mulch per year, forked into the top 10–15 cm. Keep doing it. Three years of annual mulching transforms clay.
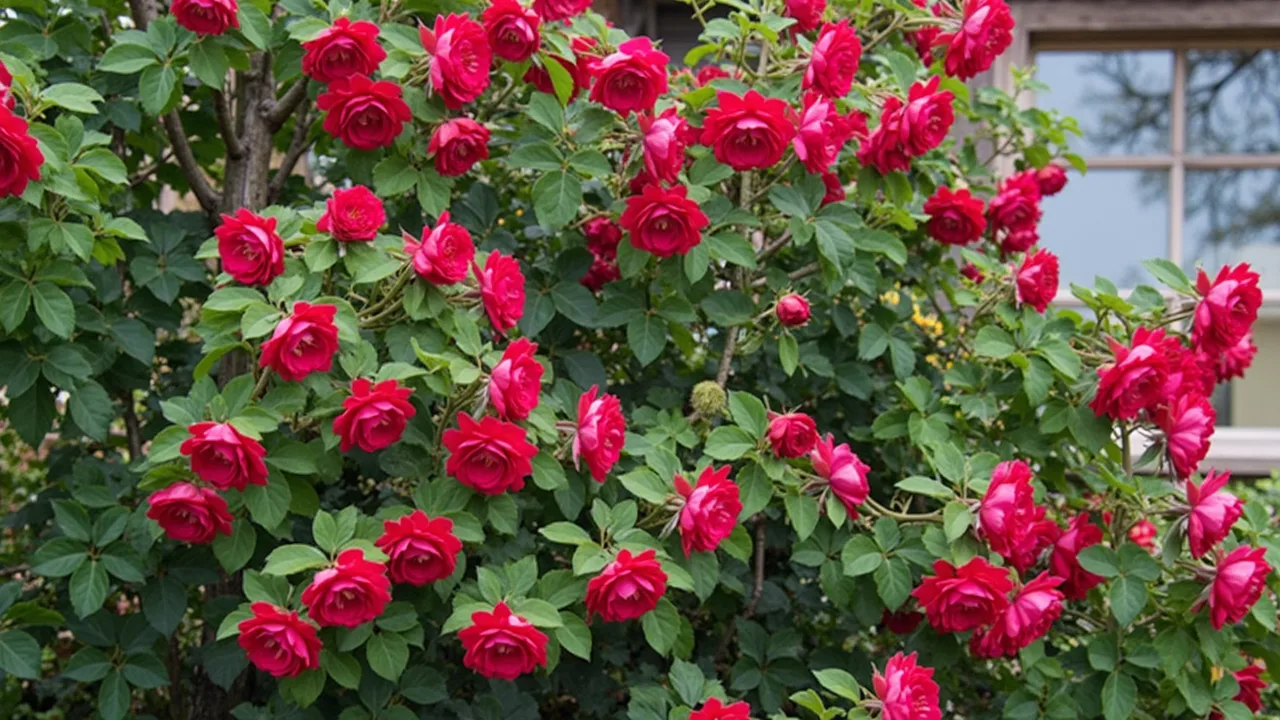
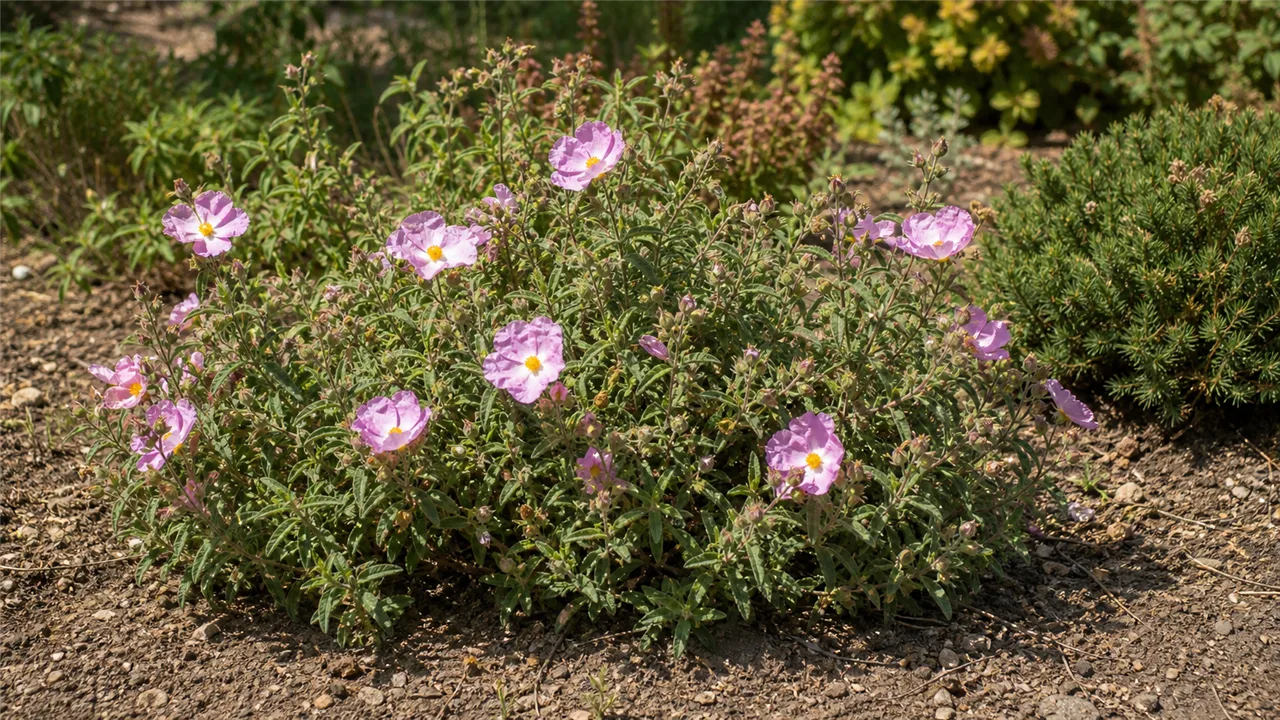
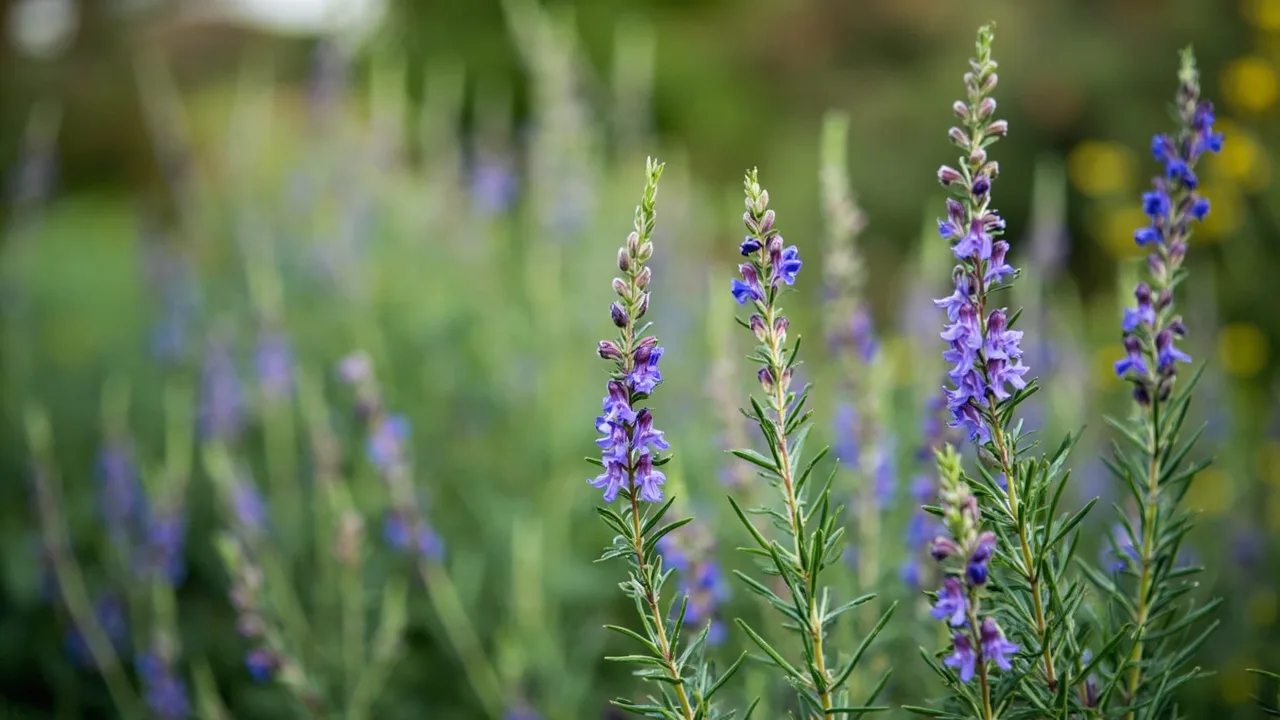
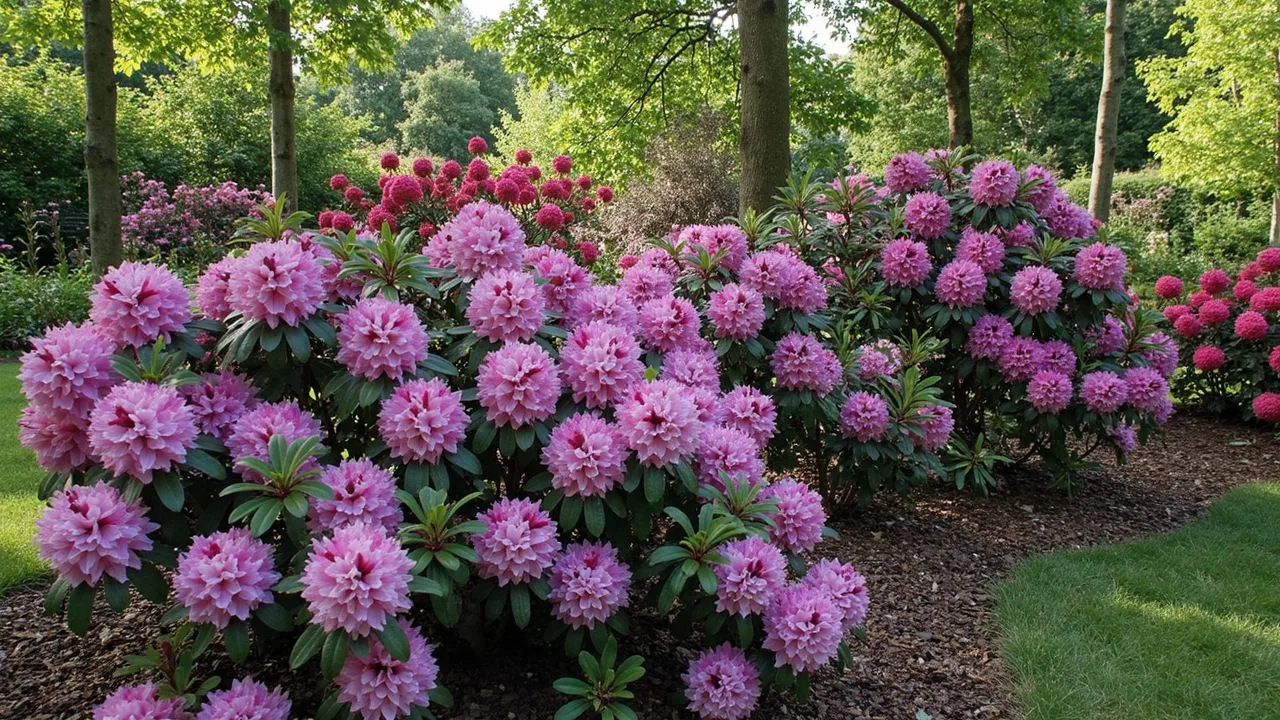
- Assuming chalky soil is "alkaline, so I can't grow anything". Chalky soils are free-draining, warm early in spring, and excellent for lavenders, rock roses (Cistus), rosemary, and many Mediterranean herbs. They struggle with acid-lovers such as blueberries, rhododendrons, and camellias — grow those in containers of ericaceous compost instead.
- Walking on wet clay beds. Compaction destroys the air pockets clay needs. Lay 15 cm-wide scaffold boards to stand on, or stay off the bed until it dries back in spring.
- Fertilising sandy soil heavily. Nutrients wash straight through. Feed little and often, and rely on mulches of compost to hold moisture and nutrients in the root zone.
Troubleshooting and tips
- Water stands on the surface for hours after rain. Likely heavy clay, or a clay pan below the topsoil. Fork the bed in autumn, leaving it in clods — winter frost shatters them. Add 5–8 cm of compost on top. For persistent problems, consider a simple soakaway or a raised bed 20–30 cm deep filled with imported topsoil.
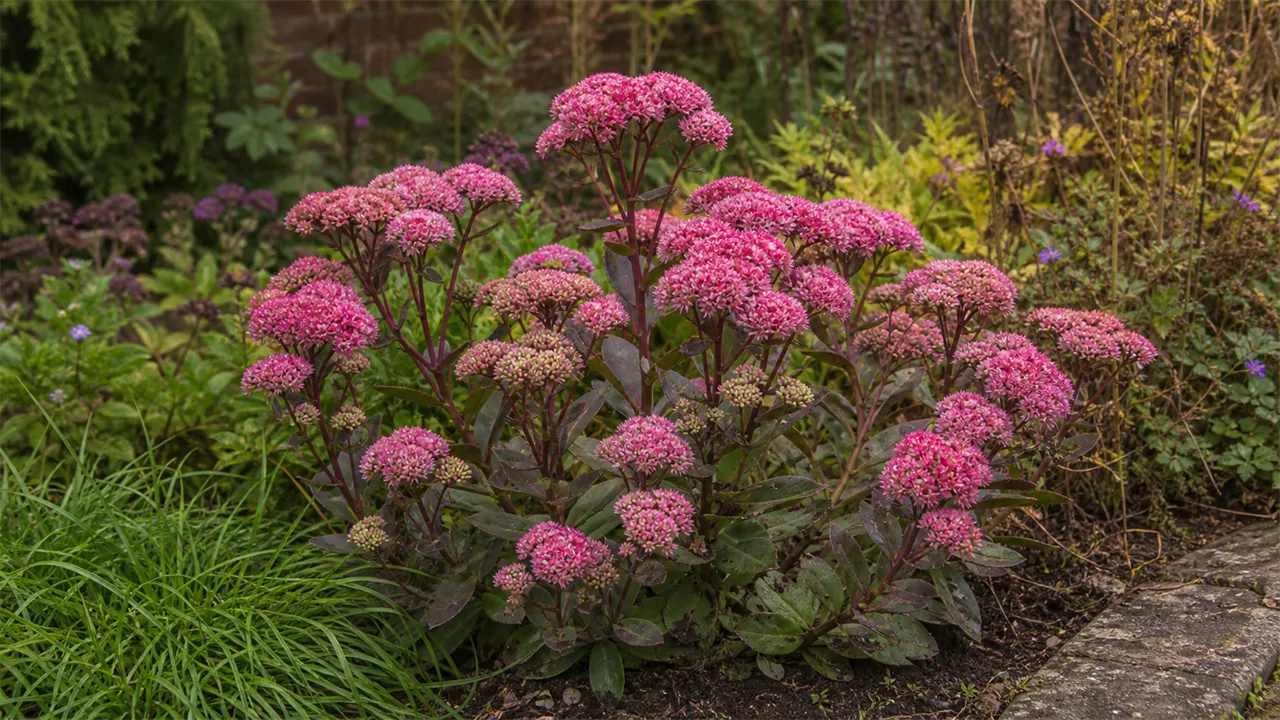
- Plants wilt fast in summer despite regular watering. Sandy soil. Mulch 5–8 cm thick in May with compost or bark, and switch to drought-tolerant plants once established: lavender, perovskia, sedum, santolina, rosemary.
- Leaves yellow between the veins (chlorosis) on chalky ground. Iron and manganese get locked up in alkaline soils. A chelated iron feed, applied in spring and again in summer, usually fixes it. Long term, choose lime-tolerant varieties.
- Lawn puddles after rain and bakes hard in summer. Classic clay loam. Aerate with a hollow-tine fork in September or March, brush sharp sand and compost into the holes (top-dressing), and feed with an autumn lawn feed rather than a spring one.
- Seedlings germinate then collapse (damping off). Usually a sign of a heavy, cold, slow-draining soil. Wait until the soil is at least 8–10 °C at 10 cm depth before sowing — a cheap soil thermometer is worth it. In heavy ground, station-sow into modules of seed compost and plant out later.
UK-specific guidance
- Climate and timing. Most of the UK gets enough rain that drought is rarely a problem outside July–August; the bigger issue is drainage. Plan soil improvement for October to December so winter rain, frost, and worms do the work for you.
- Units and products. Buy compost and manure by the litre (bags of 40–80 litres) or the cubic metre (loose loads, useful over roughly 1 m³ per 10 m² of bed at 10 cm depth). Bark mulches come in 70–100 litre bags.
- Local shortcuts. Spent mushroom compost is widely available in the UK and is excellent for clay at roughly 100–200 g per m², but it is mildly alkaline — avoid it around acid-lovers. Well-rotted horse manure from a local stables is usually £20–£40 per trailer-load and is the single best clay improver.
- Knowing your patch. The British Geological Survey's online "Geology of Britain" viewer lets you look up the underlying geology of your postcode — a strong clue to your soil, especially whether you are on clay, sand, or chalk. It is free and saves guesswork.
- Long-term view. Whatever your starting point, the answer to almost every British soil problem is the same: add organic matter every year, mulch in spring and autumn, and choose plants suited to your conditions rather than fighting the ground you have.
Plants in this guide
Recommended Products
GardenWizz earns a commission from qualifying purchases made through affiliate links on this page (including links within the article) — as an Amazon Associate, and from Thompson & Morgan via the Awin network. This does not affect the price you pay. See our disclaimer for details.
Related Articles
More →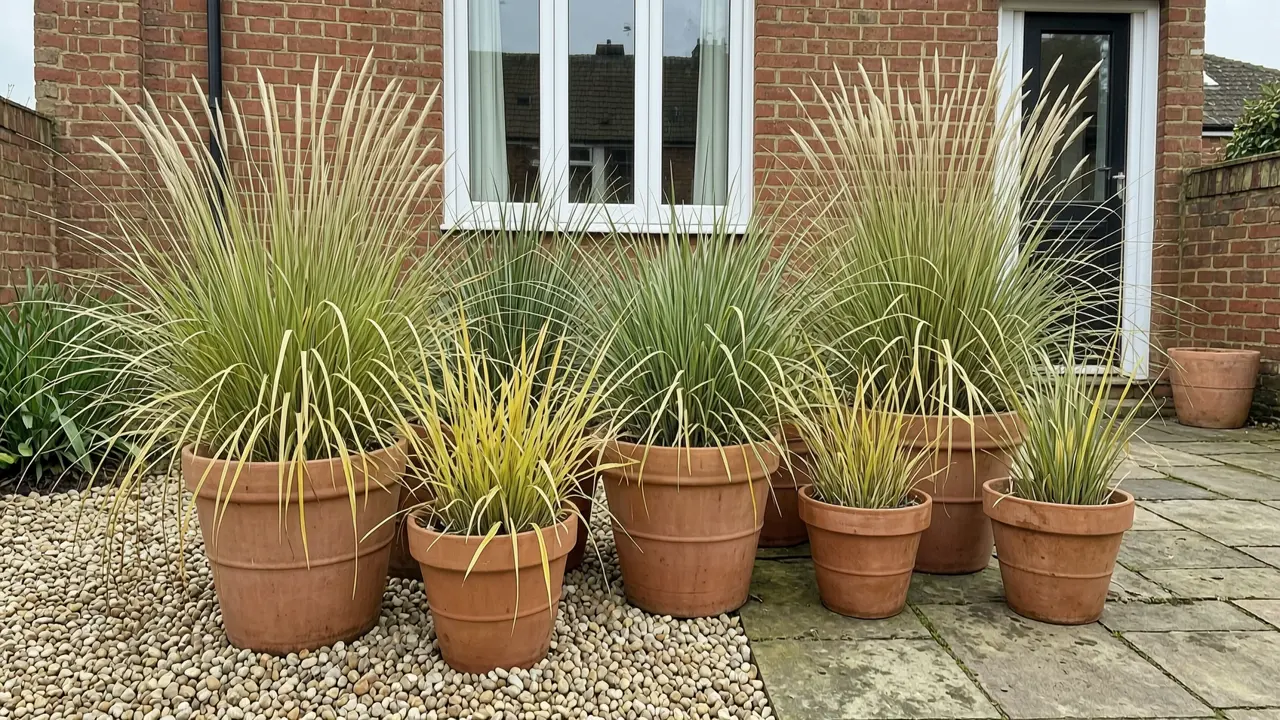 Growing Guide
How to grow ornamental grasses in pots
5 August 2026Grow ornamental grasses successfully in containers with advice on pot size, compost, watering, feeding, winter care and long-term maintenance.
 Growing Guide
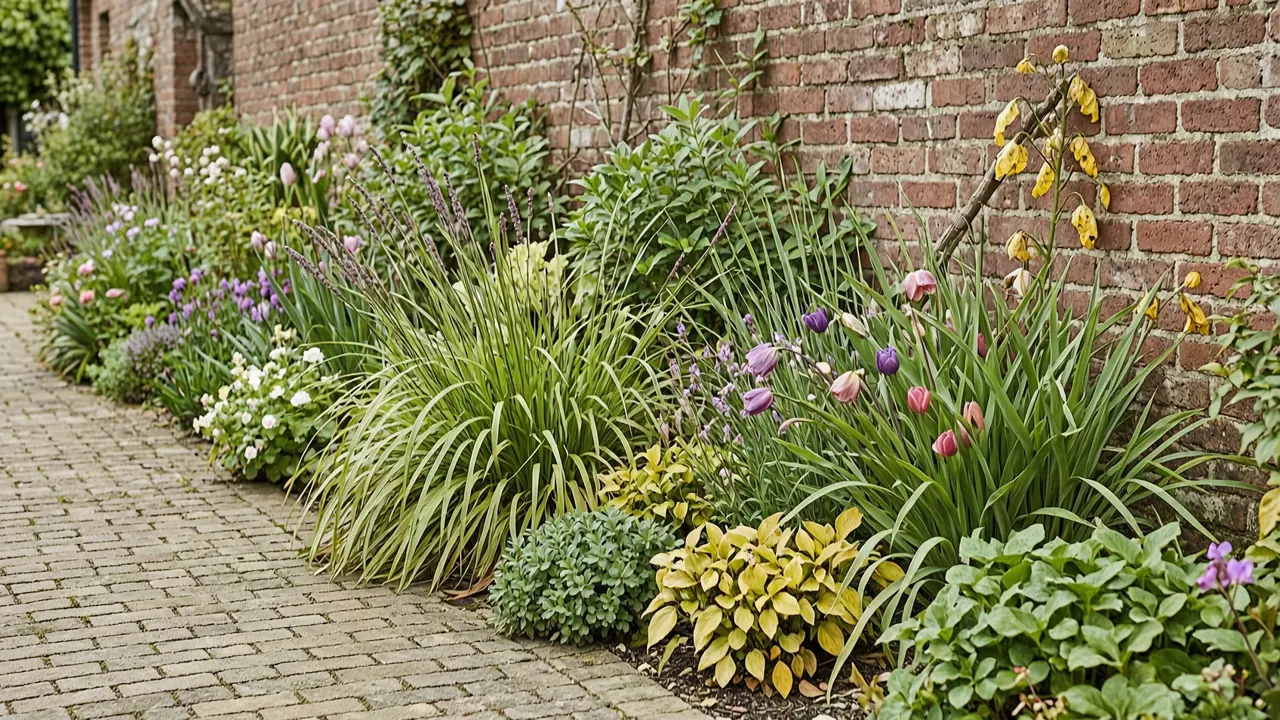
How to plan a perennial border
5 August 2026Plan a balanced perennial border with practical guidance on position, colour, height, spacing, flowering succession and year-round structure.
 Growing Guide
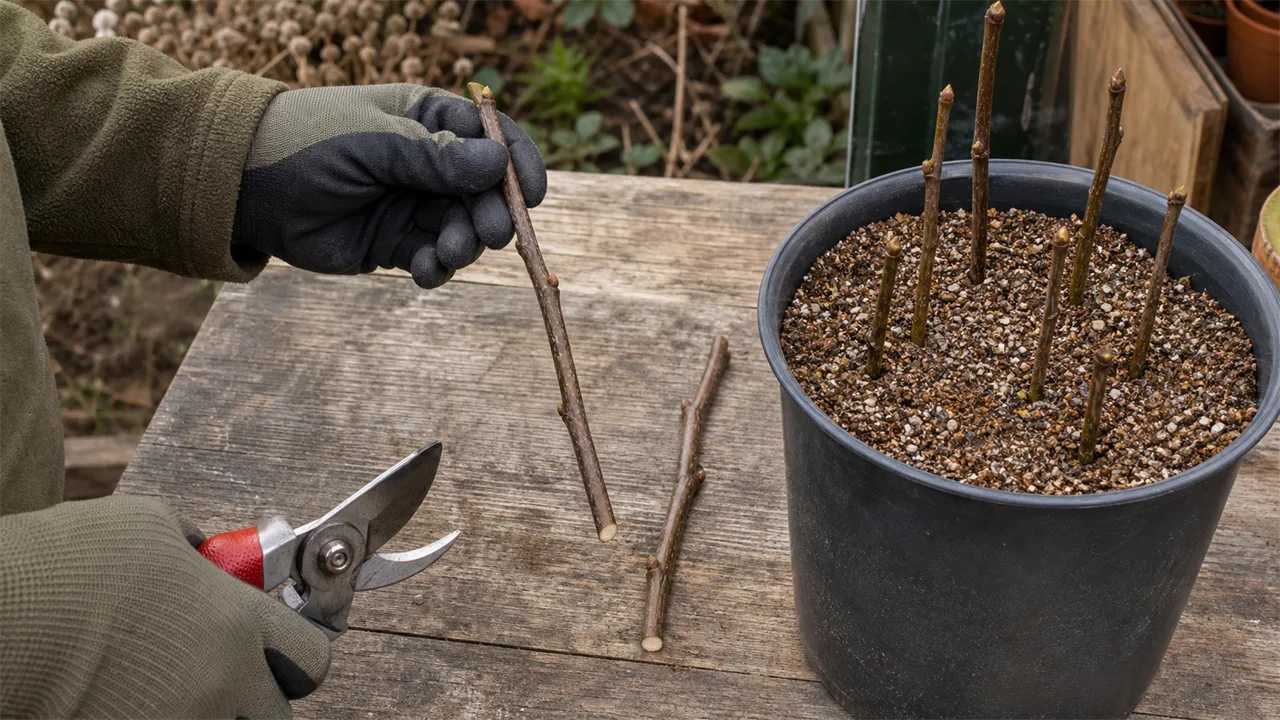
How to take hardwood cuttings
29 July 2026Take hardwood cuttings from suitable dormant shrubs and climbers with this step-by-step guide to timing, preparation, rooting and aftercare.